
Allflex BC115998
Allflex Universal Total Tagger Instruction Manual
Model: BC115998
Brand: Allflex
1. Product Overview
The Allflex Universal Total Tagger is a robust and essential tool designed for the efficient and humane application of ear tags to livestock. It is specifically engineered to work seamlessly with Allflex 2-piece Global Tags, Allflex Tamperproof™ and EID Tags, and is compatible with most major brands of insecticide tags.
Key features include:
- Deep Jaw Design: Facilitates proper tag placement, ensuring secure and accurate application.
- Ergonomic Grip: Designed to minimize hand fatigue during prolonged or repeated use, enhancing user comfort.
- Integrated Applicator Pin Storage: A replacement applicator pin is conveniently located within the handle for quick access and field repairs.
- Versatile Compatibility: Suitable for various tag types, including Allflex Global, Tamperproof, EID, and many insecticide tags.

Figure 1: Side view of the Allflex Universal Total Tagger, showcasing its ergonomic design and spring mechanism.
2. Setup and Preparation
Before using the Allflex Universal Total Tagger, ensure all components are present and in good working order. Proper setup is crucial for effective and safe tag application.
2.1 Unpacking and Inspection
- Carefully remove the tagger from its packaging.
- Inspect the tagger for any signs of damage during transit. Check the applicator pin, jaw, and spring mechanism.
- Locate the replacement applicator pin stored in the handle. Ensure it is securely in place.
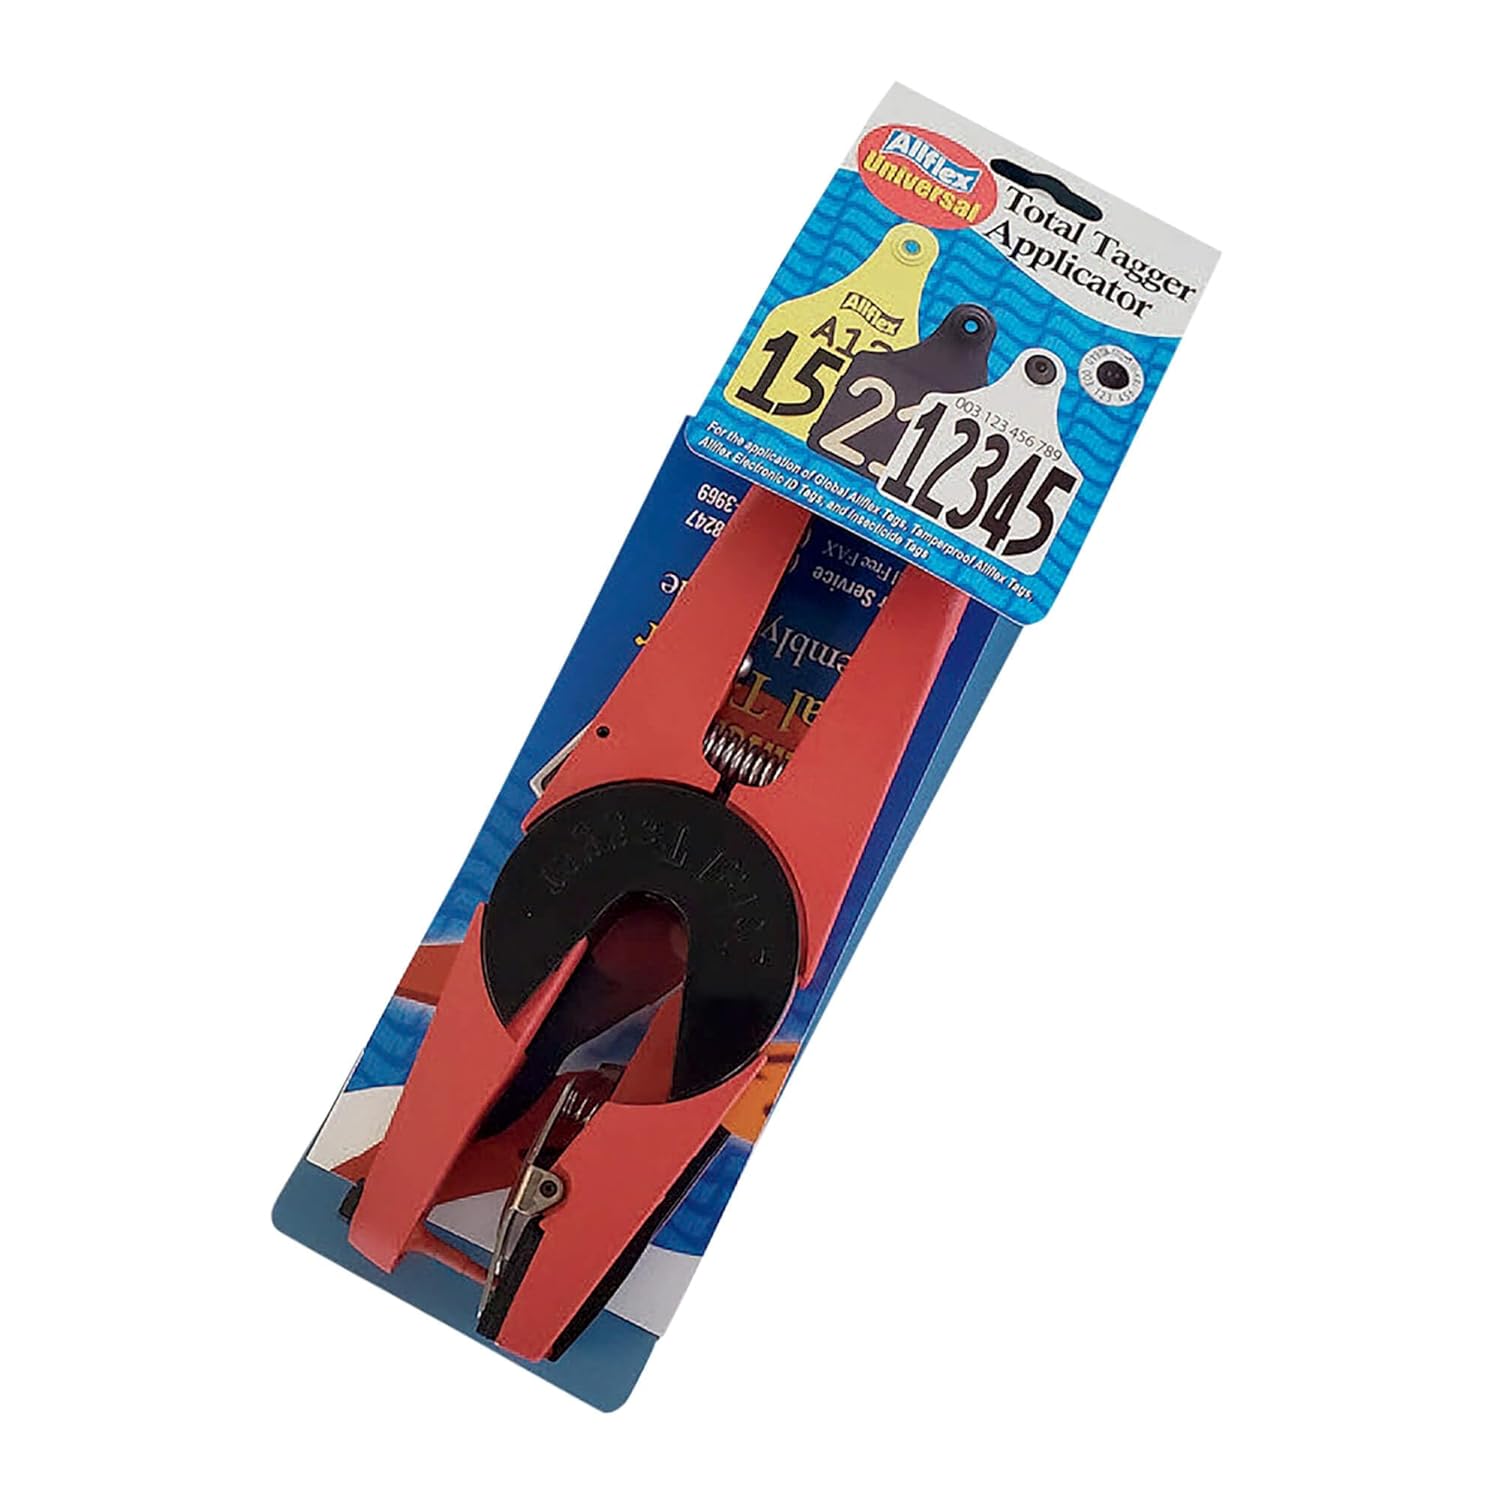
Figure 2: The Allflex Universal Total Tagger as it appears in its retail packaging.
2.2 Loading the Tag
- Open the tagger handles fully.
- Insert the male part of the ear tag (the pin) onto the applicator pin of the tagger. Ensure it is seated firmly.
- Slide the female part of the ear tag (the receptacle) into the jaw of the tagger, aligning it with the applicator pin. The female part should fit snugly into the jaw's recess.
- Verify that both parts of the tag are correctly aligned and securely held by the tagger before proceeding.
3. Operating Instructions
Follow these steps for safe and effective application of ear tags using the Allflex Universal Total Tagger.
- Restrain the Animal: Ensure the animal is properly and safely restrained to prevent injury to both the animal and the operator.
- Select Tagging Location: Choose the appropriate location on the animal's ear for tag placement. This is typically between the two main cartilage ribs, avoiding major blood vessels and cartilage.
- Position the Tagger: With the tag loaded, position the tagger on the ear. The male pin should be on the inner side of the ear, and the female receptacle on the outer side.
- Apply the Tag: Firmly and smoothly squeeze the handles of the tagger together until the tag is fully applied and the pin has passed through the ear and into the receptacle. You should hear a click indicating the tag is locked.
- Release the Tagger: Release the handles and carefully withdraw the tagger from the ear.
- Verify Placement: Check that the tag is securely fastened and properly positioned on the ear.
Important Safety Note: Always wear appropriate personal protective equipment (PPE) when handling livestock and using tagging equipment. Consult a veterinarian or experienced livestock handler for best practices in animal restraint and ear tag application.
4. Maintenance
Regular maintenance ensures the longevity and optimal performance of your Allflex Universal Total Tagger.
4.1 Cleaning
- After each use, clean the tagger to remove any debris, dirt, or biological material.
- Use a disinfectant solution to sanitize the applicator pin and jaw, especially if used on multiple animals, to prevent disease transmission.
- Wipe the tagger dry with a clean cloth.
4.2 Lubrication
- Periodically apply a light coat of machine oil or silicone spray to the pivot points and spring mechanism to ensure smooth operation and prevent rust.
4.3 Applicator Pin Replacement
The applicator pin is a wear item and may need replacement if it becomes dull, bent, or damaged. A sharp pin is essential for clean and humane tag application.
- Locate the small screw or retaining mechanism that holds the applicator pin in place.
- Carefully remove the old pin.
- Insert the new replacement pin (found in the handle storage) into the pin holder.
- Secure the new pin by tightening the screw or re-engaging the retaining mechanism.
- Test the tagger with a practice tag to ensure the new pin is correctly installed and functioning.
4.4 Storage
- Store the tagger in a clean, dry place, away from direct sunlight and extreme temperatures.
- Keep it out of reach of children and unauthorized personnel.
5. Troubleshooting
This section addresses common issues you might encounter with your Allflex Universal Total Tagger.
| Problem | Possible Cause | Solution |
|---|---|---|
| Tag not applying correctly / Pin not penetrating ear | Dull or bent applicator pin; Incorrect tag loading; Insufficient pressure during application. | Replace applicator pin (refer to Section 4.3); Re-load tag, ensuring proper alignment; Apply firm, steady pressure. |
| Tagger handles stiff or difficult to squeeze | Lack of lubrication; Dirt or debris in mechanism. | Clean and lubricate pivot points and spring (refer to Section 4.2). |
| Tag falls out after application | Tag not fully locked; Incorrect tag type for tagger; Damage to tagger jaw. | Ensure full closure during application; Verify tag compatibility; Inspect tagger jaw for wear or damage. |
6. Specifications
| Model Number | BC115998 |
| Brand | Allflex |
| Manufacturer | ALLFLEX USA |
| Product Dimensions | 9.5 x 3 x 1.1 inches |
| Item Weight | 11.2 ounces |
| Compatibility | Allflex 2-piece Global Tags, Allflex Tamperproof™ and EID Tags, most major brands of insecticide tags. |
7. Warranty and Support
For specific warranty information and customer support, please contact Allflex USA directly. Details regarding warranty coverage, terms, and conditions are typically provided with the product at the time of purchase or can be obtained from the manufacturer's official website.
Manufacturer Contact: ALLFLEX USA
For the most up-to-date contact information and support resources, please visit the official Allflex website or refer to the packaging materials.
Ask a question about this manual
Ask about setup, troubleshooting, compatibility, parts, safety, or missing instructions. Manuals+ will review the question and use this page’s manual context to help answer it.