
Introduction
This manual provides detailed instructions for the safe and effective use, setup, and maintenance of your ALLWAY UHS Soft-Grip Heavy-Duty Manual Hand Sander. Please read this manual thoroughly before operation and retain it for future reference.
The ALLWAY Soft-Grip Heavy-Duty Manual Hand Sander is designed for efficient sanding tasks, featuring a durable construction and user-friendly design. It is compatible with various sanding sheets and screens, making it a versatile tool for different surfaces.
Safety Information
WARNING: Always wear appropriate personal protective equipment (PPE) including safety glasses and a dust mask when sanding to prevent eye injury and inhalation of dust particles.
- Ensure the work area is well-ventilated.
- Keep hands and fingers clear of moving parts, especially when attaching or detaching sandpaper.
- Do not apply excessive force; let the sandpaper do the work.
- Store the hand sander in a dry, safe place away from children and pets.
Parts Identification

Figure 1: Overall view of the ALLWAY Hand Sander.

Figure 2: Contoured soft-grip handle for comfortable use.

Figure 3: Stainless steel clips for securing sandpaper.
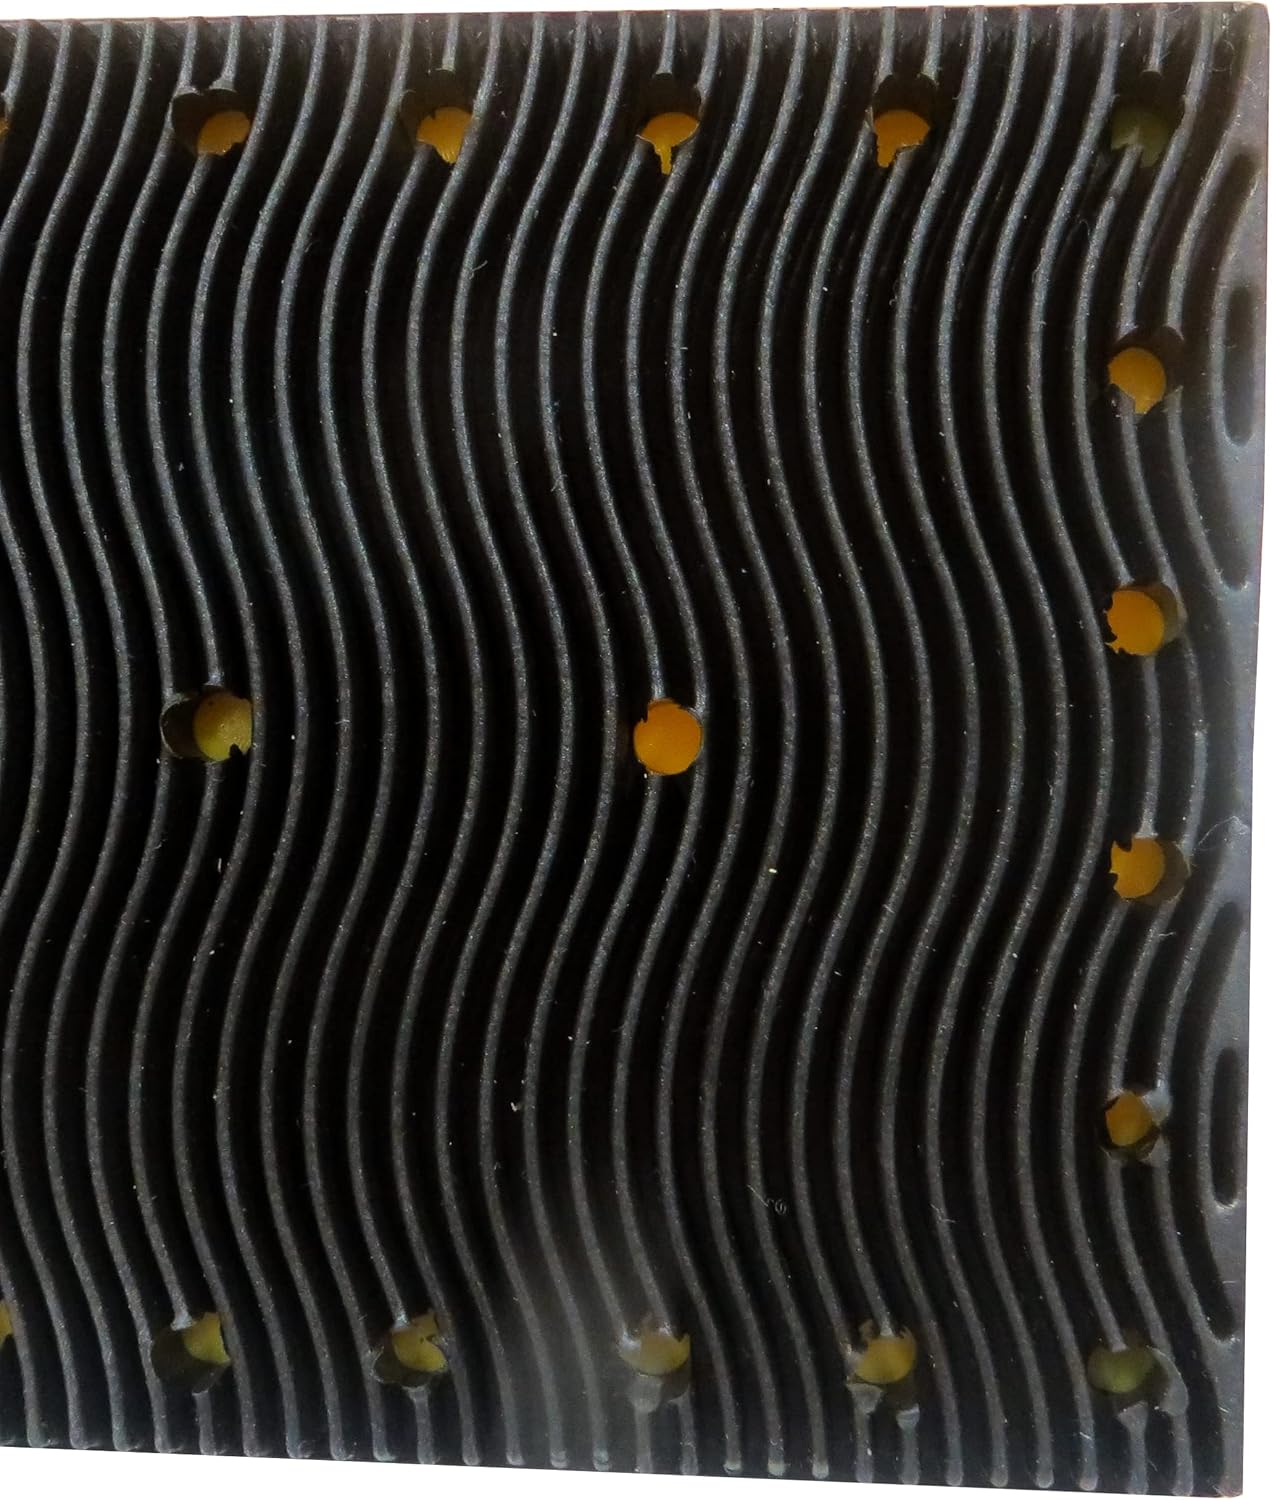
Figure 4: Patented integral molded pad on the base.
- A. Soft-Grip Handle: Ergonomically designed for comfortable and secure handling.
- B. Stainless Steel Clips: Securely hold sandpaper in place, designed for durability and ease of use.
- C. Molded Pad: An integral, patented pad that covers all sides, acting as a bumper to protect walls and surfaces.
- D. Structural Foam Body: Provides heavy-duty durability and a solid foundation for sanding.
Setup: Attaching Sandpaper
The ALLWAY Hand Sander is compatible with drywall sanding sheets/screens (such as ALLWAY's DWS and DSS) or a 1/2 sheet of standard die-cut sandpaper (sold separately).
- Prepare Sandpaper: Obtain the appropriate sandpaper or sanding screen. If using a standard sheet, cut it to approximately 4.5" x 11" to fit the sander.
- Open Clips: Gently push and lift the stainless steel clips on both ends of the sander. These clips are designed to be tight for a secure hold. If needed, use pliers to assist in opening them.
- Insert Sandpaper: Slide one end of the sandpaper under the opened clip, ensuring it is centered and flush with the pad.
- Secure Sandpaper: Pull the sandpaper taut across the molded pad and slide the other end under the second clip. Ensure the sandpaper is flat and wrinkle-free.
- Close Clips: Push the clips down firmly until they lock into place, securing the sandpaper. Verify that the sandpaper is held tightly and will not slip during use.

Figure 5: Sandpaper securely held by the stainless steel clips.
Operating Instructions
- Surface Preparation: Ensure the surface to be sanded is clean and free of loose debris.
- Grip the Sander: Hold the soft-grip handle firmly with one or both hands, depending on the area and desired control.
- Sanding Technique:
- For best results, sand with the grain of the surface whenever possible.
- Apply even, consistent pressure across the entire surface of the sander. The molded pad helps distribute pressure evenly.
- Work through a sequence of grits, starting with a coarser grit for material removal and progressing to finer grits for a smooth finish. Avoid skipping more than one grit between steps.
- Use the integrated bumper feature of the molded pad to protect adjacent walls or surfaces from accidental marring.
- Dust Management: Regularly clean dust from the sandpaper and the work area to maintain sanding efficiency and visibility.
- Inspect Sandpaper: Replace sandpaper when it becomes worn, clogged, or no longer effective.
Maintenance
- Cleaning: After each use, remove any remaining sandpaper. Wipe down the sander body with a damp cloth to remove dust and debris. Ensure the stainless steel clips are free of grit.
- Storage: Store the hand sander in a clean, dry environment, away from extreme temperatures and direct sunlight.
- Inspection: Periodically inspect the clips for any signs of wear or damage. Ensure the molded pad is intact and securely attached.
Troubleshooting
| Problem | Possible Cause | Solution |
|---|---|---|
| Sandpaper slips or comes loose. | Clips not fully engaged, sandpaper not taut, or incorrect sandpaper size. | Ensure clips are pushed down firmly until they lock. Pull sandpaper tightly before securing. Use sandpaper cut to the recommended 4.5" x 11" size. |
| Difficulty opening/closing clips. | Clips are new and stiff, or debris is lodged. | Apply firm pressure. If very stiff, use pliers to assist. Clean any debris from around the clips. They may loosen slightly with use. |
| Uneven sanding results. | Uneven pressure, worn sandpaper, or incorrect grit. | Apply even pressure across the entire pad. Replace worn sandpaper. Ensure you are using the correct grit sequence for your task. |
Specifications
- Model: ALLWAY Tools - UHS
- Part Number: UHS
- Item Weight: 9.9 ounces
- Product Dimensions: 9 x 3.5 x 3.25 inches
- Style: Heavy-Duty Hand Sander
- Construction: Solid structural foam with soft-grip handle
- Sandpaper Compatibility: Drywall sanding sheets/screens, or 1/2 sheet of standard sandpaper (approx. 4.5" x 11")
- Clips: Stainless Steel
Warranty and Support
For specific warranty information or technical support regarding your ALLWAY UHS Soft-Grip Heavy-Duty Manual Hand Sander, please refer to the product packaging or visit the official ALLWAY website. Keep your purchase receipt as proof of purchase.
For general inquiries, you may contact ALLWAY customer service through their official channels.

