
1. Introduction
This instruction manual provides essential information for the proper installation, operation, and maintenance of your LASCO 03-4311 White Plastic Tubular 1-1/2-Inch by 16-Inch Flanged Both Ends Tailpiece. Please read this manual thoroughly before beginning installation to ensure safe and correct usage. Keep this manual for future reference.
2. Product Overview
The LASCO 03-4311 is a white plastic tubular tailpiece designed for drain connections in various sink applications. It features a 1-1/2-inch outside diameter and a 16-inch length, with flanges on both ends for secure connections. This component is commonly used with kitchen, laundry, or bathroom sinks as a kitchen drain tailpiece.
Key Features:
- White plastic construction for durability and corrosion resistance.
- 1-1/2-inch outside diameter for standard drain connections.
- 16-inch length, flanged on both ends for versatile installation.
- Suitable for kitchen, laundry, or bathroom sink drain systems.
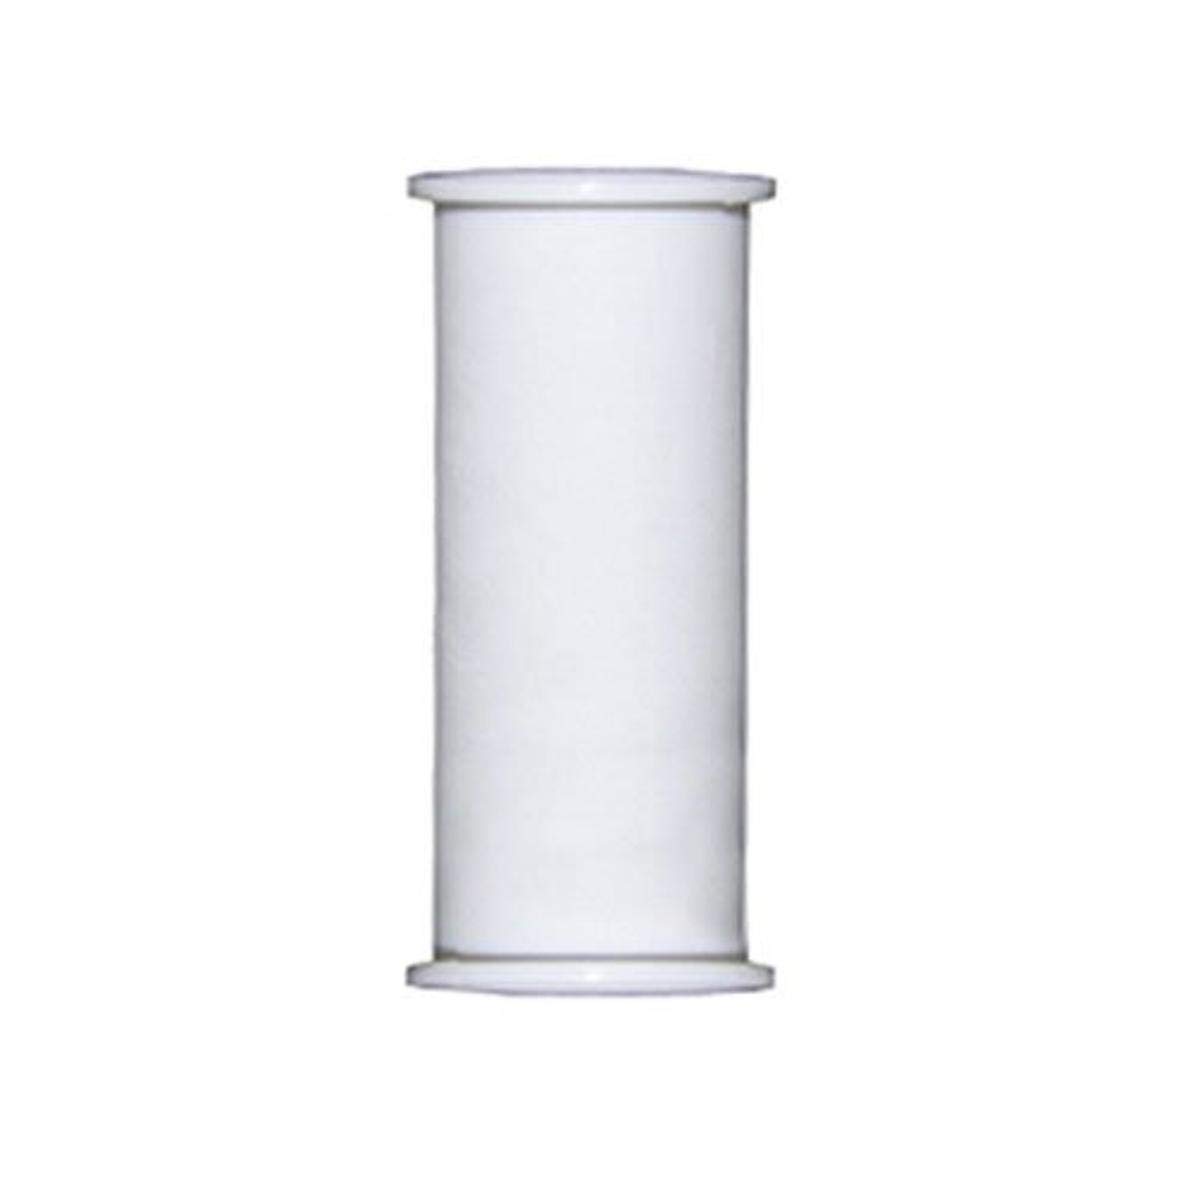
Image 1: The LASCO 03-4311 White Plastic Tubular Tailpiece, showing its flanged ends and overall design.
3. Safety Information
Always prioritize safety during installation and maintenance. Failure to follow these guidelines may result in property damage or personal injury.
- Turn off the water supply to the sink before beginning any plumbing work.
- Wear appropriate personal protective equipment, such as safety glasses and gloves.
- Ensure all connections are tight to prevent leaks, but do not overtighten plastic components.
- Keep small parts away from children.
- If you are unsure about any step, consult a qualified plumber.
4. Package Contents
Your package should contain the following item:
- 1 x LASCO 03-4311 White Plastic Tubular 1-1/2-Inch by 16-Inch Flanged Both Ends Tailpiece
5. Setup and Installation
This tailpiece is designed for straightforward installation in standard sink drain assemblies. Basic plumbing tools such as a wrench or pliers may be required.
Installation Steps:
- Prepare the Area: Ensure the water supply to the sink is off. Clear the area under the sink for easy access.
- Remove Old Tailpiece (if applicable): If replacing an existing tailpiece, carefully loosen the slip nuts connecting it to the sink drain and the P-trap. Remove the old tailpiece and discard it.
- Inspect Gaskets: Ensure you have new rubber or plastic gaskets for the connections. These are crucial for a watertight seal.
- Position the New Tailpiece: Insert one flanged end of the LASCO 03-4311 tailpiece into the sink drain opening (or strainer body). Ensure a gasket is properly seated between the tailpiece flange and the drain.
- Connect to P-Trap: Align the other flanged end of the tailpiece with the P-trap inlet. Place a gasket into the slip nut and slide it onto the tailpiece, then thread it onto the P-trap.
- Hand-Tighten Connections: Hand-tighten all slip nuts first to ensure proper alignment and seating of gaskets.
- Final Tightening: Use a wrench or pliers to gently tighten the slip nuts an additional quarter to half turn. Do not overtighten, as this can crack plastic components.
- Test for Leaks: Turn the water supply back on and run water into the sink. Carefully inspect all connections for any signs of leaks. If leaks are present, gently tighten the affected slip nut further until the leak stops.
6. Operating
The LASCO 03-4311 tailpiece functions as a critical component in your sink's drain system, connecting the sink strainer to the P-trap. Once properly installed, it allows wastewater to flow from the sink basin into the plumbing system, preventing clogs and ensuring efficient drainage.
7. Maintenance
Regular maintenance helps ensure the longevity and proper function of your tailpiece.
- Periodic Inspection: Periodically check the tailpiece and its connections for any signs of leaks, cracks, or damage. Address any issues promptly.
- Cleaning: If the tailpiece becomes dirty or shows signs of buildup, it can be cleaned with mild soap and water. Avoid harsh abrasive cleaners or chemicals that could damage the plastic.
- Prevent Clogs: Avoid pouring grease, coffee grounds, or other debris down the drain that could lead to clogs within the tailpiece or further down the plumbing system.
8. Troubleshooting
Here are some common issues and their potential solutions:
- Leaks at Connections:
- Ensure slip nuts are adequately tightened (do not overtighten).
- Check that gaskets are properly seated and not damaged. Replace worn or cracked gaskets.
- Slow Drainage:
- The tailpiece itself is unlikely to cause slow drainage unless it's physically obstructed.
- Check the sink strainer for debris.
- The clog may be further down in the P-trap or main drain line.
- Cracked Plastic:
- If the tailpiece is cracked, it must be replaced immediately to prevent water damage. Cracks often result from overtightening or impact.
9. Specifications
| Brand | LASCO |
| Model Number | 03-4311 |
| Material | Plastic |
| Color | White |
| Product Dimensions (L x W) | 16"L x 1.5"W |
| Outside Diameter | 1.5 Inches |
| UPC | 052151073655 |
10. Warranty Information
This product is covered by the manufacturer's standard warranty. For specific details regarding warranty coverage, duration, and claims process, please refer to the documentation provided with your purchase or contact LASCO customer support directly. Keep your proof of purchase for warranty validation.
11. Customer Support
If you have any questions, require assistance with installation, or need to troubleshoot an issue not covered in this manual, please contact LASCO customer support. You can typically find contact information on the product packaging or the official LASCO website.