
Dorman 800-605
Dorman 800-605 Transmission Connector User Manual
Model: 800-605
1. Introduction
This manual provides essential information for the proper installation, operation, and maintenance of the Dorman 800-605 Transmission Connector. This product is designed as a direct replacement for specific GM applications, ensuring a reliable connection for transmission lines. Please read this manual thoroughly before installation to ensure safe and effective use.
2. Safety Information
Always observe the following safety precautions during installation and handling:
- Wear appropriate personal protective equipment (PPE), such as safety glasses and gloves, when working with automotive fluids and components.
- Ensure the vehicle is properly supported on jack stands or a lift before working underneath it.
- Allow the transmission and engine to cool down before beginning work to avoid burns from hot fluids or components.
- Be aware of potential fluid leaks. Have appropriate containers ready to catch any draining transmission fluid.
- If you are unsure about any step of the installation process, consult a qualified automotive technician.
- Dispose of old fluids and parts responsibly according to local regulations.
3. Product Overview
The Dorman 800-605 Transmission Connector is a precision-engineered component designed to provide a secure and leak-free connection for transmission cooler lines to the radiator or transmission housing. It features a durable construction and is pre-treated with thread sealant for ease of installation.
Key Features:
- Plug and Play design for straightforward installation.
- Direct replacement for original equipment (OE) connectors.
- Pre-applied thread sealant for a reliable seal.
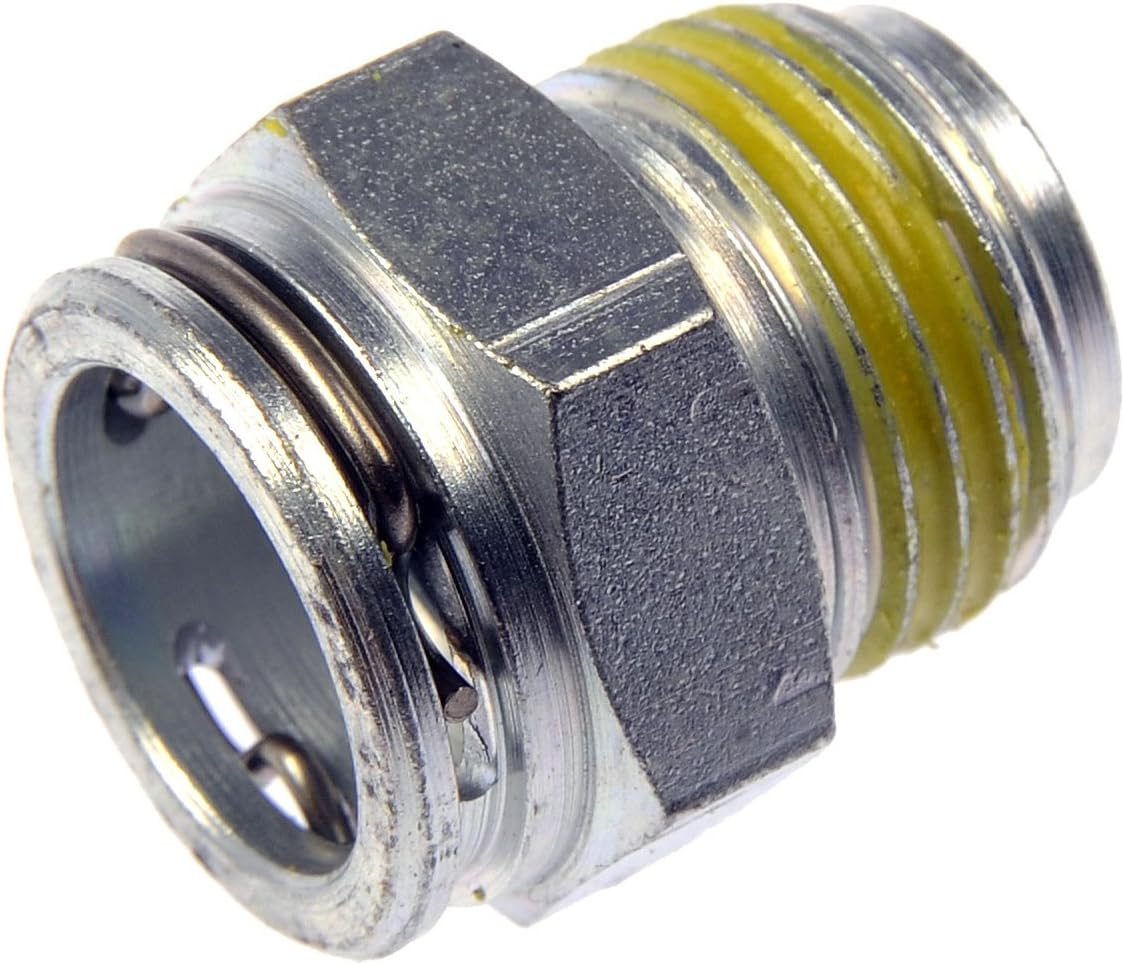
Figure 3.1: Angled view of the Dorman 800-605 Transmission Connector, showing the threaded end with sealant and the quick-connect end.
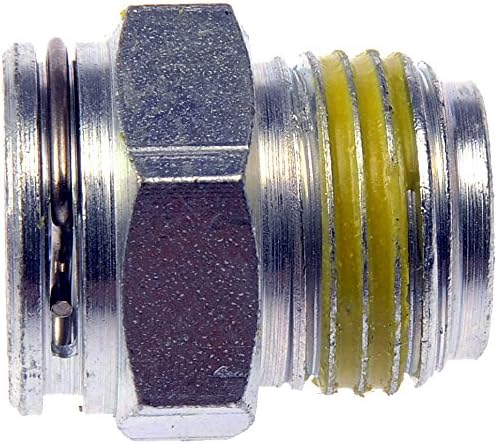
Figure 3.2: Front view of the Dorman 800-605 Transmission Connector, highlighting the quick-connect mechanism for the transmission line.
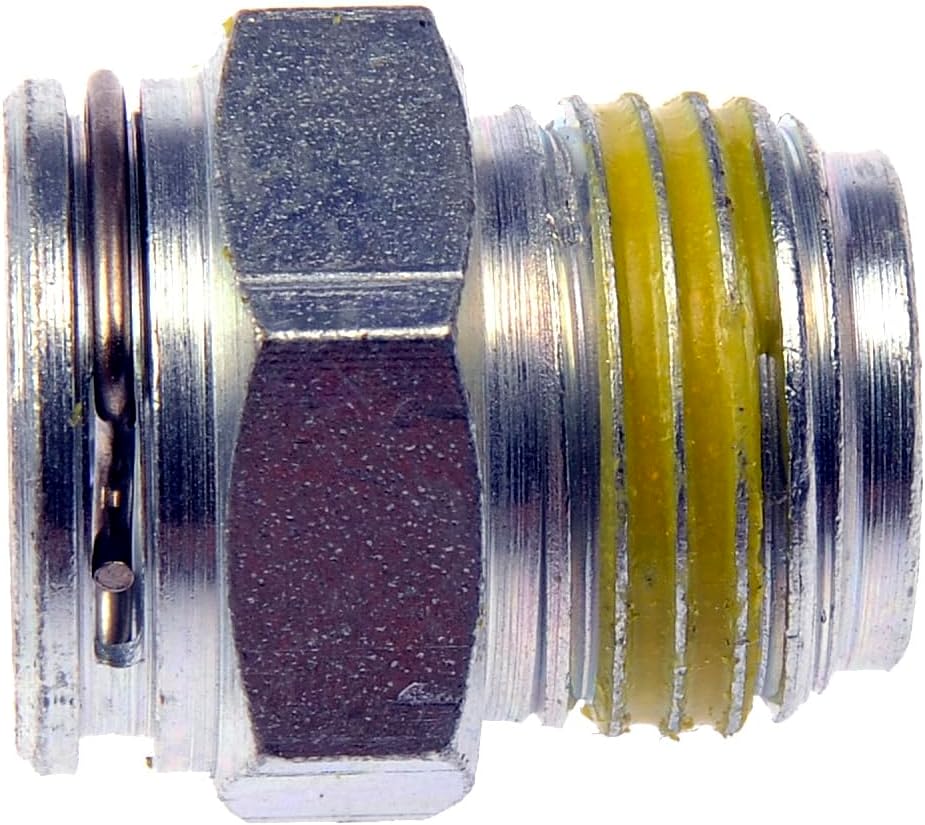
Figure 3.3: Side view of the Dorman 800-605 Transmission Connector, showing the overall profile and dimensions.
4. Setup and Installation
This section outlines the general steps for installing the Dorman 800-605 Transmission Connector. Specific vehicle repair procedures may vary. Always refer to your vehicle's service manual for detailed instructions.
Tools and Materials Required:
- Socket wrench set (appropriate size for the connector)
- Drain pan for transmission fluid
- Clean rags
- New transmission fluid (if topping off or refilling)
- Safety glasses and gloves
Installation Steps:
- Prepare the Vehicle: Park the vehicle on a level surface and engage the parking brake. Allow the engine and transmission to cool completely. Raise the vehicle safely using a lift or jack stands to access the transmission cooler lines and radiator/transmission housing.
- Locate and Disconnect Old Connector: Identify the transmission cooler line connected to the old fitting. Place a drain pan underneath to catch any fluid. Use the appropriate tool to disconnect the transmission line from the old connector. Be prepared for some fluid to leak out.
- Remove Old Connector: Using a socket wrench, carefully unthread and remove the old transmission connector from the radiator or transmission housing. Note that factory fittings can be very tight and may require significant torque to remove. Ensure the threads in the radiator/housing are clean and free of debris.
- Install New Dorman Connector: The Dorman 800-605 connector comes with pre-applied thread sealant. Carefully thread the new connector into the radiator or transmission housing by hand to ensure it starts correctly. Then, use a socket wrench to tighten it to the manufacturer's specified torque. Do not overtighten.
- Connect Transmission Line: Push the transmission cooler line firmly into the new Dorman connector until it clicks into place, indicating a secure connection. Gently pull on the line to confirm it is seated properly and cannot be easily pulled out.
- Check for Leaks: Lower the vehicle. Start the engine and allow it to reach operating temperature. Check for any transmission fluid leaks around the newly installed connector. If leaks are present, shut off the engine immediately and re-check the connection.
- Check Fluid Level: After installation and leak check, verify the transmission fluid level according to your vehicle's service manual and add fluid if necessary.
5. Operation
The Dorman 800-605 Transmission Connector is a passive component that facilitates the flow of transmission fluid. Once correctly installed, its operation is integrated into the vehicle's transmission cooling system. No user interaction is required for its operation beyond proper installation.
6. Maintenance
The Dorman 800-605 Transmission Connector is designed for long-term durability and typically requires no specific maintenance after proper installation. However, it is recommended to periodically inspect the connection point during routine vehicle maintenance for any signs of:
- Fluid leaks
- Corrosion
- Physical damage to the connector or the transmission line.
Address any issues promptly to prevent potential transmission damage.
7. Troubleshooting
If you encounter issues after installing the Dorman 800-605 Transmission Connector, consider the following:
| Problem | Possible Cause | Solution |
|---|---|---|
| Transmission fluid leak at the connector. |
|
|
| Transmission line does not connect securely. |
|
|
If troubleshooting steps do not resolve the issue, contact Dorman customer support or a certified mechanic.
8. Specifications
| Attribute | Value |
|---|---|
| Part Number | 800-605 |
| Manufacturer | Dorman - OE Solutions |
| Product Dimensions (L x W x H) | 2.13 x 1.71 x 0.1 cm (approx. 0.84 x 0.67 x 0.04 inches) |
| Item Weight | 27.22 grams (approx. 0.06 lbs) |
| Quantity per Package | 1 |
| Included Components | Accessories (Connector) |
| Batteries Required | No |
| UPC | 019495026440 |
| ASIN | B000EPYHVO |
9. Warranty and Support
For information regarding product warranty, returns, or technical support, please refer to the official Dorman website or contact Dorman customer service directly. Keep your purchase receipt as proof of purchase.
Dorman Customer Service: Please visit dormanproducts.com/pages/contact-us for contact information and support resources.
Ask a question about this manual
Ask about setup, troubleshooting, compatibility, parts, safety, or missing instructions. Manuals+ will review the question and use this page’s manual context to help answer it.