
SKF 18731
SKF Seal 18731 Instruction Manual
Model: 18731
Product Overview
SKF has long been a leader in the design and development of seals, inventing the first integrated shaft seal in 1928. Since then we have continually pioneered new designs and bonding techniques. Our seals are made to specific designs using premium materials to ensure the seal has the correct properties for both the application and its environment. SKF seals have been on the road for more than a hundred years, keeping lubricants in and contaminants out. SKF products are designed and manufactured to the highest quality standards, ensuring long life and safety.
Key Features:
- Keeps lubricants in and contaminants out
- Optimized compounds perform reliably in extreme operating conditions
- Superior fluid and temperature compatibility
- Excellent contamination exclusion
- Vehicle Specific Fit
Product Components
The SKF Seal 18731 package typically includes the following:
- One (1) SKF Seal 18731
Installation Guide
Proper installation is crucial for the optimal performance and longevity of your SKF Seal. It is highly recommended that installation be performed by a qualified automotive technician using appropriate tools and safety procedures.
General Installation Steps (Consult Vehicle Service Manual for Specifics):
- Preparation: Ensure the vehicle is safely supported and the area around the seal is clean and free of debris. Drain any necessary fluids if required by the vehicle's service manual.
- Removal of Old Seal: Carefully remove the old seal, taking care not to damage the housing or shaft. Note the orientation of the old seal.
- Inspection: Inspect the shaft and housing for any wear, nicks, or burrs that could damage the new seal. Address any imperfections before proceeding.
- Lubrication: Lightly lubricate the new seal's lip and outer diameter with the appropriate fluid (e.g., transmission fluid, gear oil) as specified by the vehicle manufacturer.
- Installation of New Seal: Carefully press or tap the new SKF Seal into place using a seal driver or an appropriate tool that applies even pressure around the entire circumference. Ensure the seal is seated squarely and to the correct depth.
- Reassembly: Reassemble all components removed during the process, ensuring all fasteners are torqued to manufacturer specifications. Refill fluids as necessary.
- Testing: After reassembly, check for leaks and proper operation before returning the vehicle to service.

Operating Principles
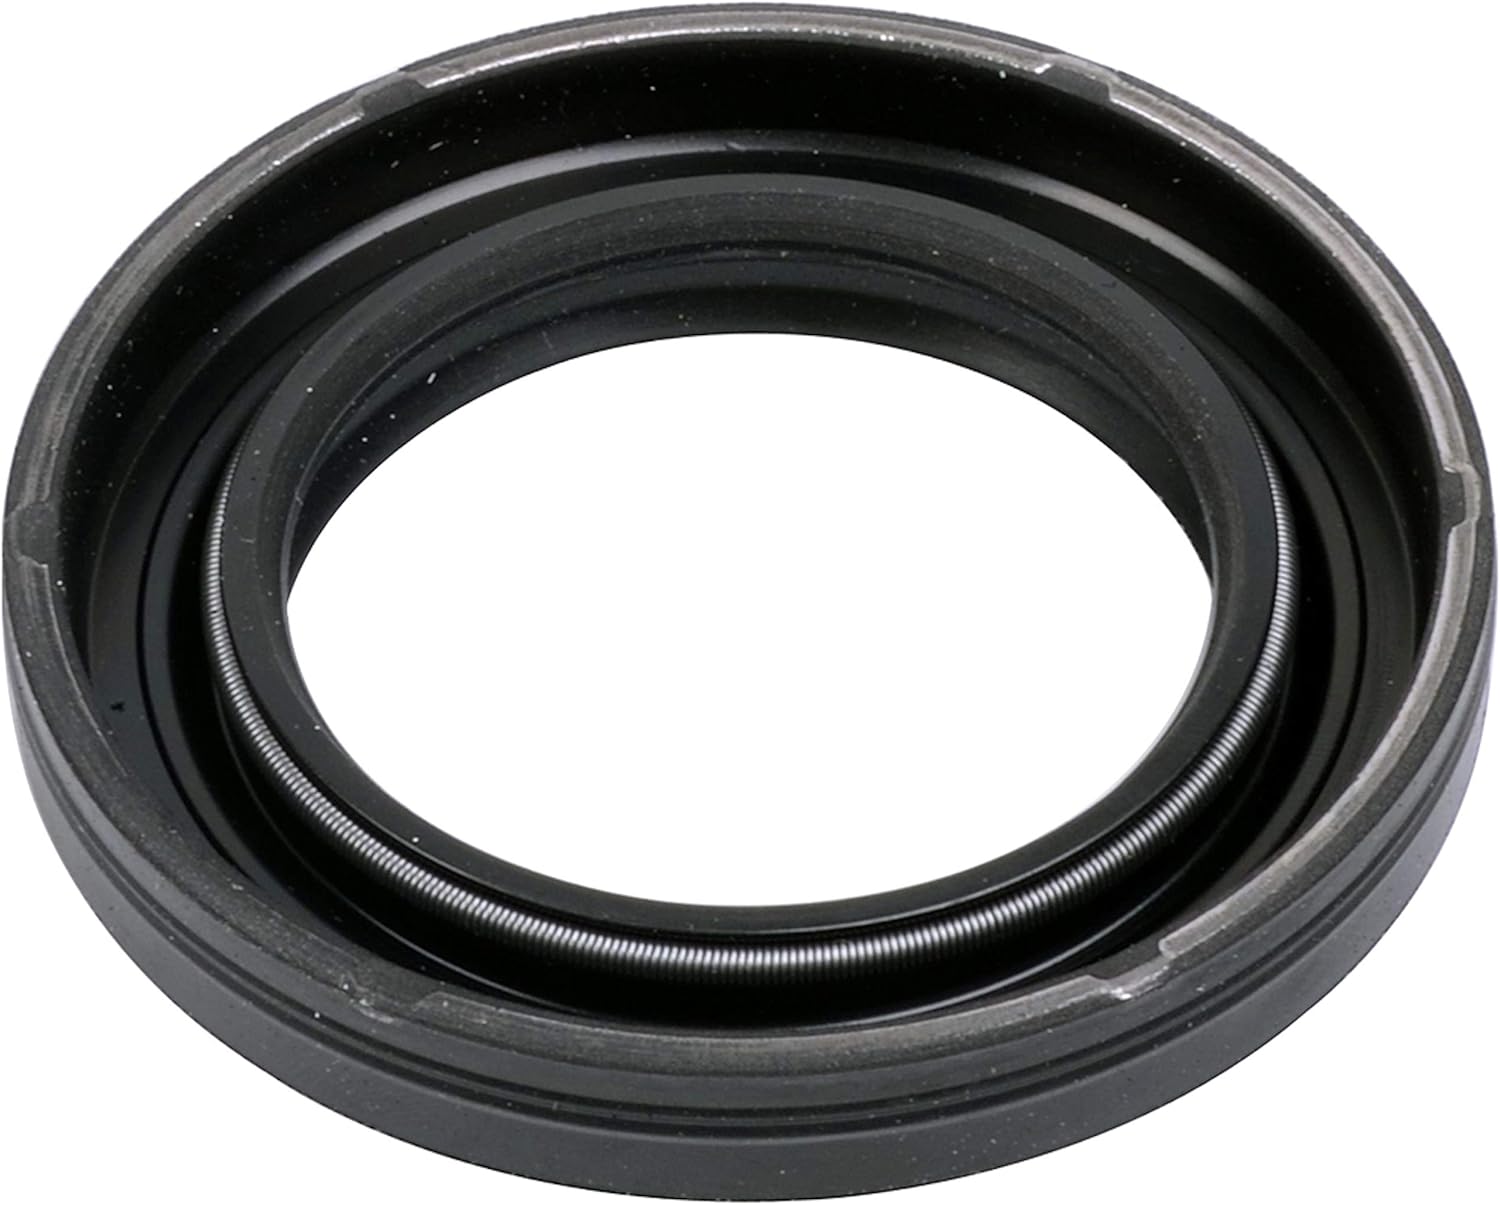
The SKF Seal 18731 is designed to create a barrier between two environments, typically to prevent the leakage of lubricants or fluids from a rotating shaft while simultaneously excluding contaminants like dirt, dust, and moisture. The seal achieves this through a combination of its precision-engineered rubber lip, which maintains constant contact with the shaft, and the garter spring that provides radial force to ensure consistent sealing pressure. The robust outer casing ensures a secure fit within the housing, preventing external bypass.
Maintenance and Care
SKF seals are designed for long-term, maintenance-free operation under normal conditions. However, periodic inspection of the sealed area can help identify potential issues early.
- Visual Inspection: Regularly check the area around the seal for any signs of fluid leakage or excessive dirt accumulation.
- Fluid Levels: Ensure that fluid levels in the sealed system (e.g., transmission, axle) are maintained at the manufacturer's recommended levels. Low fluid levels can lead to seal overheating and premature failure.
- Environmental Factors: Protect the sealed area from harsh environmental conditions, such as extreme temperatures or abrasive contaminants, whenever possible.
Troubleshooting Common Issues
While SKF seals are highly reliable, issues can occasionally arise. Here are some common problems and potential causes:
- Fluid Leakage:
- Cause: Improper installation (e.g., seal not seated squarely, damaged during installation).
- Cause: Damaged shaft or housing surface (nicks, burrs, excessive wear).
- Cause: Excessive pressure or temperature within the system beyond the seal's design limits.
- Cause: Seal wear due to prolonged use or abrasive contaminants.
- Solution: Re-inspect installation, replace seal if damaged, address shaft/housing issues, verify system operating conditions.
- Premature Seal Wear:
- Cause: Lack of lubrication during initial startup or operation.
- Cause: Presence of abrasive contaminants in the fluid or environment.
- Cause: Misalignment of components.
- Solution: Ensure proper lubrication, maintain system cleanliness, check alignment.
If you encounter persistent issues, it is recommended to consult a professional automotive technician.
Technical Specifications
| Specification | Detail |
|---|---|
| Brand | SKF |
| Model Number | 18731 |
| Material | Rubber |
| Color | Multi |
| Shape | Round |
| Item Weight | 2.27 ounces |
| Product Dimensions | 3.13 x 3.13 x 0.63 inches |
| Manufacturer Part Number | 18731 |
| UPC | 085311020473 |
Warranty and Customer Support
SKF stands behind the quality of its products. For specific warranty information, claims, or technical assistance, please refer to the official SKF website or contact SKF customer support directly. Keep your purchase receipt as proof of purchase.
For more information, visit the official SKF Store: SKF Store on Amazon
Ask a question about this manual
Ask about setup, troubleshooting, compatibility, parts, safety, or missing instructions. Manuals+ will review the question and use this page’s manual context to help answer it.