1. Introduction
This manual provides essential information for the proper handling, installation, and maintenance of the SKF 13536 Grease Seal. Adhering to these instructions will help ensure optimal performance and longevity of the seal. Grease seals are critical components designed to prevent lubricant leakage and protect bearings from contaminants such as dirt, water, and debris.
2. Product Description
The SKF 13536 is a high-quality automotive replacement wheel seal. It is engineered to provide reliable sealing performance in demanding applications. This seal is designed to fit specific automotive wheel assemblies, ensuring proper containment of grease and protection of internal components.
- Product Type: Automotive Wheel Seal
- Brand: SKF
- Model: 13536
3. Components Included
The package for the SKF 13536 Grease Seal typically contains the following item:
- One (1) SKF 13536 Grease Seal
4. Safety Information
Always prioritize safety when working with automotive components. Failure to follow safety guidelines can result in injury or damage to property.
- Wear appropriate personal protective equipment (PPE), including safety glasses and gloves.
- Ensure the vehicle is properly supported on jack stands before beginning any work.
- Use the correct tools for the job.
- Consult the vehicle's service manual for specific torque specifications and procedures.
- Keep work area clean and free of debris.
5. Installation Instructions
Proper installation is crucial for the effective operation and longevity of the grease seal. It is recommended that installation be performed by a qualified technician or an individual with experience in automotive repair. Refer to your vehicle's specific service manual for detailed instructions.
- Preparation:
- Safely lift and support the vehicle. Remove the wheel and brake components as necessary to access the wheel hub or axle.
- Carefully remove the old grease seal. Avoid damaging the sealing surface on the hub or spindle.
- Thoroughly clean the seal bore and the shaft sealing surface. Ensure there are no burrs, rust, or debris that could compromise the new seal.
- Inspect the bearing for wear or damage. Replace if necessary.
- Lubrication:
- Apply a thin, even coat of appropriate grease to the lip of the new SKF 13536 grease seal. This aids in installation and provides initial lubrication.
- Ensure the bearing is properly packed with grease according to the vehicle manufacturer's specifications.
- Seal Installation:
- Position the new seal squarely in the bore.
- Using a seal driver or a suitable flat-faced tool, gently and evenly tap the seal into place. Ensure the seal enters the bore straight and is not cocked.
- Drive the seal until it is fully seated against the shoulder in the bore or flush with the housing, as specified by the vehicle manufacturer. Do not over-drive the seal.
- Visually inspect the installed seal to confirm it is seated correctly and the lip is not damaged or inverted.
- Reassembly:
- Reinstall the wheel hub, brake components, and wheel according to the vehicle manufacturer's specifications, paying close attention to torque values.
- Lower the vehicle safely.
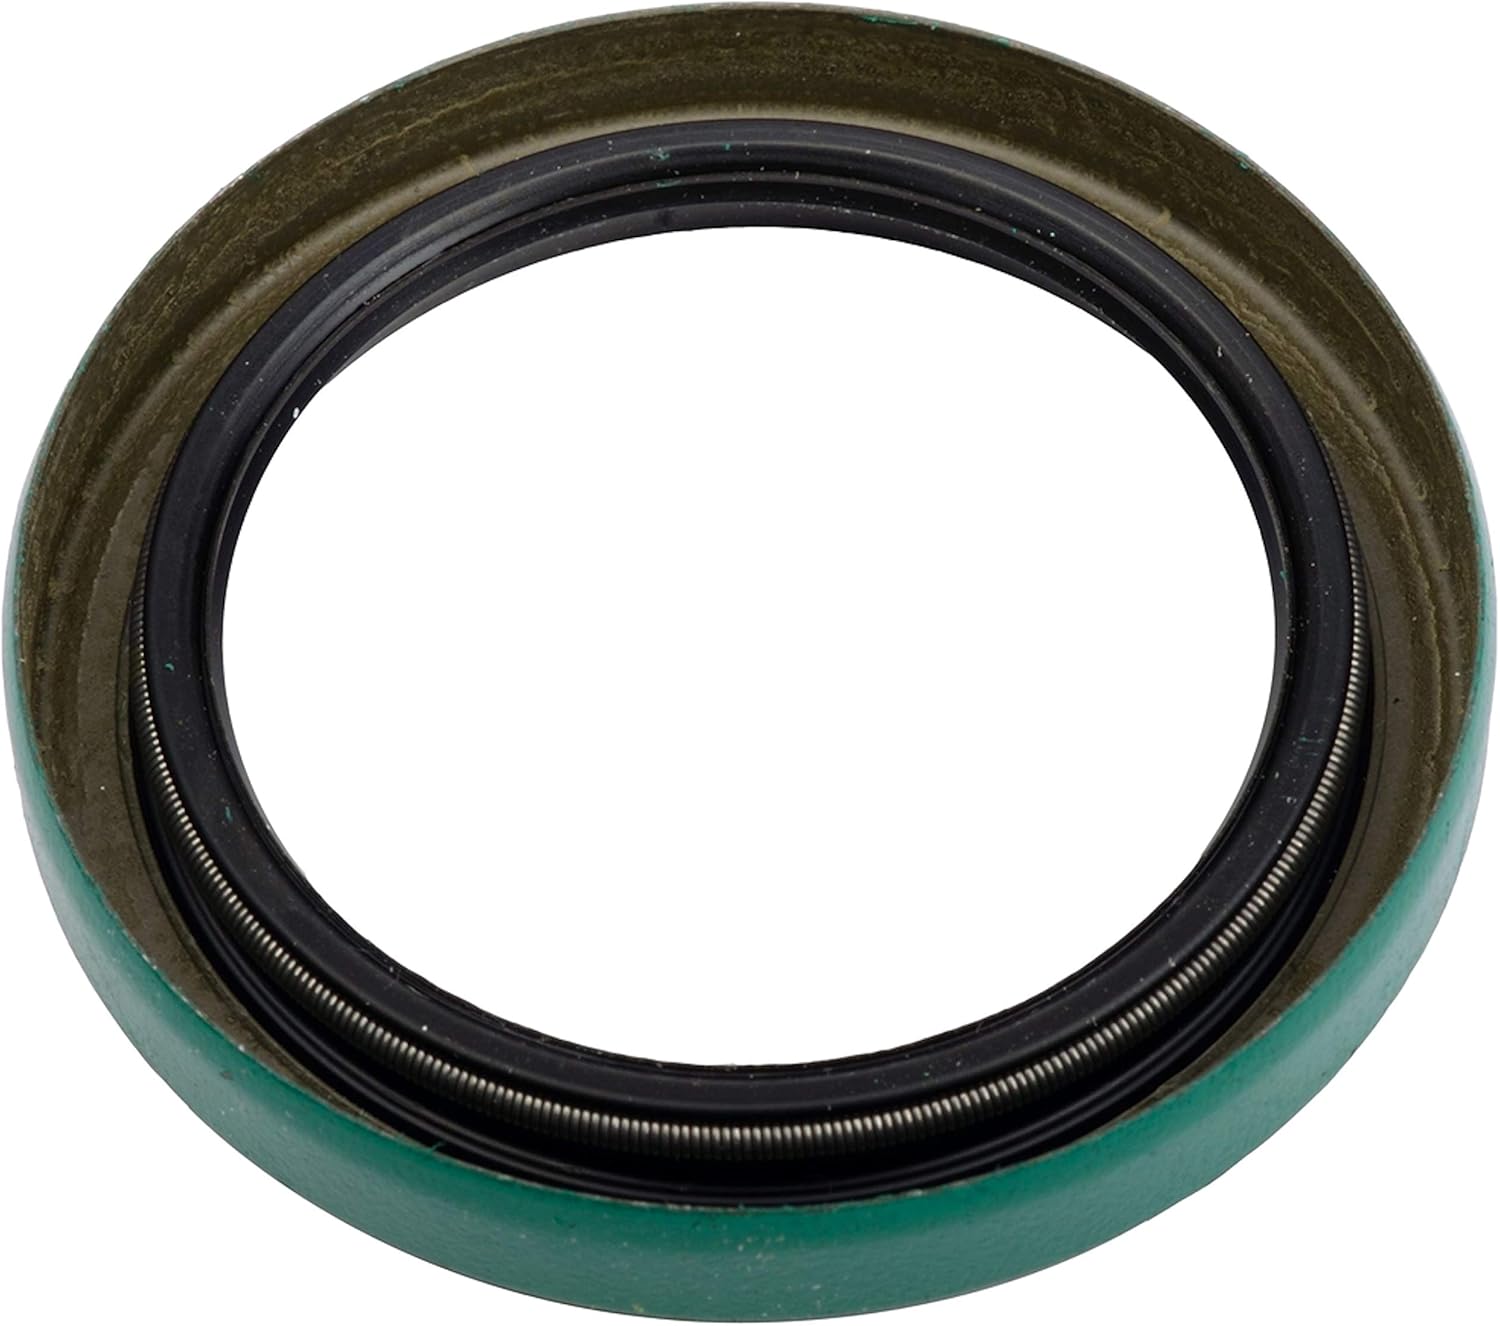
Figure 1: Front view of the SKF 13536 Grease Seal, showing the sealing lip and spring.

Figure 2: Rear view of the SKF 13536 Grease Seal, showing the outer casing.
6. Maintenance
Grease seals are wear items and should be inspected periodically. Regular maintenance checks can help identify potential issues before they lead to component failure.
- During routine vehicle inspections or brake service, visually check the seals for signs of grease leakage.
- Look for cracks, hardening, or excessive wear on the seal lip.
- If any signs of leakage or damage are observed, the seal should be replaced immediately to prevent bearing damage.
7. Troubleshooting
If issues arise after installation, consider the following common troubleshooting steps:
| Symptom | Possible Cause | Solution |
|---|---|---|
| Grease Leakage | Improper installation (cocked seal), damaged seal lip, contaminated sealing surface, worn bearing, incorrect seal size. | Re-inspect installation, replace seal if damaged, clean sealing surfaces, inspect and replace bearing if necessary, ensure correct seal part number. |
| Premature Seal Wear | Rough shaft surface, excessive heat, incorrect lubricant, improper installation, misalignment. | Inspect shaft for damage, ensure proper lubrication, verify correct installation, check for component alignment. |
If troubleshooting does not resolve the issue, consult a professional automotive technician.
8. Specifications
| Attribute | Value |
|---|---|
| Brand | SKF |
| Model Number | 13536 |
| Item Weight | 0.387 ounces |
| Product Dimensions | 2.5 x 2.5 x 0.63 inches |
| Exterior | Machined |
| Manufacturer Part Number | 13536 |
9. Warranty and Support
For information regarding product warranty, technical support, or further assistance, please refer to the official SKF website or contact their customer service department. Specific warranty terms may vary by region and product type.
SKF Official Website: www.skf.com


