
Product Overview
The Dorman 611-065 Wheel Nut is a high-quality, direct replacement component designed for securing wheels on compatible vehicles. Manufactured from durable alloy steel with a machined finish, this M12-1.25 thread size wheel nut is engineered for a long service life and reliable performance. It undergoes rigorous testing to ensure proper fit and function, providing a trustworthy connection for your vehicle's wheels.
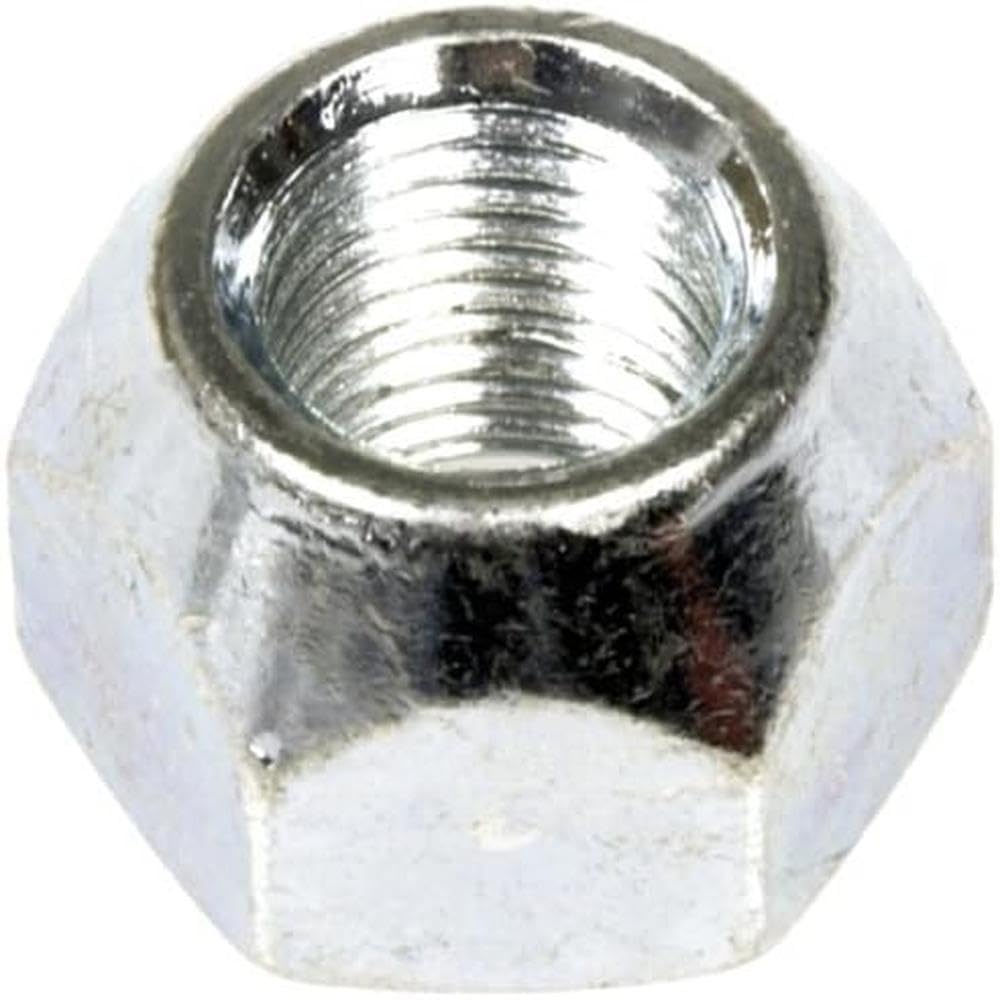
Image: A single Dorman 611-065 Wheel Nut, showcasing its hexagonal shape and internal threading.
Technical Specifications
| Specification | Detail |
|---|---|
| Model Number | 611-065 |
| Manufacturer | Dorman Products |
| Material | Alloy Steel |
| Fastener Type | Lock |
| Thread Size | M12 |
| Inside Thread Size | M12 1.25 |
| Exterior Finish | Machined |
| Item Weight | 10.4 ounces |
| Item Dimensions (L x W x H) | 3.62 x 2.36 x 2.19 inches |
| Thread Type | Unified National Coarse (Unc) |
| Thread Style | Right Hand |
Important Safety Information
Always prioritize safety when working on your vehicle. Improper installation of wheel nuts can lead to serious accidents.
- Professional Installation Recommended: If you are unsure about any step, consult a qualified automotive technician.
- Vehicle Support: Always use jack stands to support the vehicle after lifting and before removing or installing wheels. Never rely solely on a jack.
- Correct Torque: Always tighten wheel nuts to the vehicle manufacturer's specified torque settings using a calibrated torque wrench. Over-tightening or under-tightening can cause damage or wheel detachment.
- Clean Threads: Ensure wheel stud threads and wheel nut threads are clean and free of debris or damage before installation.
- Thread Compatibility: Verify that the wheel nut's thread size (M12-1.25) matches your vehicle's wheel studs.
Installation Instructions
Follow these steps for proper installation of the Dorman 611-065 Wheel Nut:
- Prepare Vehicle: Park the vehicle on a flat, level surface. Engage the parking brake. Loosen the lug nuts slightly while the wheel is still on the ground.
- Lift Vehicle: Safely lift the vehicle using a jack and secure it with jack stands according to your vehicle's owner's manual.
- Remove Old Nut (if applicable): If replacing an old nut, remove it completely.
- Inspect Studs: Inspect the wheel studs for any damage, corrosion, or stripped threads. Replace damaged studs before installing new nuts.
- Position Wheel: Carefully position the wheel onto the hub, ensuring it sits flush.
- Hand-Tighten Nuts: Install the Dorman 611-065 Wheel Nut onto the stud and hand-tighten it until it is snug. Repeat for all wheel nuts.
- Lower Vehicle: Partially lower the vehicle until the tires just touch the ground, but the full weight is not on the wheels.
- Torque Nuts: Using a calibrated torque wrench, tighten the wheel nuts in a star or crisscross pattern to the vehicle manufacturer's specified torque setting. Refer to your vehicle's owner's manual for the correct torque specification.
- Final Lowering: Fully lower the vehicle and remove the jack and jack stands.
- Re-torque Check: After driving approximately 50-100 miles, re-check the torque of all wheel nuts to ensure they remain properly tightened.
Maintenance and Care
Proper maintenance ensures the longevity and safety of your wheel nuts:
- Regular Inspection: Periodically inspect wheel nuts for signs of corrosion, rust, or damage. Replace any compromised nuts immediately.
- Check Tightness: If you notice any unusual vibrations or sounds from your wheels, safely pull over and check the tightness of your wheel nuts.
- Cleanliness: Keep wheel nuts and studs clean. Dirt and debris can affect proper seating and torque.
Troubleshooting
Common issues and their solutions:
- Wheel Nut Feels Loose After Driving: This is often normal after initial installation. Re-torque the nuts after 50-100 miles. If they continue to loosen, inspect the wheel studs, wheel nut, and wheel seating for damage or improper installation.
- Nut Won't Thread On: Do not force the nut. Check for cross-threading, damaged threads on the stud or nut, or incorrect thread size. Ensure the nut is aligned properly before attempting to thread.
- Nut is Stripped: If the threads on the nut or stud are stripped, the nut must be replaced, and the stud may also need replacement. Do not use stripped components.
Warranty and Customer Support
Dorman products are manufactured to high standards and are backed by a manufacturer's warranty. For specific warranty details, please refer to the warranty information provided with your purchase or visit the official Dorman website.
If you have any questions, concerns, or require technical assistance regarding your Dorman 611-065 Wheel Nut, please contact Dorman Customer Support through their official website or the contact information provided on your product packaging.


