
Bosch Automotive 15297
BOSCH 15297 Premium OE Fitment Oxygen Sensor
User Manual
1. Introduction
This manual provides essential information for the proper installation, operation, and maintenance of your BOSCH 15297 Premium OE Fitment Oxygen Sensor. This sensor is designed for specific Chrysler Sebring and Dodge Stratus models to ensure optimal engine performance and emissions control. Please read this manual thoroughly before proceeding with installation or any related procedures.
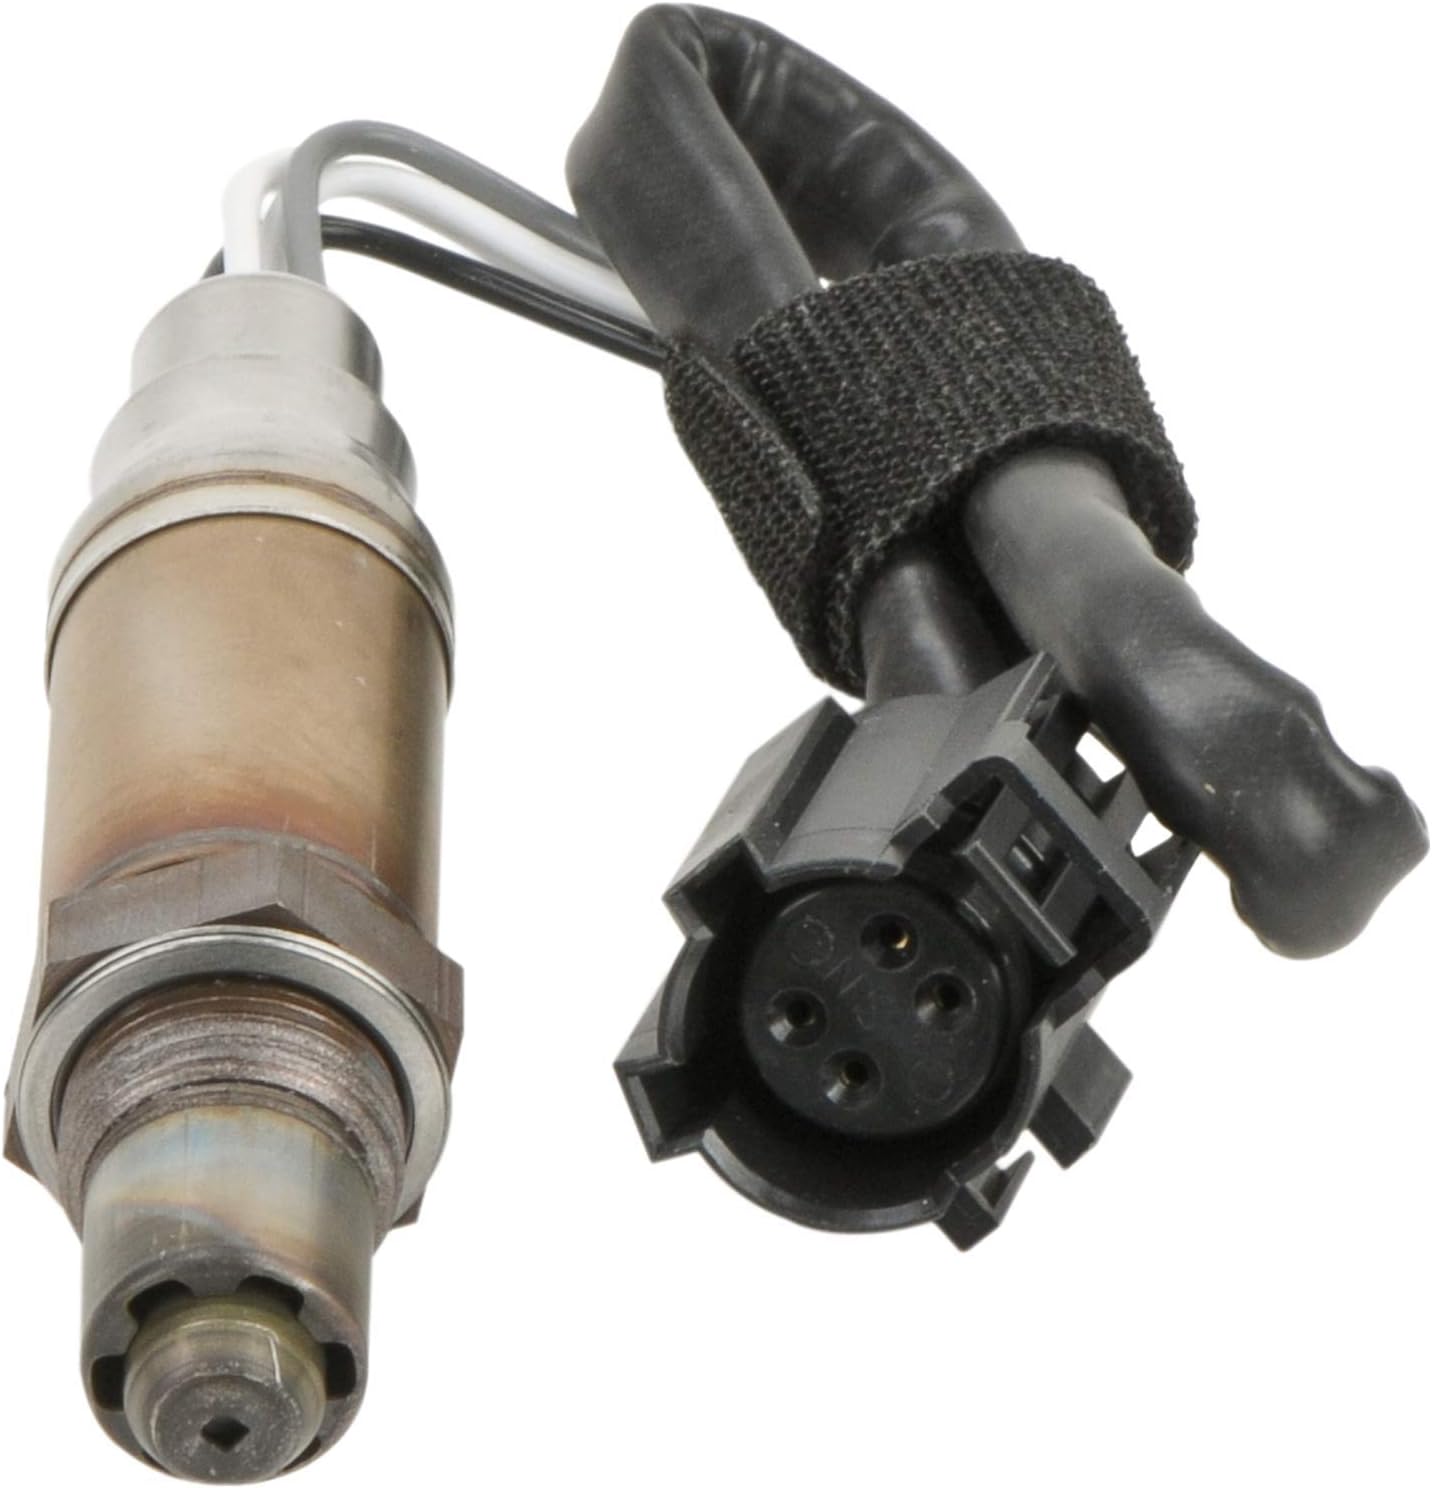
Image 1: The BOSCH 15297 Oxygen Sensor, showing the sensor body and electrical connector.
2. Product Features
The BOSCH 15297 Oxygen Sensor incorporates advanced technology for reliable performance:
- Innovative Technology: Benefits from decades of Bosch's experience in oxygen sensor production, ensuring long-lasting, superior performance.
- Factory Tested: Each sensor undergoes a 100% functional quality test, indicated by the seared appearance of the protection tube, to meet Bosch's rigorous standards.
- Stainless Steel Body: Features an exclusive double laser-welded stainless steel body that is fully submersible and sealed to protect against exhaust emission damage, extending sensor service life.
- Fast-Acting Heater: Optimizes sensor operation on Planar and 3, 4, and 5 wire Thimble type sensors, allowing the sensor to reach its operating temperature within seconds for optimum performance.
- Ready to Install: Equipped with true Direct-fit OE connectors and harnesses, and threads pre-coated with anti-seize compound, simplifying installation.

Image 2: Packaging for the BOSCH Premium Oxygen Sensor, highlighting key benefits. For more information, visit boschautoparts.com/QR/PremO2.aspx.
3. Package Contents
Your BOSCH 15297 Premium OE Fitment Oxygen Sensor package includes:
- One (1) BOSCH 15297 Oxygen Sensor with pre-applied anti-seize compound on threads.
4. Setup and Installation
Installation of an oxygen sensor requires specific tools and automotive knowledge. It is highly recommended that installation be performed by a qualified automotive technician. Incorrect installation can lead to sensor damage, engine malfunction, or inaccurate readings.
4.1. Pre-Installation Checks
- Ensure the vehicle's engine is cool before beginning work.
- Disconnect the vehicle's battery to prevent electrical issues.
- Identify the correct sensor location (upstream or downstream) as per your vehicle's service manual.
- Verify that the new sensor (BOSCH 15297) matches the original sensor's connector type and wire configuration.
4.2. Installation Steps (General Guidelines)
- Locate the old oxygen sensor.
- Carefully disconnect the electrical connector from the old sensor.
- Using an oxygen sensor socket or appropriate wrench, remove the old sensor. Be aware that it may be seized due to heat and corrosion.
- Inspect the sensor bung threads in the exhaust system for damage. Clean if necessary.
- The new BOSCH 15297 sensor comes with anti-seize compound pre-applied to the threads. Do not add more.
- Carefully thread the new sensor into the exhaust bung by hand to avoid cross-threading.
- Tighten the sensor to the manufacturer's specified torque using an oxygen sensor socket. Overtightening can damage the sensor or exhaust system.
- Connect the new sensor's electrical connector securely. Ensure it clicks into place.
- Reconnect the vehicle's battery.
- Start the engine and check for any exhaust leaks or illuminated check engine lights.
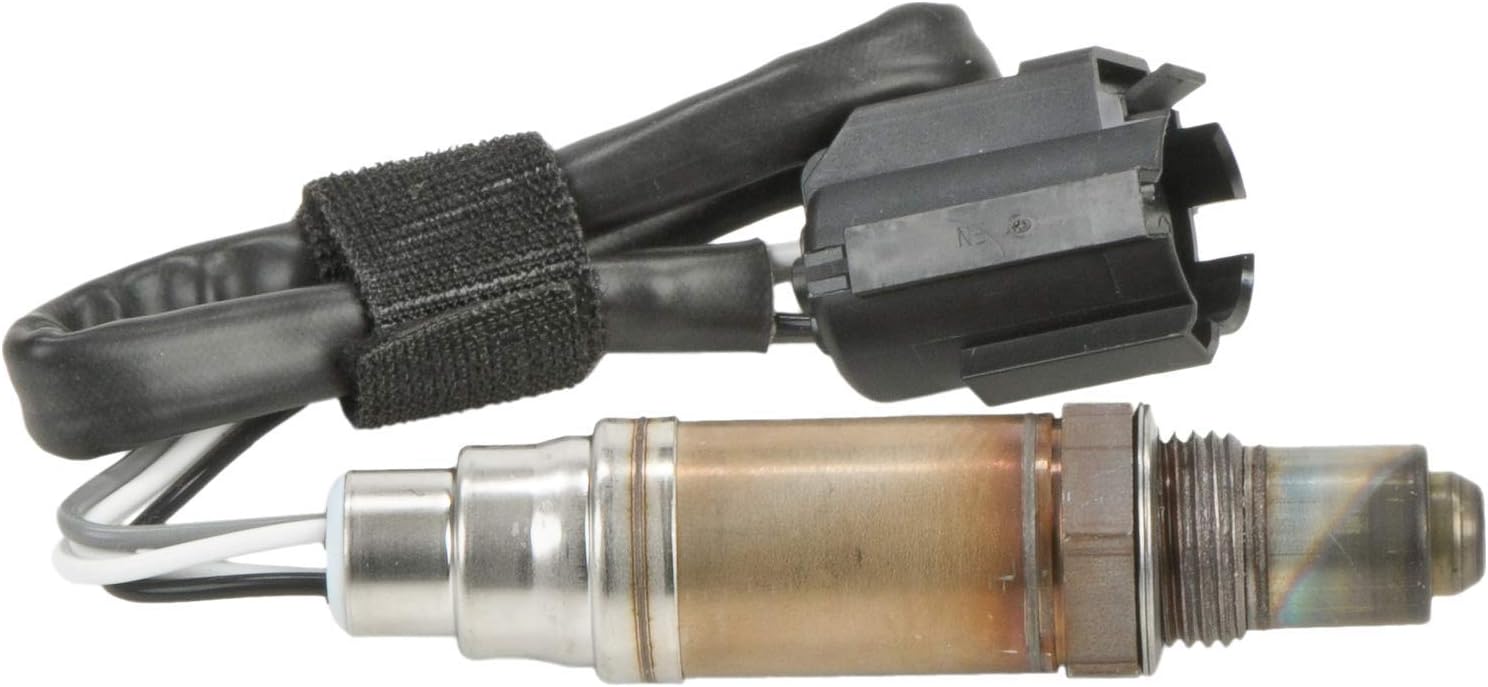
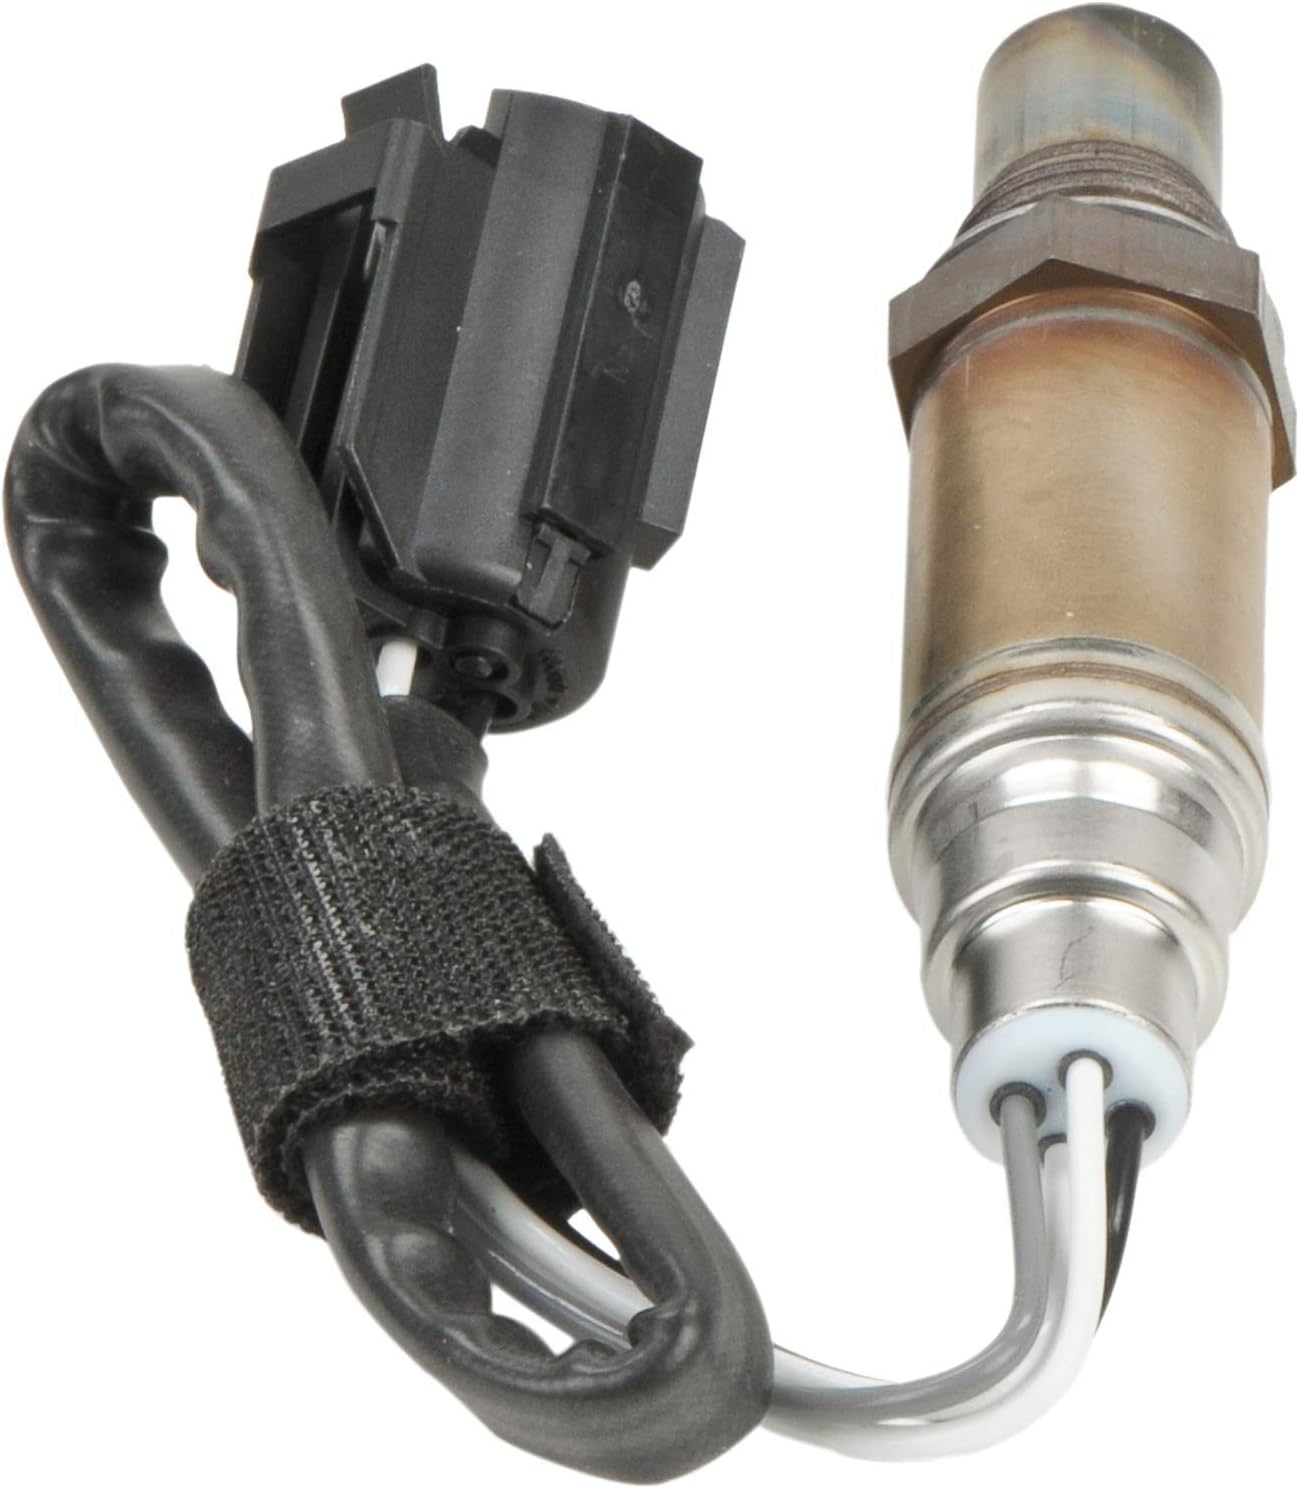
Image 3 & 4: Different views of the BOSCH 15297 Oxygen Sensor, showing the sensor body, wires, and connector for installation reference.
5. Operation
The oxygen sensor is a critical component of your vehicle's engine management system. It measures the oxygen content in the exhaust gases and sends this data to the engine control unit (ECU). The ECU uses this information to adjust the air-fuel mixture for optimal combustion, fuel efficiency, and reduced emissions. A properly functioning oxygen sensor ensures your vehicle runs smoothly and efficiently.
6. Maintenance
Oxygen sensors do not typically require routine maintenance. However, they are wear-and-tear items that degrade over time due to exposure to extreme heat and exhaust contaminants. It is critical that oxygen sensors are replaced at the suggested intervals provided by vehicle manufacturers. Following these recommendations will prevent long-term damage to your vehicle's engine, reduce harmful carbon dioxide (CO2) emissions, and improve fuel economy.
Signs that an oxygen sensor may need replacement include:
- Illuminated "Check Engine" light.
- Decreased fuel efficiency.
- Rough idling or engine misfires.
- Increased exhaust emissions.
7. Troubleshooting
If you experience issues after installing the oxygen sensor or suspect a sensor malfunction, consider the following:
- Check Engine Light: If the "Check Engine" light remains on after installation, use an OBD-II scanner to retrieve diagnostic trouble codes (DTCs). Common codes related to oxygen sensors include P0130-P0167.
- Wiring and Connections: Ensure all electrical connections are secure and free from corrosion or damage. Check the sensor's wiring harness for any cuts or pinches.
- Exhaust Leaks: An exhaust leak upstream of the oxygen sensor can cause incorrect readings. Inspect the exhaust system for any leaks.
- Other Components: A faulty oxygen sensor can sometimes be a symptom of other underlying issues, such as a failing catalytic converter, fuel system problems, or engine mechanical issues. Professional diagnosis is recommended.
For complex issues, consult a certified automotive technician.
8. Specifications
| Attribute | Detail |
|---|---|
| Brand | Bosch Automotive |
| Model Number | 15297 |
| Item Dimensions (L x W x H) | 2.2 x 1.97 x 5.83 inches |
| Material | Ceramic |
| Item Weight | 4 ounces |
| Style | OE (Original Equipment) |
| Mounting Type | Flange Mount |
| Output Type | Digital |
| Specific Uses For Product | Oxygen Sensor |
| Manufacturer Part Number | 15297 |
| OEM Part Number | 4606135AD |
| Country of Origin | USA |
9. Warranty and Support
For information regarding product warranty, technical support, or further assistance, please refer to the official Bosch Automotive website or contact their customer service directly. Keep your purchase receipt as proof of purchase for any warranty claims.
Official Bosch Automotive Website: www.boschautoparts.com
Ask a question about this manual
Ask about setup, troubleshooting, compatibility, parts, safety, or missing instructions. Manuals+ will review the question and use this page’s manual context to help answer it.