
1. Introduction
This manual provides essential information for the proper installation, operation, and maintenance of the Standard Motor Products PC365 Crankshaft Sensor. The crankshaft position sensor is a critical component in modern internal combustion engines, responsible for monitoring the rotational speed and position of the crankshaft. This data is then transmitted to the engine control unit (ECU) to ensure precise fuel injection and ignition timing.
2. Safety Information
Always prioritize safety when working on any vehicle. Failure to follow safety precautions can result in personal injury or damage to the vehicle.
- Disconnect the Battery: Before beginning any work, disconnect the vehicle's negative battery terminal to prevent accidental electrical shorts or activation of vehicle systems.
- Wear Protective Gear: Always wear appropriate personal protective equipment, including safety glasses and gloves.
- Allow Engine to Cool: Ensure the engine is cool before working on it to avoid burns from hot engine components.
- Consult Vehicle Service Manual: Refer to your specific vehicle's service manual for detailed instructions, torque specifications, and component locations.
- Keep Work Area Clean: Maintain a clean and organized workspace to prevent accidents.
3. Package Contents
Verify that all components are present and undamaged upon opening the package.
- One (1) Standard Motor Products PC365 Crankshaft Sensor
4. Setup and Installation
The installation of a crankshaft position sensor typically involves locating the old sensor, disconnecting its electrical connector, removing it, and then installing the new sensor. Specific steps may vary significantly depending on the vehicle make and model. Always consult your vehicle's repair manual for precise instructions.
- Prepare the Vehicle: Park the vehicle on a level surface, engage the parking brake, and disconnect the negative battery terminal.
- Locate the Sensor: Identify the location of the crankshaft position sensor. This can vary but is often found near the crankshaft pulley, on the engine block, or near the transmission bell housing.
- Disconnect Electrical Connector: Carefully disconnect the electrical connector from the old sensor. Avoid pulling directly on the wires.
- Remove Old Sensor: Using appropriate tools, unbolt or unclip the old crankshaft sensor from its mounting location. Be prepared for a small amount of oil to leak if the sensor is submerged in oil.
- Install New Sensor: Insert the new Standard Motor Products PC365 sensor into the mounting hole. Ensure it seats correctly.
- Secure the Sensor: Fasten the sensor with the bolt(s) or clip(s), tightening to the vehicle manufacturer's specified torque. Overtightening can damage the sensor or mounting.
- Reconnect Electrical Connector: Firmly attach the electrical connector to the new sensor until it clicks into place.
- Reconnect Battery: Reconnect the negative battery terminal.
- Test Operation: Start the vehicle and check for proper engine operation and the absence of any warning lights.
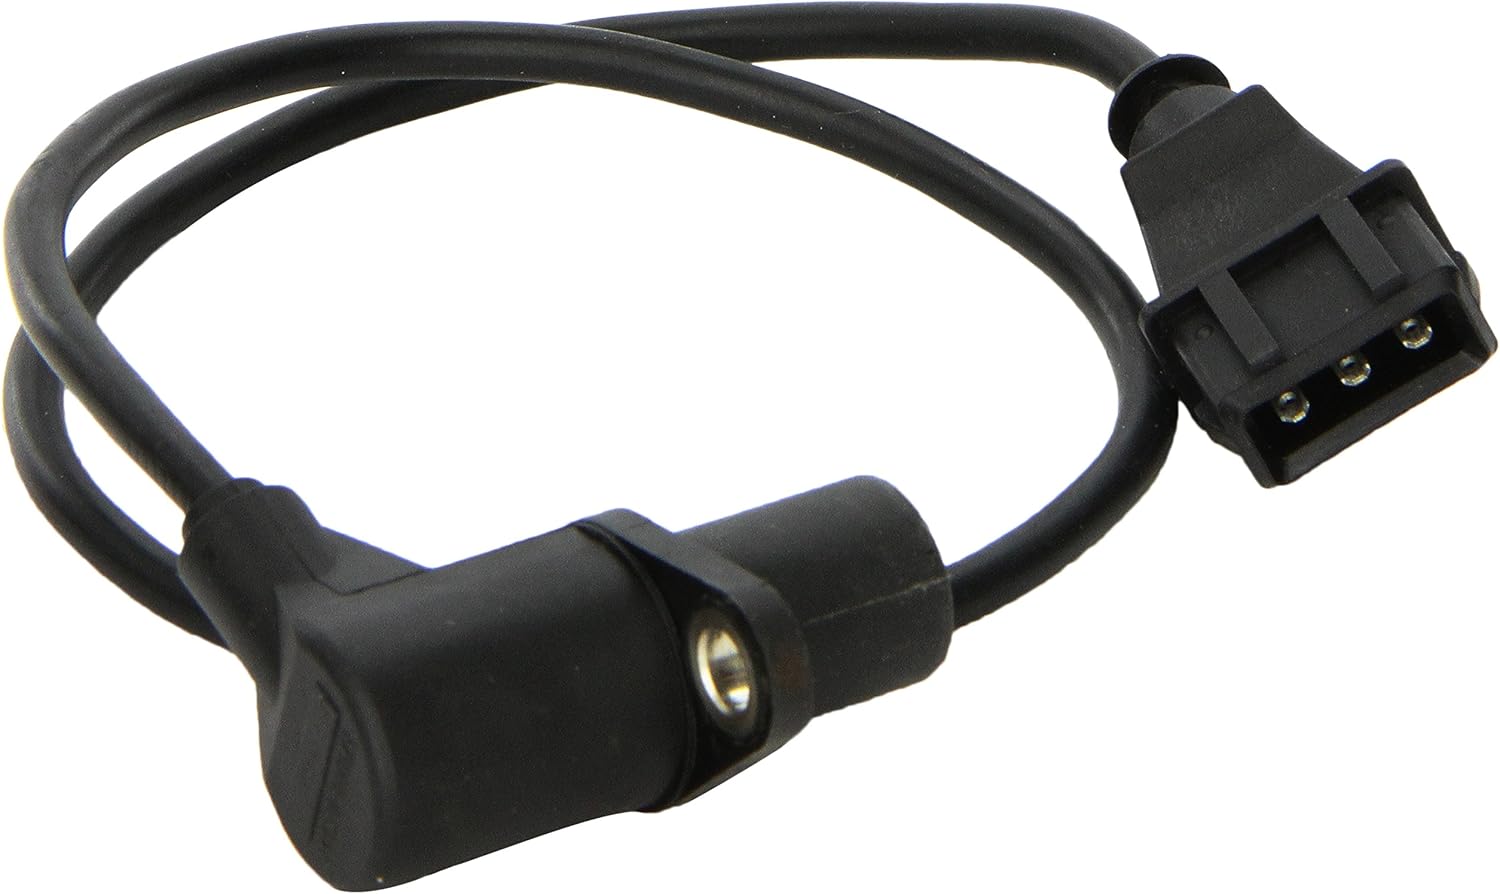
Figure 1: The Standard Motor Products PC365 Crankshaft Sensor. This image displays the sensor unit with its integrated wiring harness and three-pin electrical connector. The sensor body is black, and the connector is designed for a secure fit into the vehicle's wiring system.
5. Operating Principles
The Standard Motor Products PC365 Crankshaft Sensor operates by detecting the rotational speed and precise position of the engine's crankshaft. It typically uses a magnetic pickup or Hall effect principle to sense teeth or notches on a reluctor wheel attached to the crankshaft. As the crankshaft rotates, the sensor generates a series of electrical pulses. These pulses are sent to the ECU, which uses this information to determine engine RPM and crankshaft angle. This data is crucial for synchronizing ignition timing, fuel injection, and other engine management functions, ensuring optimal engine performance and efficiency.
6. Maintenance
Crankshaft position sensors are generally maintenance-free components. However, periodic inspection can help identify potential issues before they lead to failure.
- Visual Inspection: During routine vehicle maintenance, visually inspect the sensor and its wiring for any signs of physical damage, corrosion, or frayed insulation.
- Connection Integrity: Ensure the electrical connector is securely attached and free from dirt or moisture.
- Cleanliness: Keep the area around the sensor free from excessive dirt, debris, or oil buildup, which could potentially interfere with its operation.
7. Troubleshooting
A faulty crankshaft position sensor can cause various engine performance issues. If you suspect a problem, consider the following common symptoms and basic diagnostic steps:
- Engine Cranks but Does Not Start: A common symptom, as the ECU may not receive the necessary signal to initiate ignition or fuel injection.
- Rough Idle or Stalling: Inconsistent signals from the sensor can lead to erratic engine operation.
- Check Engine Light (CEL) Illumination: The ECU will often detect a fault and illuminate the CEL, storing a diagnostic trouble code (DTC).
- Intermittent Engine Misfires: Incorrect timing information can cause misfires.
Basic Diagnostic Steps:
- Check for DTCs: Use an OBD-II scanner to retrieve any stored diagnostic trouble codes. Codes related to crankshaft position (e.g., P0335) strongly indicate a sensor issue.
- Inspect Wiring and Connector: Visually check the sensor's wiring harness and connector for damage, corrosion, or loose connections.
- Sensor Resistance Test: If applicable to your vehicle and sensor type, a multimeter can be used to check the sensor's resistance against manufacturer specifications (consult vehicle repair manual).
- Professional Diagnosis: If basic checks do not resolve the issue, or if you are unsure, it is recommended to seek diagnosis from a qualified automotive technician.
8. Specifications
| Attribute | Value |
|---|---|
| Brand | Standard Motor Products |
| Model Number | PC365 |
| Item Dimensions (L x W x H) | 4 x 1.75 x 4.06 inches |
| Item Weight | 3.2 ounces |
| UPC | 091769558123 |
| Manufacturer Part Number | PC365 |
9. Warranty Information
Standard Motor Products offers a manufacturer's warranty on its products. For specific details regarding the warranty period, coverage, and claims process, please refer to the official Standard Motor Products website or contact their customer service directly. Keep your proof of purchase for warranty purposes.
10. Support
For further assistance, technical support, or inquiries regarding the Standard Motor Products PC365 Crankshaft Sensor, please contact Standard Motor Products customer service or visit their official website. You may find additional resources, FAQs, and contact information there.
Website: www.smpcorp.com (Example link, verify actual manufacturer website)