
1. Introduction
This manual provides essential information for the proper installation, operation, and maintenance of the Standard Motor Products TW11 Turn Signal Switch. This component is designed as a direct replacement part for specific vehicle applications, ensuring correct functionality of your vehicle's turn signals and hazard lights.
2. Product Features
- Vehicle Specific Fit: Engineered for precise fitment and function in compatible vehicles.
- Durable Construction: Manufactured to meet or exceed original equipment specifications.
- Reliable Operation: Ensures consistent ON-OFF switching for turn signals.
- Standard Electrical Connections: Features a plug-in connector type for straightforward integration.

Figure 2.1: Complete view of the TW11 Turn Signal Switch, including its integrated wiring harness and the blue multi-pin electrical connector designed for vehicle integration.
3. Safety Information
WARNING: This product may expose you to chemicals known to the State of California to cause cancer and birth defects or other reproductive harm. For more information, go to www.P65Warnings.ca.gov.
Always observe the following safety precautions when working with automotive electrical components:
- Disconnect the vehicle's battery before beginning any electrical work to prevent electrical shock or damage to components.
- Wear appropriate personal protective equipment, including safety glasses and gloves.
- Ensure the vehicle is stable and secured before working underneath or inside the dashboard.
- Refer to your vehicle's specific service manual for detailed instructions and wiring diagrams.
- If you are unsure about any installation step, consult a qualified automotive technician.
4. Installation
Installation of the TW11 Turn Signal Switch typically involves accessing the steering column or dashboard area where the original switch is located. Due to variations in vehicle models, specific steps may differ. It is highly recommended to consult your vehicle's service manual or seek professional installation.
General Installation Steps:
- Prepare the Vehicle: Park the vehicle on a level surface, engage the parking brake, and disconnect the negative terminal of the battery.
- Access the Switch: Carefully remove any necessary trim panels, steering column covers, or dashboard components to gain access to the existing turn signal switch.
- Disconnect Old Switch: Unplug the electrical connector(s) from the old switch and unfasten any mounting screws or clips holding it in place.
- Remove Old Switch: Carefully extract the old turn signal switch from its mounting location.
- Install New Switch: Position the new Standard Motor Products TW11 switch into the mounting location. Ensure it seats correctly.
- Secure New Switch: Fasten the new switch using the original screws or clips.
- Connect Wiring: Plug the vehicle's electrical harness into the new switch's connector. Ensure a secure connection.
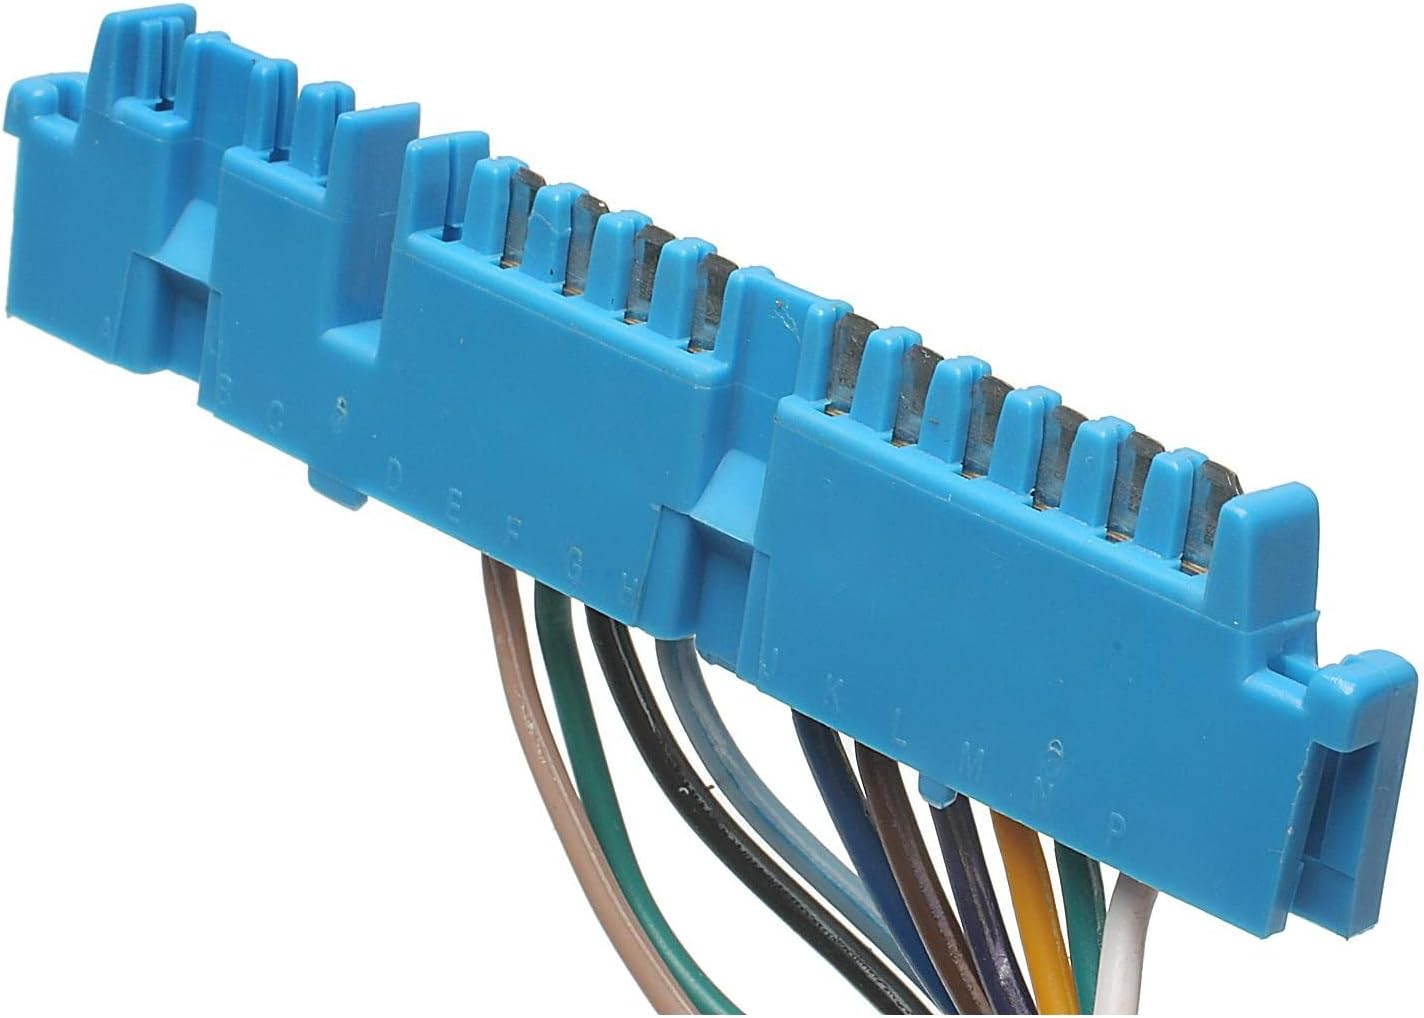
Figure 4.1: Detailed close-up of the blue electrical connector, highlighting the individual pin receptacles and the color-coded wires extending from the turn signal switch harness.
- Test Functionality: Reconnect the battery. Before reassembling trim, test the turn signals (left, right), hazard lights, and any other integrated functions of the switch to ensure proper operation.
- Reassemble: Once confirmed operational, reassemble all removed trim panels and covers.
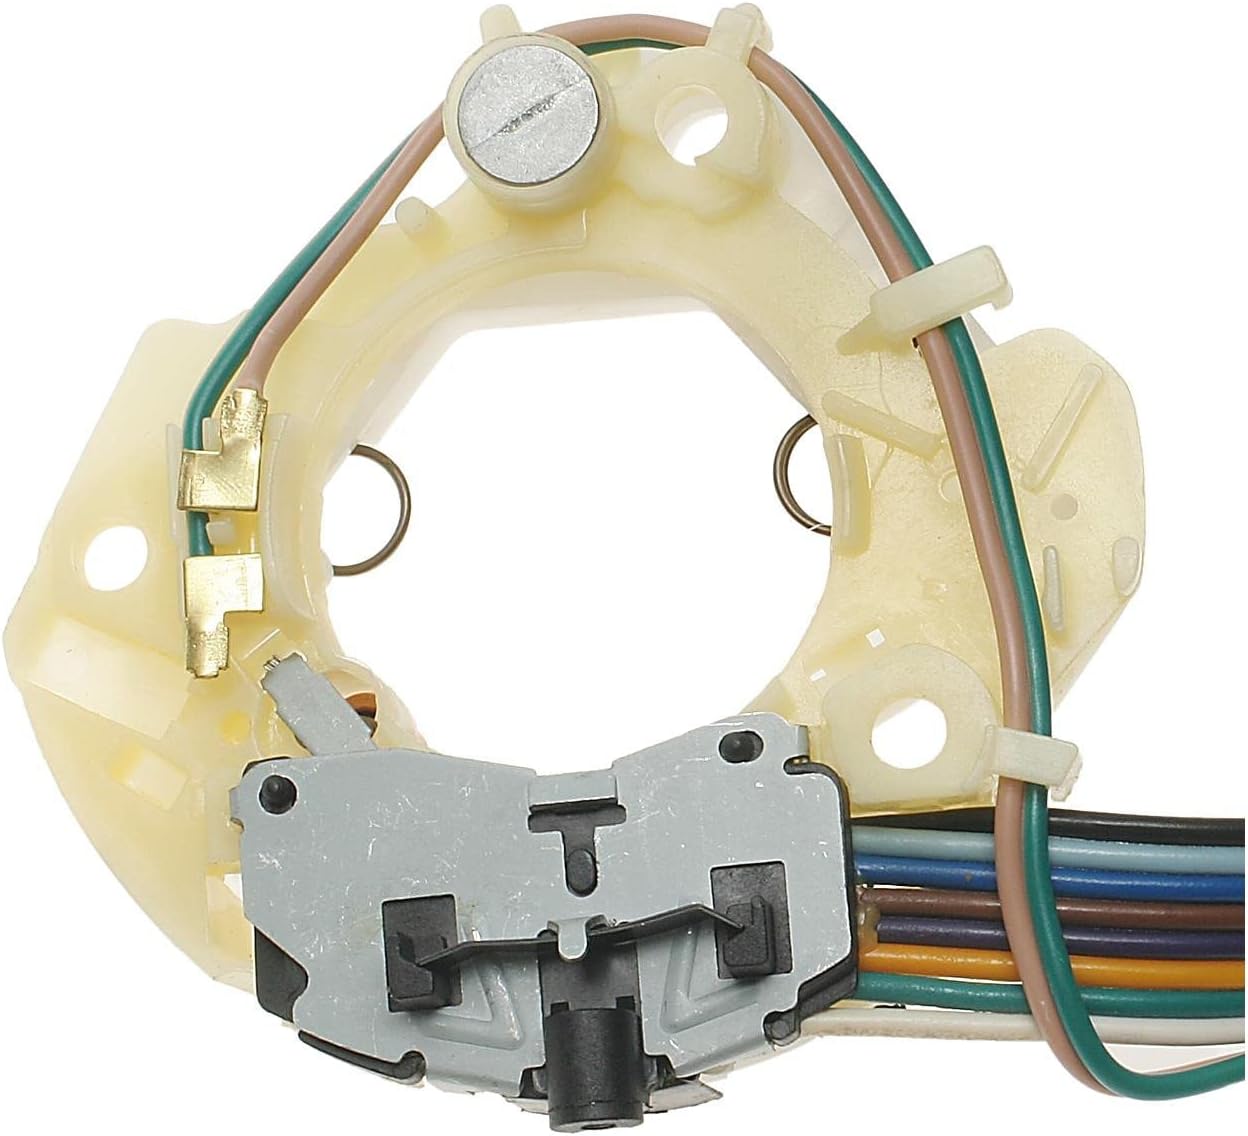
Figure 4.2: The main body of the Standard Motor Products TW11 Turn Signal Switch, showing its internal components and wiring connections from a top-down perspective.
5. Operation
The Standard Motor Products TW11 Turn Signal Switch functions as the primary control for your vehicle's turn signals and often the hazard warning lights. Its operation mode is ON-OFF, meaning it engages or disengages the respective lighting circuit.
- Turn Signals: Move the lever up for a right turn signal and down for a left turn signal. The lever typically returns to the center position after the turn is completed.
- Hazard Lights: Engage the hazard warning function by pressing a button or moving the lever to a specific position, as dictated by your vehicle's design. This activates all turn signals simultaneously.

Figure 5.1: An angled view into the internal mechanism of the turn signal switch, showing springs, contacts, and the plastic housing that facilitates its switching action.
6. Maintenance
The TW11 Turn Signal Switch is designed for long-term, maintenance-free operation. However, general vehicle maintenance practices can help ensure its longevity:
- Keep the surrounding area free from excessive dust and debris.
- Avoid spilling liquids on the switch or its electrical connections.
- If the switch becomes loose, ensure its mounting hardware is secure.
7. Troubleshooting
If you experience issues with your turn signals or hazard lights after installing the TW11 switch, consider the following:
- No Turn Signal Function: Check the vehicle's fuses related to the turn signal system. Ensure all electrical connections to the switch are secure. Verify that the vehicle's flasher relay is functioning correctly.
- Intermittent Operation: This could indicate a loose connection, a faulty flasher relay, or an issue with the vehicle's wiring harness. Recheck connections.
- One Side Not Working: Inspect the bulbs on the affected side. If bulbs are good, check wiring to those bulbs and the switch connections.
- Hazard Lights Not Working: Check the hazard light fuse and the flasher relay. Ensure the hazard switch mechanism is fully engaging.
For persistent issues, it is advisable to consult a professional automotive technician for diagnosis and repair.

Figure 7.1: A detailed close-up of a black pivot point or mounting bracket on the turn signal switch, indicating a structural or functional component that should be securely installed.
8. Specifications
| Specification | Value |
|---|---|
| Model | TW11 |
| Brand | Standard Motor Products |
| Operation Mode | ON-OFF |
| Current Rating | 20 Amps |
| Operating Voltage | 5 Volts |
| Contact Type | Normally Open |
| Connector Type | Plug In |
| Terminal | Solder |
| Mounting Type | Panel Mount |
| Item Dimensions (L x W x H) | 4 x 4 x 4 inches |
| Item Weight | 2 pounds |
| Manufacturer | Standard Motor Products |
| UPC | 091769089689 |
| Manufacturer Part Number | TW11 |
| Country of Origin | Taiwan |
| Fit Type | Vehicle Specific |
9. Warranty and Support
Standard Motor Products offers a limited warranty on its products, covering defects in material and workmanship under normal use and service. For specific warranty terms, conditions, and duration, please refer to the official Standard Motor Products warranty policy or contact their customer support directly.
For technical assistance, product inquiries, or warranty claims, please visit the official Standard Motor Products website or contact their customer service department. When contacting support, please have your product model (TW11) and purchase information readily available.