
1. Product Overview
The RIDGID 31622 Model 150 Constant Swing Tubing Cutter is engineered for precise cutting of various tubing materials, including copper, brass, and aluminum tubing, as well as thin-wall conduit. It is designed to accommodate tubing diameters ranging from 1/8 inch to 1-1/8 inch (3 mm to 28 mm).
Key features of this tubing cutter include:
- Enclosed Feed Screw: Designed to prevent clogging and jamming, ensuring smooth operation.
- Grooved Rollers: Facilitate close-to-flare cuts, enhancing versatility.
- Fold-Away Reamer: A convenient, integrated tool for deburring the inside of cut tubing.
- Ergonomic X-CEL Knob: Provides an improved grip for quick and easy adjustment and cutting.
- X-CEL Ball Detent Wheel Pin: Allows for rapid, tool-free replacement of the cutting wheel.
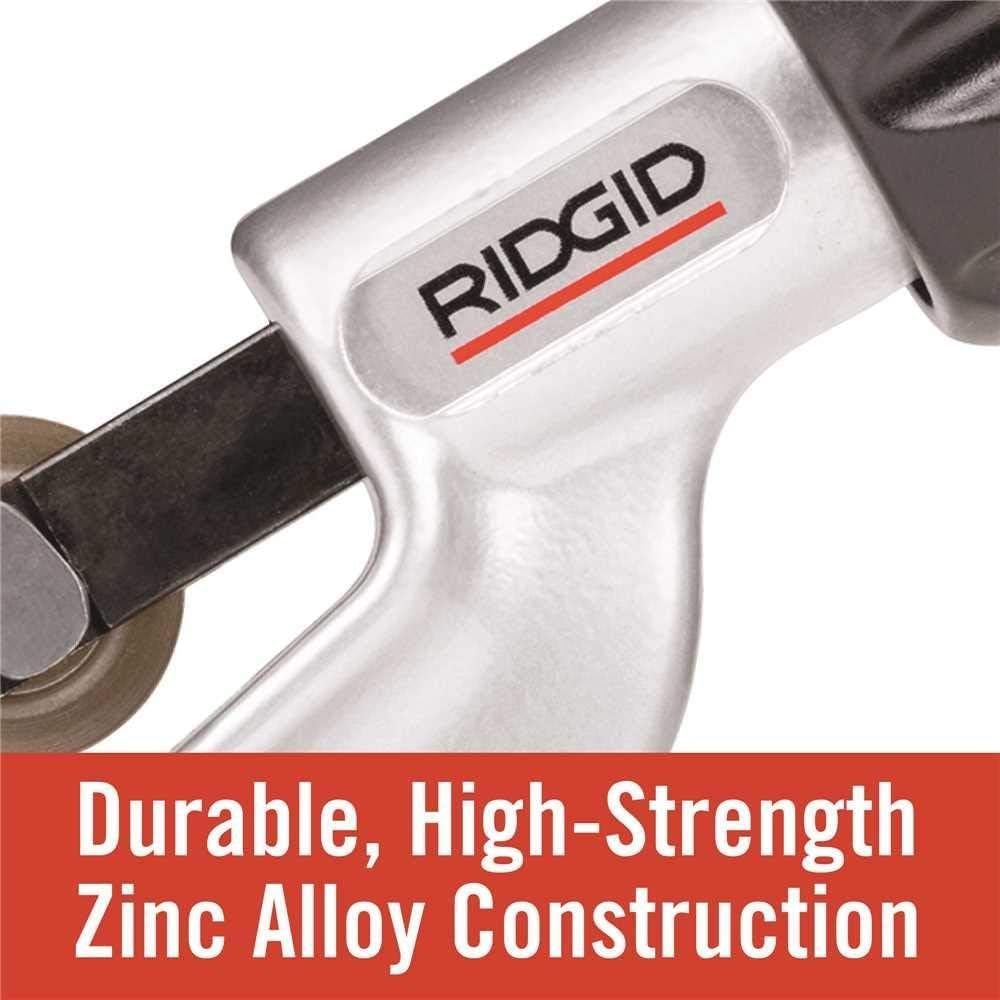
- Durable Construction: Manufactured from high-strength zinc alloy for extended tool life.
- Spare Cutting Wheel: A replacement cutting wheel is conveniently stored within the knob for maximum uptime.

2. Safety Information
Always adhere to standard safety practices when using hand tools. Failure to do so may result in injury or damage to the tool or workpiece.
- Personal Protective Equipment: Always wear appropriate personal protective equipment, such as safety glasses, to protect against flying debris.
- Workpiece Stability: Ensure the tubing or workpiece is securely held and stable before initiating any cutting operation.
- Hand Placement: Keep hands and fingers clear of the cutting wheel and other moving parts during operation.
- Read Instructions: Fully read and understand all instructions provided in this manual before operating the tool.
- Tool Condition: Do not use the tool if it is damaged or malfunctioning.
3. Components
Familiarize yourself with the main parts of your RIDGID 31622 Tubing Cutter:
- Cutting Wheel: The circular blade responsible for making the cut.
- X-CEL Knob: The large, textured knob used to advance and retract the cutting wheel.
- X-CEL Pin: A quick-release pin that secures the cutting wheel in place.
- Rollers: Two rollers that support the tubing and allow it to rotate smoothly during cutting.
- Enclosed Feed Screw: The internal mechanism that moves the cutting wheel, protected from debris.
- Fold-Away Reamer: A retractable blade used to remove burrs from the inside edge of cut tubing.


4. Setup
- Inspect the Tool: Before each use, visually inspect the cutting wheel for sharpness, chips, or any signs of damage. Ensure the rollers rotate freely and that all parts are clean and free of debris.
- Prepare the Tubing: Measure and mark the desired cut location on the tubing. Ensure the tubing surface is clean and free of any obstructions or burrs that could interfere with the cutting process.
5. Operating Instructions
Follow these steps for effective and clean tubing cuts:
- Position the Tubing: Rotate the X-CEL knob counter-clockwise to retract the cutting wheel sufficiently. Place the tubing between the cutting wheel and the two rollers.
- Engage the Cutter: Rotate the X-CEL knob clockwise until the cutting wheel makes light, firm contact with the tubing. Ensure the tubing is positioned squarely against the rollers and the cutting wheel to achieve a straight cut.
- Begin Cutting: Rotate the entire cutter around the tubing. After each full rotation of the cutter, apply a slight increase in pressure by turning the X-CEL knob clockwise approximately a quarter turn. Continue this process, rotating the cutter and gradually increasing pressure, until the tubing is completely severed. Avoid applying excessive pressure at once, as this can deform the tubing or damage the cutting wheel.
- Deburr the Tubing: Once the cut is complete, unfold the reamer from the cutter body. Insert the reamer into the end of the newly cut tubing and rotate it to remove any internal burrs. This ensures a smooth flow path and prevents potential damage to fittings.

6. Maintenance
6.1. Cleaning
After each use, wipe down the cutter with a clean, dry cloth to remove any metal shavings, dust, or debris. Pay particular attention to the cutting wheel and the area around the feed screw to prevent accumulation that could lead to jamming or reduced performance.
6.2. Cutting Wheel Replacement
A dull or damaged cutting wheel will result in poor cut quality, increased effort, and potential damage to the tubing. Replace the cutting wheel as follows:
- Locate the X-CEL pin on the cutter body, adjacent to the cutting wheel.
- Press the X-CEL pin to release the old cutting wheel. This design allows for tool-free removal.
- Carefully remove the old wheel.
- Retrieve the spare cutting wheel, which is conveniently stored inside the X-CEL knob.
- Insert the new cutting wheel into position and secure it by re-engaging the X-CEL pin until it clicks into place.

7. Troubleshooting
- Uneven or Jagged Cuts:
- Ensure the cutting wheel is sharp and free from damage. Verify that the tubing is held securely and rotated evenly throughout the cutting process. Apply consistent, light pressure rather than heavy, intermittent force.
- Cutter Jams or Becomes Difficult to Turn:
- Check for any metal shavings or debris that may have accumulated in the enclosed feed screw mechanism. Clean the tool thoroughly. Confirm that the tubing diameter is within the specified range of the cutter (1/8 inch to 1-1/8 inch).
- Difficulty Rotating the Cutter Around the Tubing:
- The cutting wheel may be dull and require replacement. Alternatively, too much pressure might be applied per rotation. Reduce the amount of pressure applied with each turn of the X-CEL knob.
8. Specifications
| Feature | Detail |
|---|---|
| Model Number | 31622 |
| Capacity | 1/8 inch to 1-1/8 inch (3 mm to 28 mm) |
| Material Compatibility | Copper, Brass, Aluminum Tubing, Thin-Wall Conduit |
| Construction Material | Zinc Alloy |
| Item Weight | 12 ounces |
| Product Dimensions | 7.5 x 3.5 x 1.5 inches |
| Power Source | Hand Powered |
| Color | Silver/Black |
9. Warranty and Support
9.1. Warranty Information
RIDGID provides a lifetime warranty against defects in material or workmanship for the life of the tool. This warranty ensures that your tool is free from manufacturing defects under normal use and service. For complete details regarding warranty terms, conditions, and limitations, please refer to the official RIDGID warranty documentation or contact customer support.
9.2. Customer Support
For further assistance, technical support, inquiries about replacement parts, or any other product-related questions, please visit the official RIDGID website or contact their customer service department directly.
Official RIDGID Website: www.ridgid.com