
1. Introduction
This manual provides essential information for the safe and efficient operation of your Euro-Pro 1100 Dressmaker II Sewing Center. Please read all instructions carefully before using the machine to ensure proper setup and function.
The Euro-Pro 1100 is a compact sewing machine designed for a range of sewing tasks, from delicate silks to rugged denim. It features adjustable stitch control, two sewing speeds, and a built-in light for improved visibility.
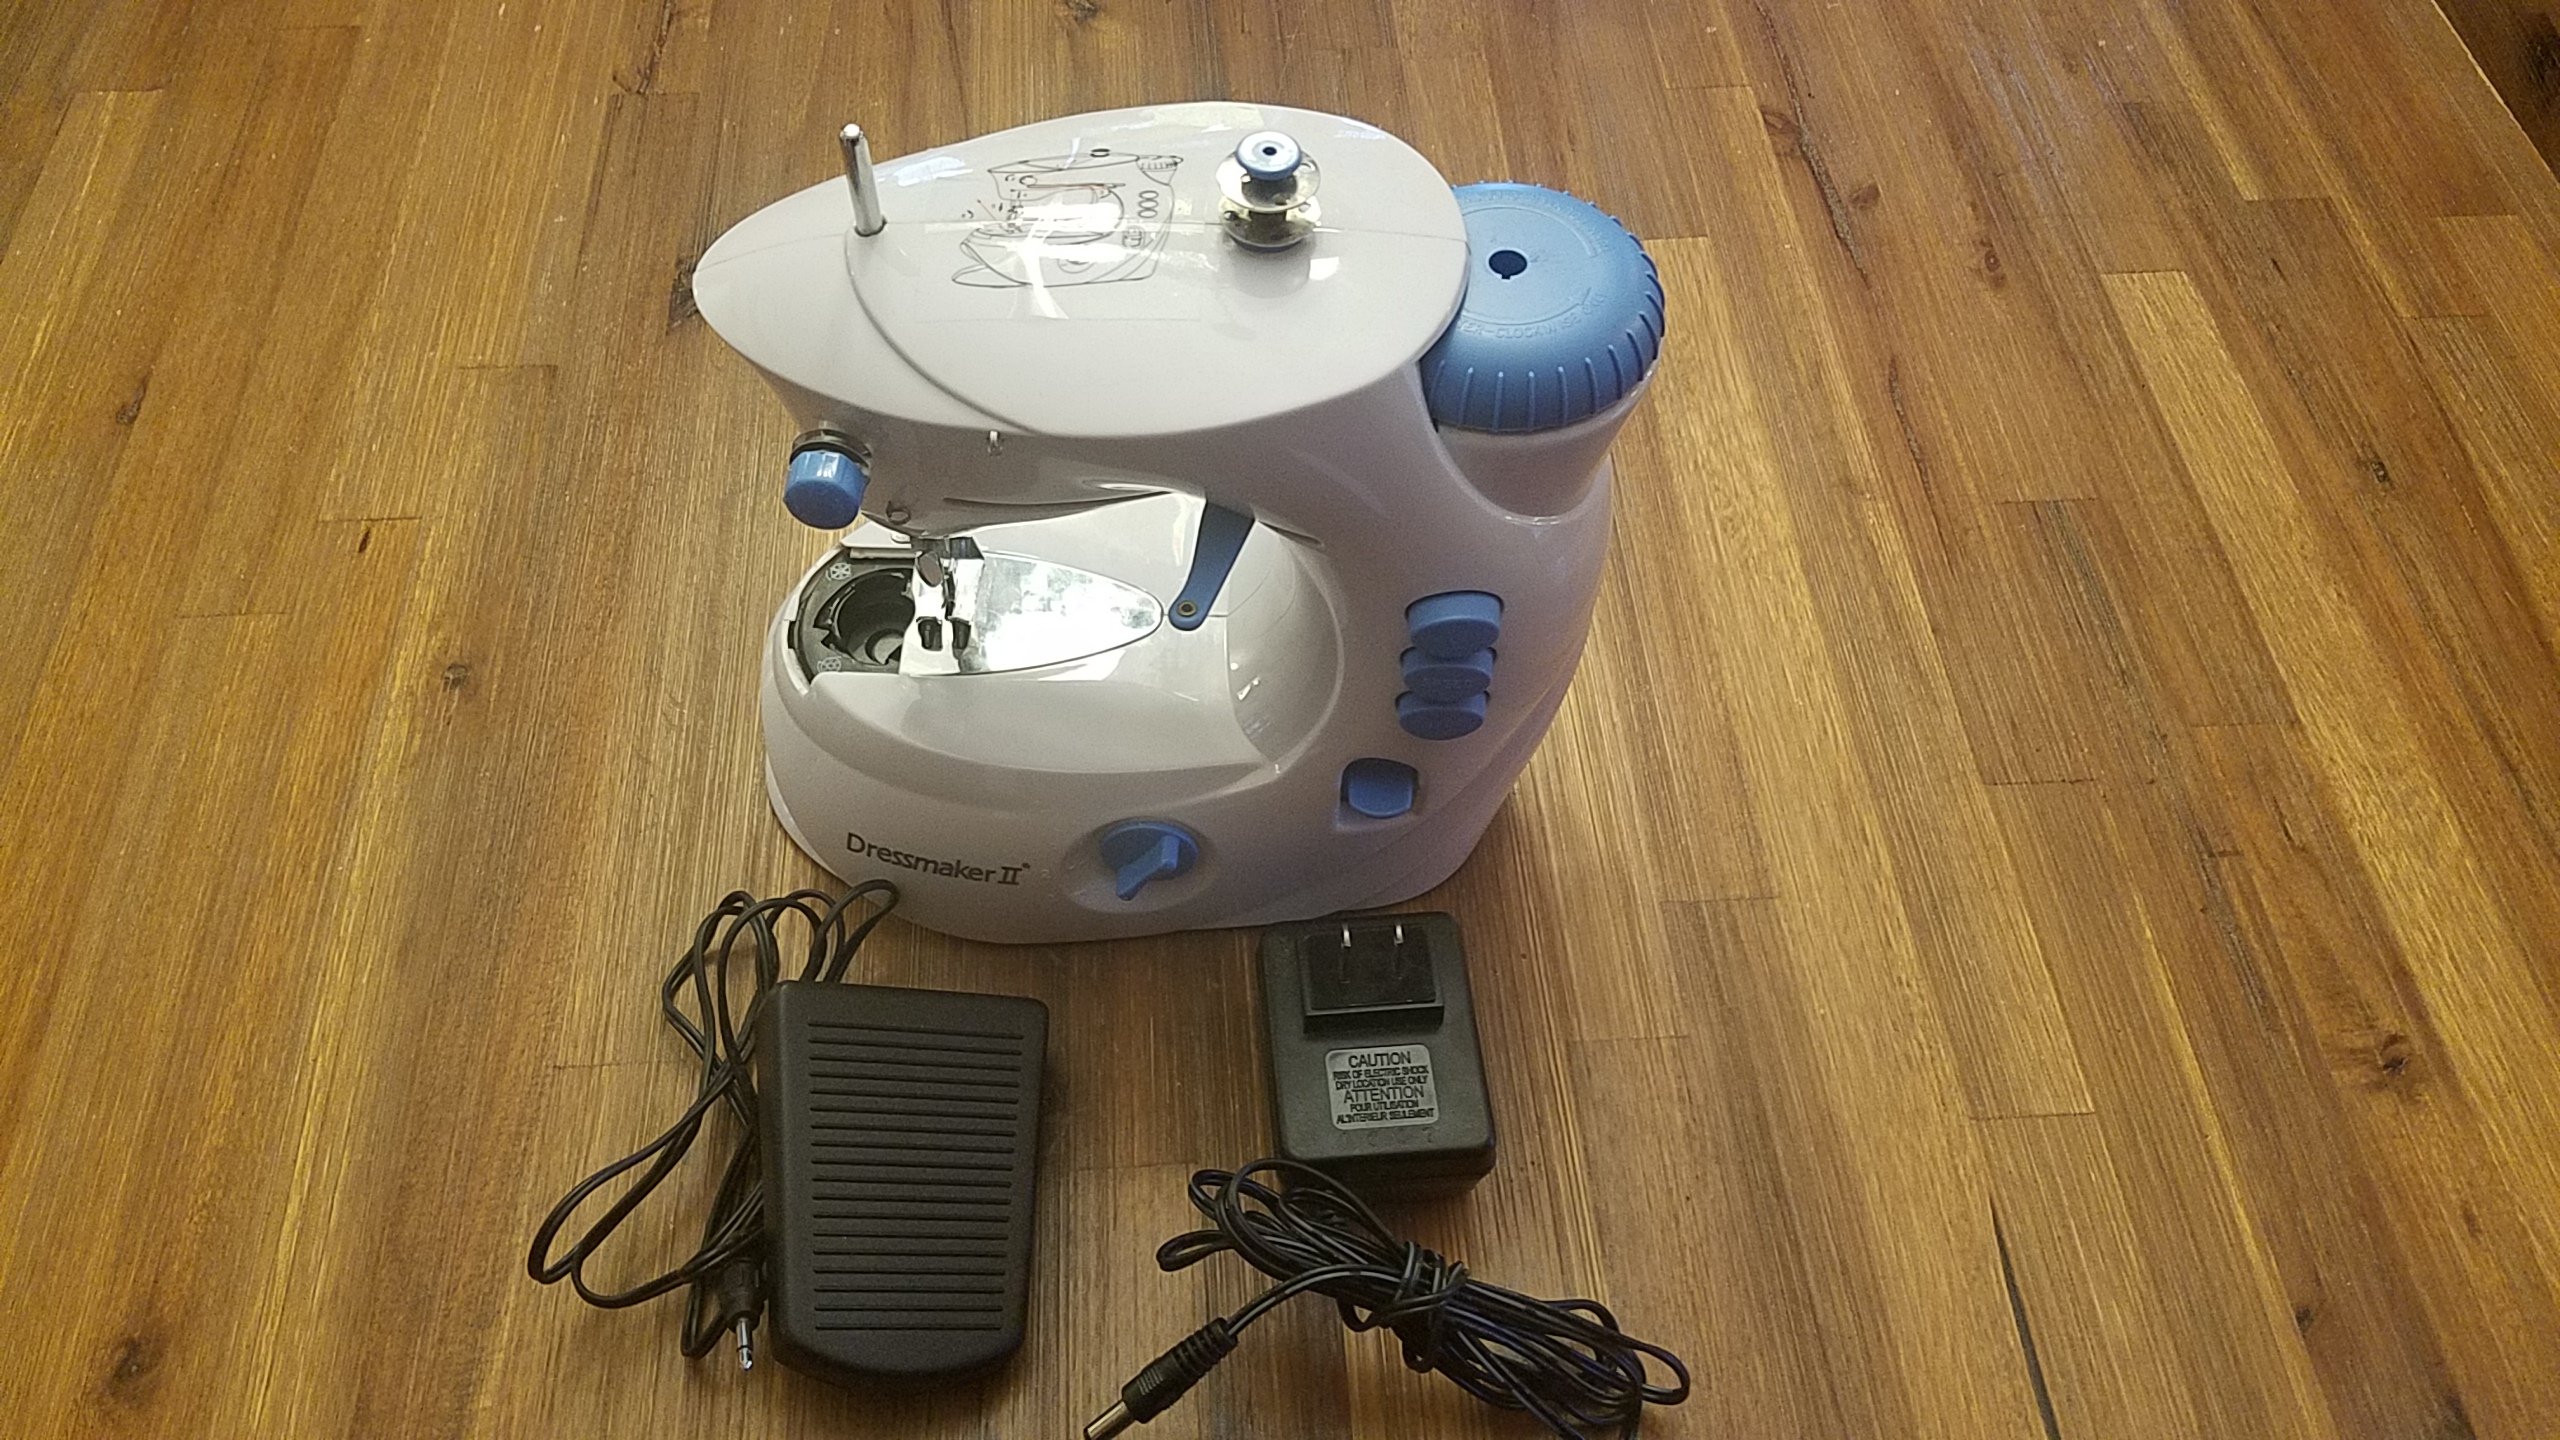
Figure 1: Euro-Pro 1100 Dressmaker II Sewing Center. This image shows the compact white sewing machine from a front-side angle, highlighting its main body, needle area, and control knobs.
2. Safety Instructions
Always follow basic safety precautions when using electrical appliances to reduce the risk of fire, electric shock, or injury.
- Read all instructions before using the sewing machine.
- Keep fingers away from the needle, handwheel, and all moving parts.
- Always unplug the machine from the electrical outlet when removing covers, lubricating, or when making any adjustments mentioned in this instruction manual.
- Do not operate the machine if it has a damaged cord or plug, if it is not working properly, or if it has been dropped or damaged.
- Never drop or insert any object into any opening.
- Do not use outdoors.
- Do not operate where aerosol (spray) products are being used or where oxygen is being administered.
3. Package Contents
Your Euro-Pro 1100 Dressmaker II Sewing Center package includes the following items:
- Euro-Pro 1100 Sewing Machine
- AC/DC Power Adapter
- 100-piece Accessory Kit, including:
- 10 Spools of Thread
- 32 Threaded Bobbins
- 30 Needles
- 1 Thimble
- 1 Threader
- 1 Pair of Scissors
- 1 Measuring Tape
- 1 Seam Ripper
- 12 Assorted Buttons
- 10 Colorful Headpins
- 1 Convenient Storage Bag
4. Setup
4.1 Powering the Machine
The Euro-Pro 1100 can be powered by either the provided AC/DC adapter or four AA batteries (not included).
- Using the AC/DC Adapter: Insert the small plug of the adapter into the DC input jack on the side of the sewing machine. Plug the other end into a standard electrical outlet.
- Using Batteries: Open the battery compartment cover on the bottom of the machine. Insert four AA batteries, ensuring correct polarity (+/-). Close the cover securely.
Note: Disconnect the AC/DC adapter when using batteries, and remove batteries when using the AC/DC adapter or when the machine will not be used for an extended period.
4.2 Threading the Machine
Your machine comes pre-threaded for immediate use. If re-threading is required, follow these general steps:
- Place a spool of thread on the spool pin.
- Guide the thread through the upper thread guide.
- Pass the thread through the tension control knob.
- Thread the needle from front to back.
Tip: Refer to the diagrams on the machine itself for specific threading paths, if available.
4.3 Installing the Bobbin
The machine uses a drop-in bobbin system. Ensure the bobbin is wound correctly before installation.
- Open the bobbin cover plate.
- Insert the wound bobbin into the bobbin case, ensuring the thread unwinds in the correct direction (usually counter-clockwise).
- Pull the bobbin thread through the tension spring slot.
- Close the bobbin cover plate.
5. Operating Instructions
5.1 Stitch Control
The Euro-Pro 1100 offers control over stitch appearance:
- Thread-Tension Knob: Adjust this knob to achieve balanced stitches. Turn clockwise to increase tension, counter-clockwise to decrease. Test on scrap fabric.
- Stitch-Length Dial: Select from three positions to adjust the length of your stitches. Experiment with different settings for various fabric types and desired stitch effects.
5.2 Sewing Speeds
Choose between two sewing speeds:
- Normal Speed: Suitable for general sewing and beginners.
- High Speed: For faster sewing on longer seams or when more experience is gained.
The speed selection switch is typically located on the machine's body.
5.3 Reverse Sewing
To secure stitches at the beginning and end of a seam, use the reverse sewing function. Press and hold the reverse lever or button (location varies by model) to sew backward. Release to resume forward sewing.
5.4 Built-in Sewing Light
The integrated sewing light illuminates the needle area, providing better visibility for detailed work and in low-light conditions. This light typically activates when the machine is powered on.
5.5 Fabric Compatibility
The Euro-Pro 1100 is designed to handle a wide range of fabrics, from delicate materials like silk to heavier fabrics such as denim. Always test stitch settings on a scrap piece of your chosen fabric before beginning your project.
6. Maintenance
6.1 Cleaning
Regular cleaning helps maintain your machine's performance:
- Dust and Lint: Use a small brush to remove lint and dust from the bobbin area and feed dogs. Always unplug the machine before cleaning.
- Exterior: Wipe the exterior surfaces with a soft, dry cloth. Do not use harsh chemicals or abrasive cleaners.
6.2 Needle Replacement
Dull or bent needles can cause skipped stitches or fabric damage. Replace needles regularly, especially when starting a new project or if you notice issues. Ensure the flat side of the needle faces the back of the machine when inserting.
7. Troubleshooting
If you encounter issues with your sewing machine, refer to the following common problems and solutions:
| Problem | Possible Cause | Solution |
|---|---|---|
| Machine not powering on | Power adapter not connected, batteries depleted/incorrectly inserted. | Check AC/DC adapter connection; replace batteries or ensure correct polarity. |
| Skipped stitches | Dull or bent needle, incorrect needle for fabric, improper threading. | Replace needle, ensure correct needle type, re-thread machine carefully. |
| Thread tangling (especially bobbin) | Incorrect bobbin installation, improper tension, lint in bobbin area. | Re-install bobbin correctly, adjust thread tension, clean bobbin area. |
| Uneven stitches | Incorrect thread tension, improper threading. | Adjust thread tension knob, re-thread both upper and bobbin threads. |
8. Specifications
- Brand: Euro-Pro (also known as Shark)
- Model Number: 1100
- Product Dimensions (D x W x H): 4" x 7.5" x 7"
- Item Weight: 4.25 Pounds
- Power Source: Battery Powered (4 AA batteries, not included) and AC Adapter (included)
- Color: White
- UPC: 622356518383
9. Warranty and Support
The Euro-Pro 1100 Dressmaker II Sewing Center comes with a 1-year limited warranty. For warranty claims or technical support, please refer to the contact information provided with your purchase documentation or visit the manufacturer's official website.
Keep your purchase receipt as proof of purchase for warranty purposes.