
1. Product Overview
The Estes 2244 3/16-Inch Two-Piece “Maxi” Launch Rod is an essential accessory designed for launching larger model rockets. This robust two-piece rod provides the necessary strength and length to ensure stable and successful launches for heavier rockets. It integrates with your launch pad system, guiding the rocket during its initial ascent to maintain a straight trajectory. This launch rod is compatible with rockets powered by C11, D, and E Engines, making it suitable for hobbyists, beginners, and educational demonstrations.
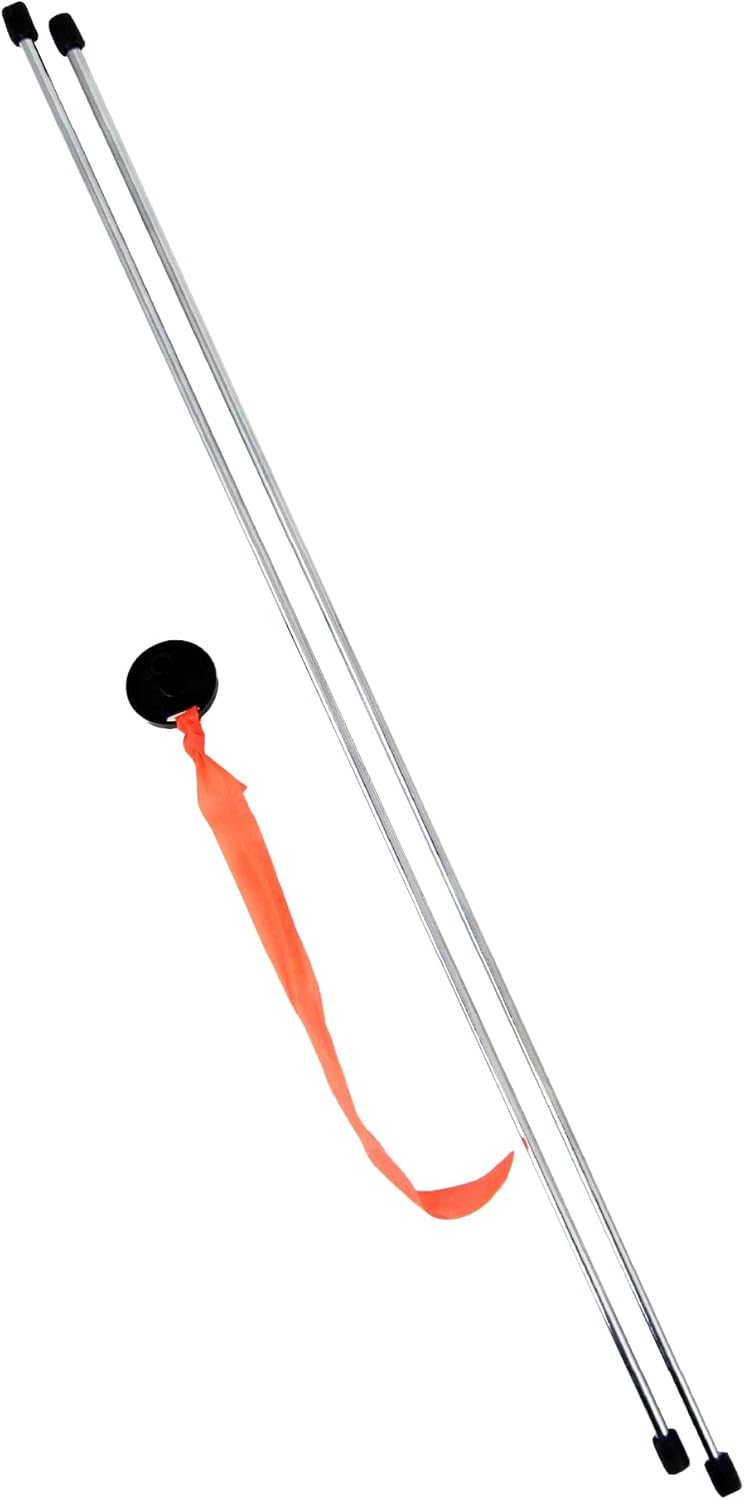
This image displays the Estes 2244 3/16-Inch Two-Piece Maxi Launch Rod, consisting of two metallic rod segments and a black cap with an attached orange streamer, which serves as a visual indicator during use.
2. What's Included
Your Estes 2244 3/16-Inch Two-Piece “Maxi” Launch Rod package includes:
- One (1) Estes 2244 3/16-Inch Two-Piece Maxi Launch Rod
- One (1) Alignment Tool (often integrated or implied with the rod/cap)
- Instruction Sheet

This graphic illustrates the components included in the package: the two-piece 3/16-inch launch rod, an alignment tool, and the product's instruction manual.
3. Setup and Assembly
The Estes 2244 Maxi Launch Rod is designed for straightforward assembly. It consists of two pieces that connect to form the full length rod. Ensure the connection is secure before use.
To assemble, simply connect the two rod segments firmly. The rod is then inserted into the designated slot on your compatible Estes launch pad (e.g., 2215 Porta-Pad II or 2238 Porta-Pad E, sold separately).

This image shows a close-up of a hand connecting the two segments of the launch rod, demonstrating the simple assembly process.
4. Operating Instructions
The launch rod is crucial for aligning your model rocket and ensuring a stable initial ascent. Follow these steps for proper operation:
- Prepare Your Launch Pad: Securely insert the assembled 3/16-inch Maxi Launch Rod into the launch rod holder of your compatible Estes launch pad (such as the Porta-Pad II or Porta-Pad E). Ensure the launch pad is stable and on a level surface in an open area.
- Prepare Your Rocket: Ensure your rocket is properly assembled and equipped with the correct engine (C11, D, or E Engines are compatible with this rod). Align the launch lugs on your rocket with the launch rod and carefully slide the rocket down the rod until it rests on the launch pad.
- Safety Check: Always adhere to the NAR (National Association of Rocketry) model-rocket safety code. Ensure all spectators are at least 15 feet away from the launch pad.
- Connect Launch Controller: Connect the clips from your launch controller's lead cable to the starter wires on your rocket's engine.
- Initiate Launch: Insert the safety key into the launch controller. Announce your countdown clearly, and then press the launch button to ignite the engine and launch your rocket.

This image depicts a model rocket positioned on a launch pad, with the Estes Maxi Launch Rod providing vertical guidance, illustrating the setup just before launch.
5. Safety Information
SAFETY FIRST, FUN ALWAYS: Our rockets and rocket launch accessories are designed to be used with the NAR (National Association of Rocketry) model-rocket safety code. Always ensure you have an appropriate launch site, stand back at least 15 ft., insert the safety key, issue a countdown, and then you can let your rocket fly!
Never attempt to launch a damaged rod or rocket. Always supervise children during rocket activities. Do not modify the launch rod or use it for purposes other than its intended design.
6. Maintenance
The Estes 2244 Maxi Launch Rod requires minimal maintenance. After each use, wipe down the rod with a clean, dry cloth to remove any residue or debris. Store the rod in a dry place to prevent rust or corrosion. Inspect the rod regularly for any signs of bending, damage, or wear. If the rod becomes bent or significantly damaged, it should be replaced to ensure safe and stable launches.
7. Troubleshooting
This section addresses common issues you might encounter with your Estes 2244 Maxi Launch Rod.
| Problem | Possible Cause | Solution |
|---|---|---|
| Rocket does not slide smoothly on the rod. | Rod is dirty or bent; launch lugs on rocket are misaligned or damaged. | Clean the rod. Check for bends and replace if necessary. Inspect rocket's launch lugs for damage or misalignment. |
| Rod feels loose in the launch pad. | Launch pad rod holder is worn or damaged; rod is not fully inserted. | Ensure the rod is fully inserted. Inspect the launch pad's rod holder for wear and replace the pad if it cannot securely hold the rod. |
| Rocket veers off course immediately after launch. | Rod not straight; launch pad unstable; rocket not properly aligned on rod. | Ensure the rod is perfectly straight and replace if bent. Verify the launch pad is stable and level. Double-check that the rocket's launch lugs are correctly seated on the rod. |
8. Specifications
- Product Dimensions: 19.3 x 2.3 x 1 inches
- Item Weight: 4.5 ounces
- Item Model Number: 302244
- Manufacturer Recommended Age: 10 years and up
- Country of Origin: China
- Compatibility: Designed for use with Estes Porta-Pad II (2215) or Porta-Pad E (2238) launch pads. Compatible with rockets using C11, D, and E Engines.
9. Warranty and Support
For warranty information or technical support, please refer to the official Estes website or contact Estes customer service directly. Contact details are typically found on the product packaging or the manufacturer's official website.