
Product Overview
Gila Static Cling 20% VLT Automotive Window Tint is engineered to enhance your vehicle's appearance and functionality. This film blocks 80% of visible light, providing a sleek aesthetic, reducing glare, and increasing privacy. Its static cling material is designed for straightforward DIY installation and can be easily removed or repositioned without leaving residue, making it reusable on other vehicles.
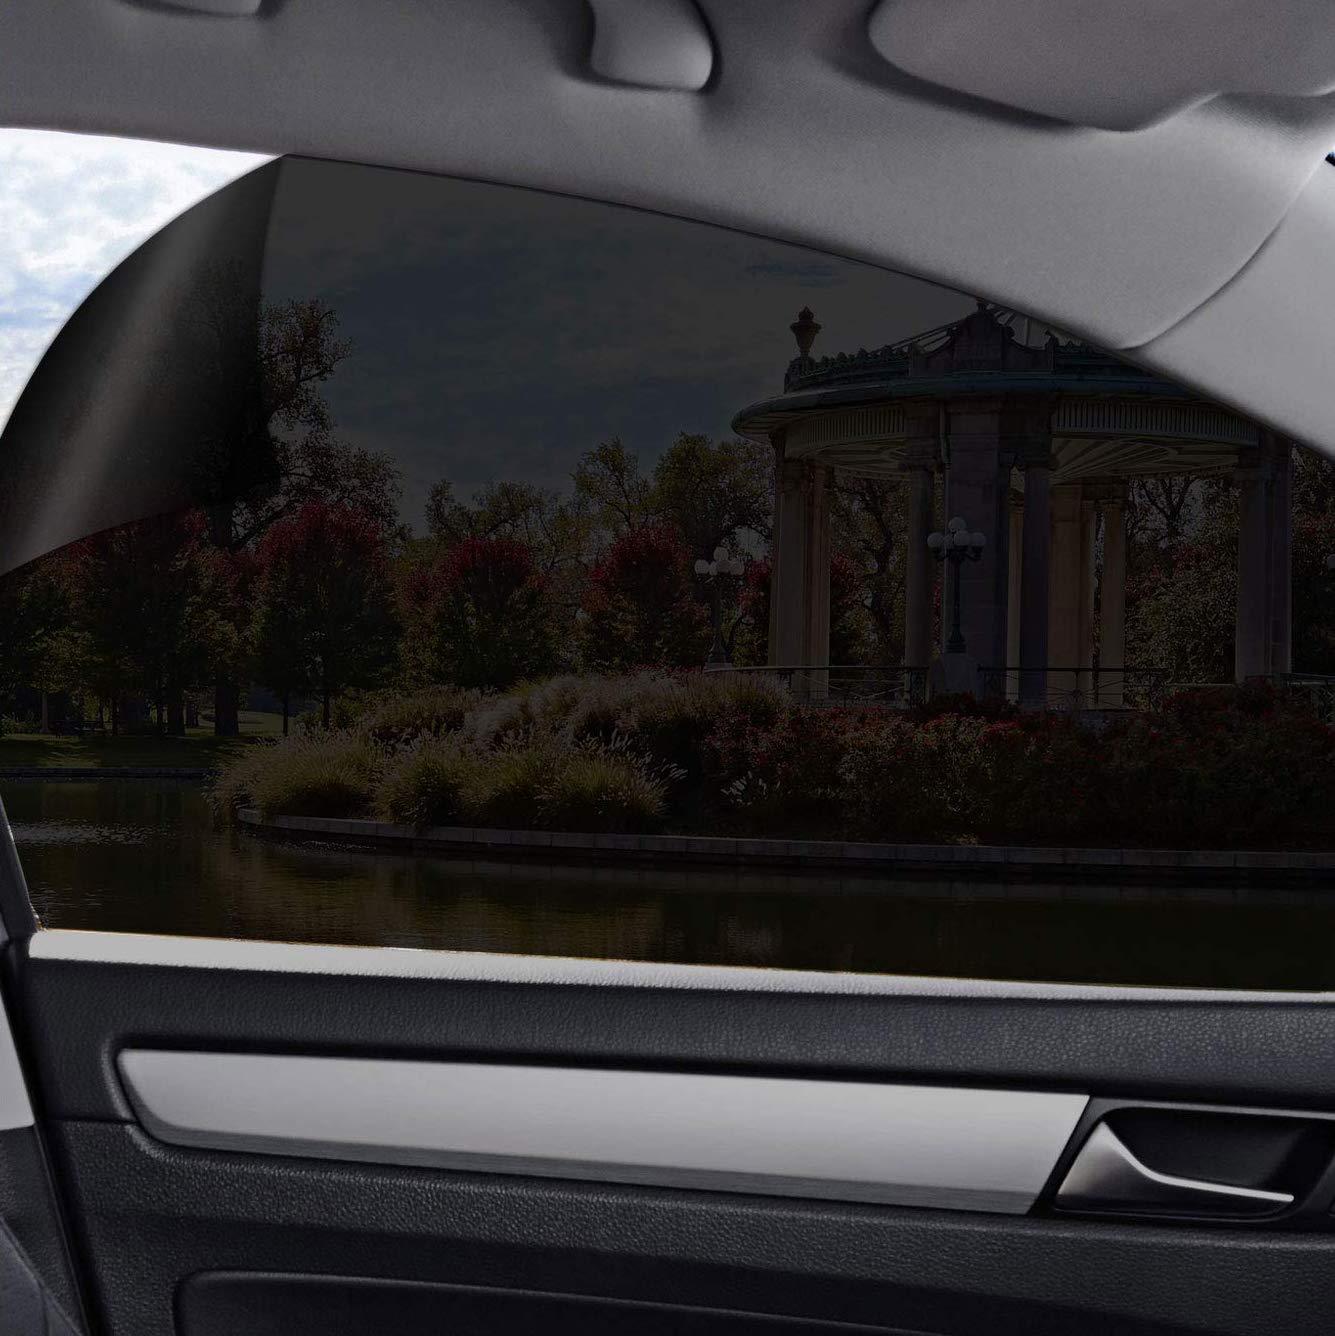
Image: Gila Static Cling 20% VLT Automotive Window Tint applied to a vehicle window, showcasing its dark appearance.
Important Considerations Before Installation
- Check State Tint Laws: Before beginning installation, verify and comply with your local and state tint laws regarding window film darkness and reflectivity.
- Installation Environment: Always apply window film in a shaded, well-lit, and dust-free area to prevent contamination and ensure optimal adhesion.
- Temperature Range: For best results, apply the film when the ambient temperature is between 40°F (4°C) and 98°F (37°C) for at least three days.
- Avoid Ammonia Cleaners: Do not clean glass with ammonia-based or household glass cleaners before applying film, as these can interfere with adhesion.
- Not for Residential Thermal Windows: This automotive film is not designed for and should not be applied to residential thermal pane windows.
Tools Required
Ensure you have the following tools for a successful installation:

Image: Essential tools for window tint installation, including application solution, squeegee, and razor knife.
- Gila Application Solution: Recommended for use throughout the application and cleaning process.
- Low-Lint Cloth: Essential for cleaning and drying to prevent contamination.
- Razor Knife with Breakaway Blades: Used for film trimming. Change blades after each window for optimal sharpness.
- 3-in-1 Squeegee: Features a soft rubber edge for cleaning and squeegeeing, a hard edge for tucking film under gaskets, and an angled corner for reaching tight spaces.
- Transparent Tape: Used to separate the film from its clear liner.
- Plastic Scrubber: For removing stubborn debris during cleaning.
Installation Instructions
Part 1: Preparation
- Clean the Exterior: Thoroughly clean the outside of the window with application solution and a low-lint cloth or squeegee. This surface will serve as your pattern.
- Identify the Liner Side: Rub a small corner of the film against itself. The sticky side is the film, and the slick side is the clear protective liner.
- Wet the Exterior: Generously spray the outside of the window with application solution.
- Roll Out Film: With the liner side facing out, carefully roll the film onto the wet exterior glass.
- Trim Away Excess: Using a sharp razor knife, trim the excess film, leaving a slight overhang around the window edges.
- Level Bottom Edge: Position the film so its straight bottom edge extends approximately 1/4 to 1/2 inch below the top of the inside gasket.
- Lock Film in Place: Gently stroke the film downward with the soft rubber edge of the squeegee to temporarily hold it in place for further trimming.
Part 2: Applying Film to Side Windows
- Trim Vertical Edges: With a sharp blade, trim the vertical edges of the film first. Press the knife gently at a low angle, using only enough force to cut through the film. Always tear excess film away from you.
- Lower Window for Top Trim: Open the door and gently lift the film from the bottom of the glass. Reach inside and roll the window down about 2 inches.
- Trim with Glass as Guide: Using the top of the window as your blade's guide, trim the film precisely to the edge of the glass.
- Round the Corners: Carefully use your finger as a trim guide to round out any ragged corners.
- Clean the Interior Surface: Spray the inside of the window generously with application solution. Use a plastic scrubby or low-lint cloth to clean the window thoroughly. Remember, any dirt left behind will cause bubbles. Wipe down all gaskets where dirt may be trapped.
- Remove the Liner: Use two pieces of transparent tape to remove the clear liner protecting the adhesive. Place half of one tape piece on the film and the other half extending over the corner edge. Do the same with the second tape piece on the liner. Press them firmly together, then quickly peel them apart to expose the adhesive. While removing the liner, spray the newly exposed adhesive thoroughly with application solution to reduce static electricity and contamination.
- Apply the Film: Spray the inside of the window generously with application solution. Carefully lift the film from the outside of the glass and place the wet adhesive against the wet interior glass. Before positioning, fold up the bottom edge of the film so the adhesive does not touch the door and pick up dirt. Slide the film into place, leaving about a 1/8 to 1/4 inch gap at the top on roll-up windows.
- Squeegee the Film: Spray the outside of the film with solution. Using the soft rubber edge of the squeegee, press the top of the film firmly to the glass. Remove all water from under the film by stroking downward. Roll up the window. To ensure the bottom of the glass is clean, respray with application solution and squeegee. Wet the window again, then unfold the film down onto the glass. Slip the bottom of the film under the gasket. Using the hard angled edge of the squeegee, pull back the gasket so the film slides easily behind it. With your fingers and the squeegee as guides, run the film under the gasket completely, being careful not to crease it. Once the film is tucked under the gasket, squeegee firmly downward until all water is pushed out from under the film. Push any remaining bubbles to the nearest edge. Wrap a low-lint cloth around the hard edge of the squeegee and firmly push water down to the nearest edge; the cloth will absorb excess solution. Wipe up any solution left on the upholstery.
Part 3: Tinting Rear Windows (Using Strips)
Rear windows, especially on passenger cars, are often curved from both side-to-side and top-to-bottom. Film cannot conform to these compound curves in one piece. We recommend using the Gila Rear Window Kit (sold separately) or applying the film in strips.
- Clean Windows: Clean the inside and outside of the rear window as you did with the side windows. Use a plastic scrubby to remove stubborn debris.
- Prepare Film Strips (Exterior): The film strips will be prepared on the outside of the window. Wet the top of the window with application solution. Starting at the left side, roll the first strip across the top of the glass, under the dot matrix pattern, with the liner side facing out. Trim the right edge with a sharp blade. Squeegee the strip into place, then trim the left edge.
- Repeat for Additional Strips: Spray the window again in preparation for the next strip. Overlap the next strip 1/32 to 1/8 of an inch in the center. Repeat the lay-down and trimming sequence until you have three strips prepared on the glass. The final strips will be done after the first three are applied.
- Apply Film Strips (Interior): Move to the inside of the vehicle. Remove the liner from the first 8 to 10 inches of the film strip, wetting the adhesive as you go. Spray the top of the window in preparation for applying the strip. Apply the strip to the window, moving from left to right, removing the liner as you work across the glass. Using the soft rubber edge of the squeegee, squeegee the water from under the film. Repeat these steps with each film strip, overlapping the strips slightly at the sides, depending on the curvature of the glass.
- Trim Around Brake Light: Place a fluorescent shop light in the rear window to illuminate the brake light area. Trim the film around the edge of the brake light. Never obstruct the brake light with film. Apply the film to the inside as with previous strips.
Official Installation Videos
Gila Automotive-Installation Instructions
Video: A comprehensive guide to installing Gila Automotive Window Film, covering all necessary steps from preparation to final squeegeeing.
GILA - How To Tint a Sedan Side Window
Video: Step-by-step instructions specifically for tinting a sedan side window with Gila film, demonstrating techniques for a smooth application.
Product Specifications
| Material | Plastic |
| Brand | Gila |
| Color | 20% Limo Black |
| Size | 24" x 6' (2ft x 6ft) |
| Product Dimensions | 78"L x 24"W |
| Installation Type | Static Cling |
| Ultraviolet Light Protection | Yes |
| Number of Items | 1 |
| Model Number | JS246 |
| Unit Count | 12 Square Feet |
Warranty Information
This Gila Static Cling Automotive Window Tint comes with a 2-year limited warranty from the manufacturer, CPFilms, Inc. Please retain your proof of purchase for warranty claims.
Support
For additional assistance, troubleshooting tips, or any questions regarding your Gila Automotive Window Film, please visit the official Gila Films website or contact consumer support.
- Website: www.gilafilms.com
- Consumer Service Hotline: 1-800-528-4481


