
1. Introduction
This manual provides detailed instructions for the assembly, painting, and care of your Tamiya 35209 1/35 Pz Kpfw IV Ausf. H Early Version Tank Plastic Model Kit. The Panzerkampfwagen IV was a crucial tank for Germany during World War II, known for its adaptability and long production run. The Ausf. H variant is recognized as a definitive model, featuring a powerful KwK40 L/48 tank gun, two 7.92mm MG34 machine guns, and "Schurzen" (side skirts) for added protection. This highly accurate static display model kit allows you to recreate this iconic vehicle in 1:35 scale.
2. Safety Information
- Small Parts: This kit contains small parts that may pose a choking hazard. Keep out of reach of young children. Recommended for ages 16 and up.
- Sharp Tools: Assembly requires the use of sharp tools such as hobby knives and nippers. Always handle with care and keep fingers clear of cutting edges.
- Adhesives and Paints: Use model cement and paints in a well-ventilated area. Avoid inhaling fumes. Follow the manufacturer's safety instructions for all chemical products.
- Eye Protection: Consider wearing eye protection during assembly, especially when cutting or sanding plastic parts.
3. Package Contents
Your Tamiya 35209 model kit package should contain the following items:
- Plastic sprues containing all model parts
- Decal sheet for markings
- Assembly instruction booklet (this manual)
- Clear parts (if applicable for vision blocks, etc.)
- Poly caps (for movable parts like road wheels)
Note: Adhesives, paints, and tools are sold separately and are required for assembly and finishing.
4. Assembly Instructions
Follow the step-by-step diagrams provided in the included instruction booklet for precise assembly. The general process involves:
- Part Preparation: Carefully cut parts from the sprues using nippers. Clean any excess plastic (flash) with a hobby knife or sanding stick.
- Test Fitting: Before applying cement, test fit parts to ensure proper alignment and fit. Adjust as necessary.
- Gluing: Apply a small amount of plastic cement to the joining surfaces. Hold parts together until the cement sets.
- Sub-Assemblies: Assemble major components such as the hull, turret, and running gear separately before combining them.
- Track Assembly: The kit likely includes link-and-length tracks or rubber band tracks. Follow the specific instructions for your track type.
- Detail Parts: Attach smaller detail parts and accessories after the main structure is complete.
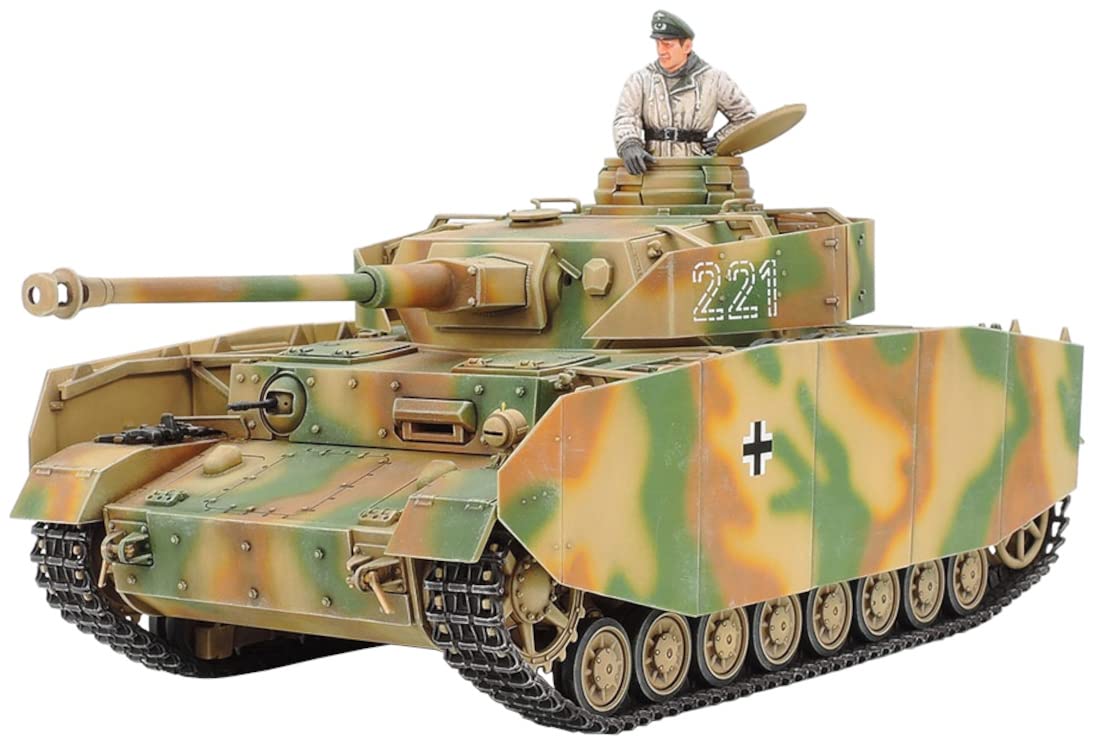
Figure 1: Fully assembled and painted Tamiya Pz Kpfw IV Ausf. H model, showcasing the overall appearance and camouflage pattern.
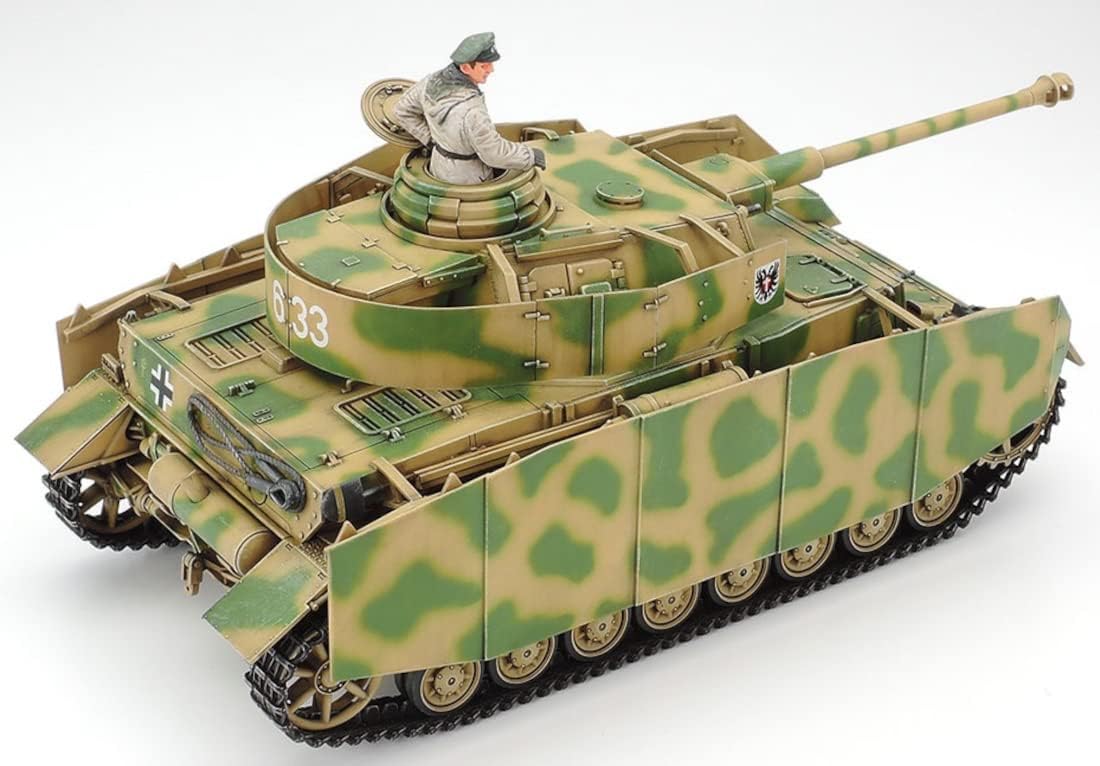
Figure 2: An alternative perspective of the assembled model, highlighting the front hull and side skirt details.
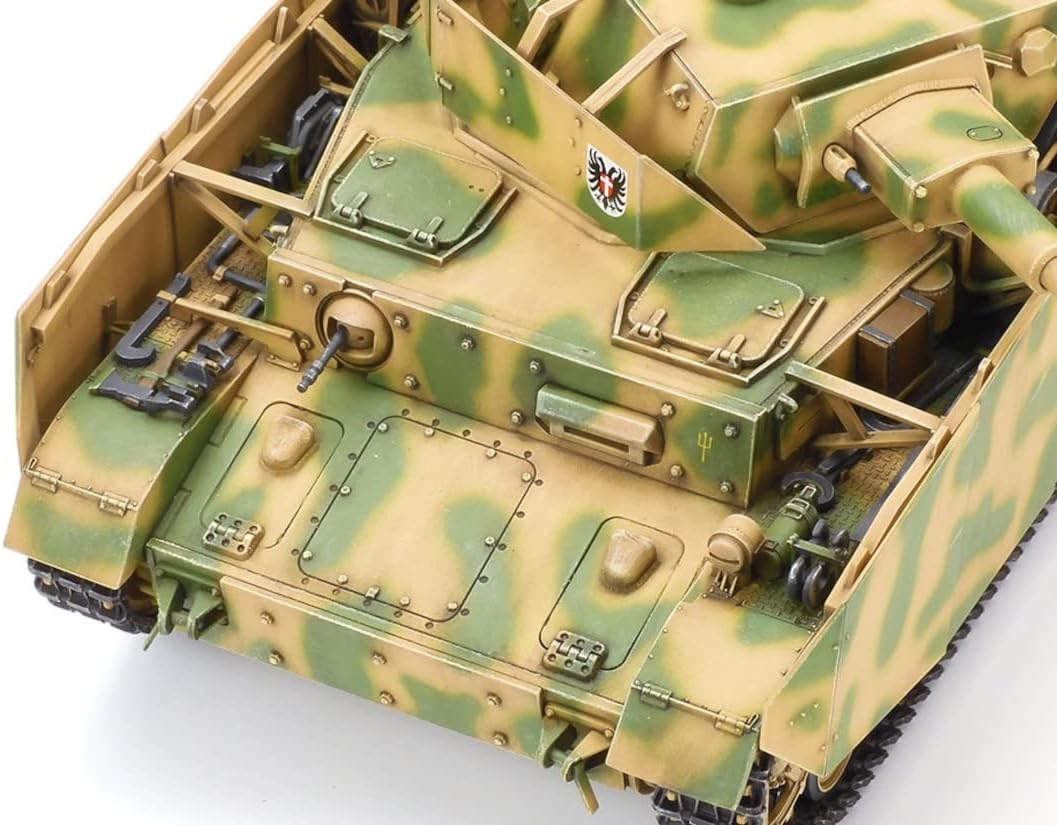
Figure 3: Detailed view of the rear engine deck and side 'Schurzen' armor plates, demonstrating the kit's fine molding and assembly.
5. Painting and Finishing
Achieving a realistic finish involves careful painting and detailing.
- Cleaning: Before painting, wash all assembled parts with mild soap and water to remove mold release agents and dust. Allow to dry completely.
- Priming: Apply a thin coat of primer to ensure paint adhesion and a uniform base color.
- Base Coats: Apply base colors according to historical references or your preferred scheme. Multiple thin coats are better than one thick coat.
- Detail Painting: Paint smaller details such as tools, machine guns, and figures.
- Decals: Apply decals to the model after painting. Use decal setting solutions for a seamless, painted-on look.
- Weathering: For a realistic appearance, consider weathering techniques such as washes, dry brushing, and pigments to simulate dirt, rust, and wear.
- Top Coat: Apply a clear matte or satin top coat to protect the paint and decals and unify the finish.
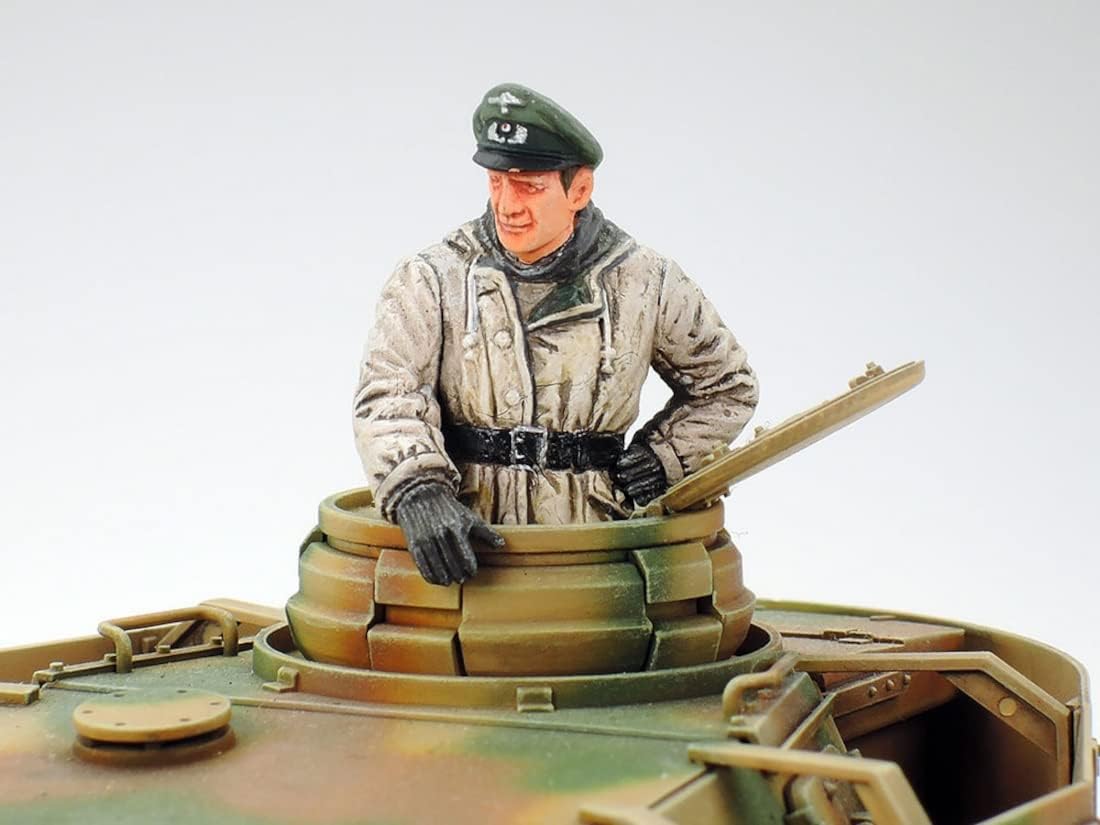
Figure 4: Detailed view of the tank commander figure, illustrating the potential for fine detail painting on crew members.
6. Specifications
| Feature | Detail |
|---|---|
| Brand | TAMIYA |
| Model Number | 35209 |
| Scale | 1:35 |
| Material | Plastic |
| Assembly Required | Yes |
| Recommended Age | 16 years and up |
| Item Weight | 1.04 Pounds (approx. 0.47 kg) |
| Item Dimensions (L x W x H) | 15.13 x 9.63 x 2.38 inches (approx. 38.4 x 24.5 x 6.0 cm) |
| Primary Color Scheme (Historical) | German Dark Yellow, Olive Green, Red Brown camouflage |
7. Maintenance
Once assembled and painted, your Tamiya Pz Kpfw IV model requires minimal maintenance to preserve its appearance.
- Dusting: Regularly dust the model with a soft brush or compressed air to prevent dust buildup.
- Display Environment: Display the model away from direct sunlight, extreme temperatures, and high humidity to prevent paint fading or material warping.
- Handling: Handle the model carefully, preferably by its base or main hull, to avoid damaging delicate parts or paintwork.
8. Troubleshooting (Assembly Tips)
While Tamiya kits are known for their precision, occasional challenges may arise during assembly.
- Parts Not Fitting: If parts do not fit perfectly, check for excess plastic (flash) on the mating surfaces and carefully remove it with a hobby knife or sanding stick. Test fit again.
- Gaps: Small gaps can be filled with plastic putty or stretched sprue, then sanded smooth before painting.
- Broken Parts: Small broken parts can often be re-attached with plastic cement. For structural breaks, consider reinforcing with a small pin (e.g., from a paperclip) drilled into both broken pieces before gluing.
- Decal Silvering: If decals show a "silvering" effect (air trapped under the clear film), apply a gloss coat before decals, use decal setting solution, and then a final matte/satin coat.
9. Warranty and Support
This Tamiya model kit comes with a limited warranty covering manufacturing defects only. For support regarding missing or defective parts, please contact Tamiya customer service directly. Retain your proof of purchase.
For further assistance or to view other Tamiya products, visit the official Tamiya website: www.tamiya.com


