1. Introduction
This manual provides detailed instructions for the assembly, care, and display of your Tamiya 1:6 Honda Monkey 2000 Anniversary model kit. Tamiya model kits are renowned for their high quality and accuracy, offering an engaging building experience. This kit allows you to construct a highly detailed replica of the iconic Honda Monkey motorcycle.

Image 1.1: The Tamiya 1:6 Honda Monkey 2000 Anniversary model kit box art, showing the completed model.
2. Safety Information
WARNING: This model kit is not suitable for children under the age of 14. It contains small parts that may pose a choking hazard and requires the use of sharp tools and adhesives.
- Always read all instructions before beginning assembly.
- Use appropriate ventilation when painting or using adhesives.
- Keep all tools and materials out of reach of small children.
- Exercise caution when using hobby knives, clippers, and other sharp tools.
3. What's in the Box
Your Tamiya 1:6 Honda Monkey 2000 Anniversary model kit includes:
- Plastic parts molded in various colors (unvarnished).
- Rubber tires.
- Metal parts (screws, springs, etc.).
- Decal sheet.
- Instruction booklet (separate from this general manual).
Please note that paints, glue, and small tools are required for completion and are available separately.
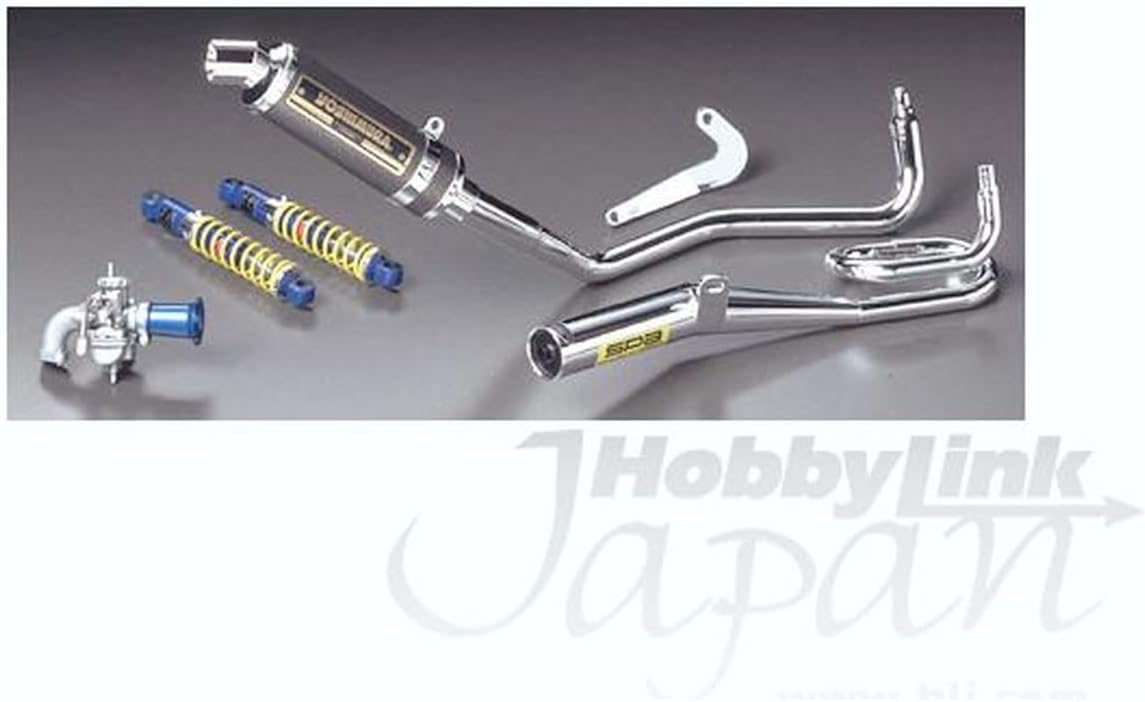
Image 3.1: Example of optional parts that may be included or available for customization, such as different exhaust systems, shocks, and carburetors.
4. Assembly Instructions
The assembly of this 1:6 scale model requires careful attention to detail and patience. Refer to the specific instruction booklet included in your kit for step-by-step diagrams and part numbers. The general process involves:
- Part Preparation: Carefully cut parts from the sprues using hobby nippers. Clean any excess plastic (flash) with a hobby knife or sanding stick.
- Painting: Many parts will require painting before assembly. Refer to the kit's color guide for recommended paint types (acrylic, enamel, or lacquer) and colors. Allow paint to dry completely between coats and before handling.
- Sub-Assembly: Assemble smaller components first, such as the engine, wheels, and handlebars, before integrating them into the main frame.
- Main Assembly: Attach sub-assemblies to the frame. Use plastic cement for plastic-to-plastic connections and super glue for metal or clear parts where specified. Some connections may use screws for added durability, such as axles.
- Decals: Apply decals according to the instruction booklet. Use decal setting solutions for a seamless finish.
- Final Details: Attach mirrors, lights, and other small details. Ensure all parts are securely fastened.
The kit offers options for different body styles, exhaust, carburetor, and shocks, allowing for customization. Pay close attention to the illustrations in your kit's manual for these choices.
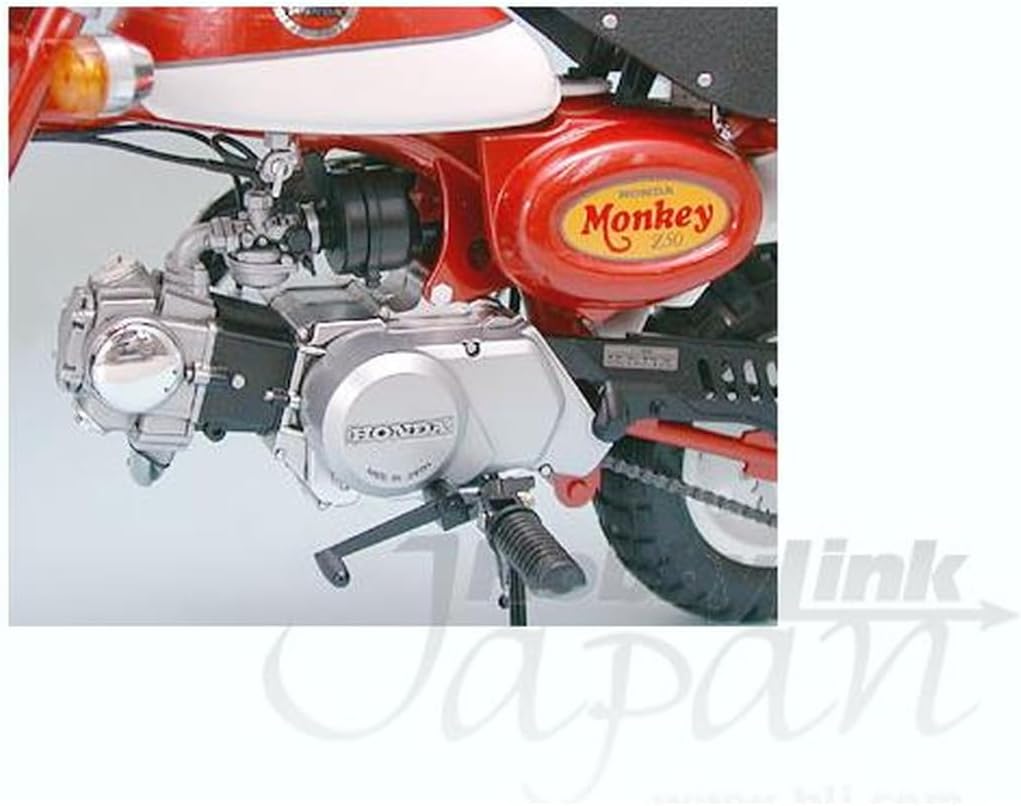
Image 4.1: Close-up view of the assembled engine and chassis, highlighting the intricate details.

Image 4.2: An example of a customized model, demonstrating alternative parts and finishes.
5. Operating and Display
The Tamiya 1:6 Honda Monkey 2000 Anniversary is a static display model. It is not designed for functional operation or play. Once assembled, it is intended for exhibition.
- Place the model on a stable, flat surface away from direct sunlight, excessive heat, or humidity.
- Consider using a display case to protect the model from dust and accidental damage.
- Avoid handling the model excessively to prevent damage to delicate parts or paintwork.

Image 5.1: A front three-quarter view of the completed Tamiya Honda Monkey model, ready for display.
6. Maintenance and Care
Proper care will ensure your model remains in excellent condition for years.
- Dusting: Regularly dust the model using a soft brush or a can of compressed air. Avoid abrasive cloths that could scratch the paint.
- Cleaning: For stubborn dust or smudges, lightly dampen a soft cloth with water (and a tiny amount of mild soap if necessary), then gently wipe the affected area. Avoid harsh chemicals or solvents.
- Storage: If storing the model, ensure it is in a cool, dry place, protected from physical impact.
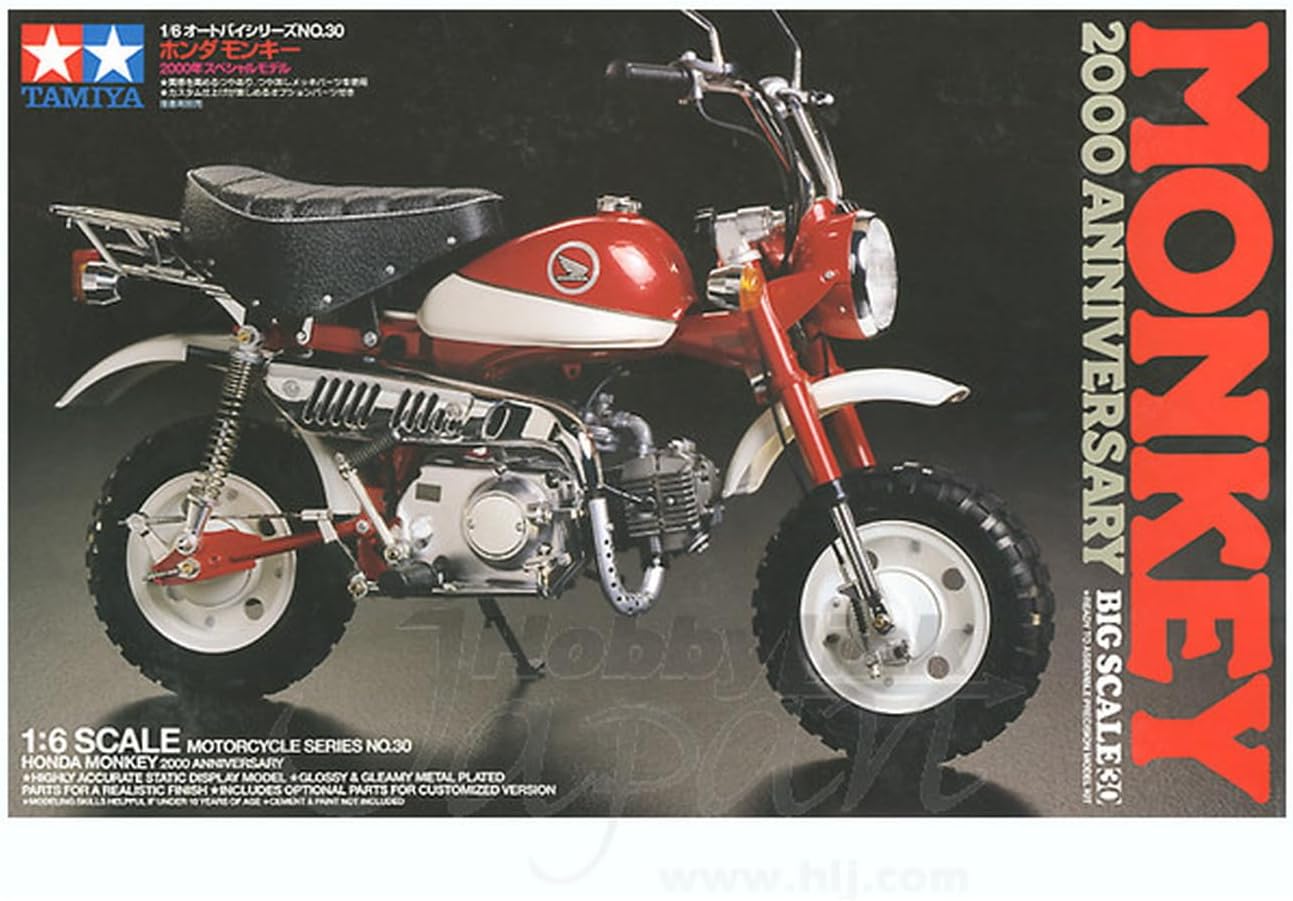
Image 6.1: Rear three-quarter view of the assembled model, showcasing the rear wheel and exhaust details.
7. Troubleshooting Common Assembly Issues
While Tamiya kits are known for their precision, some common challenges may arise during assembly:
- Paint Bleeding: If painting over metallic red or other strong colors, a primer (such as silver) can prevent the underlying color from bleeding through lighter topcoats. Apply thin, even coats.
- Part Fit: If parts do not fit perfectly, gently sand or trim excess plastic. Test fit parts before applying glue.
- Decal Application: If decals wrinkle or do not adhere smoothly, use a decal setting solution to help them conform to the model's surface.
- Small Parts: Some parts are very small and delicate. Work over a clean, well-lit surface to avoid losing them. Use tweezers for precise placement.

Image 7.1: Detailed front view of the model, showing the headlight, handlebars, and front suspension.
8. Specifications
| Feature | Detail |
|---|---|
| Model Name | 1:6 Honda Monkey 2000 Anniversary |
| Model Number | 300016030 |
| Brand | TAMIYA |
| Scale | 1:6 |
| Length (approx.) | 224 mm (8.82 inches) |
| Width (approx.) | 100 mm (3.94 inches) |
| Height (approx.) | 175 mm (6.89 inches) |
| Material | Plastic |
| Recommended Age | 14 years and up |
| Paint Type Compatibility | Acrylic, Enamel, or Lacquer |
9. Warranty and Support
Specific warranty information for Tamiya model kits is typically provided with the product packaging or can be obtained directly from Tamiya or your retailer. As a general guideline, Tamiya stands by the quality of its products.
For technical assistance, missing parts, or further inquiries regarding your Tamiya 1:6 Honda Monkey 2000 Anniversary model kit, please contact Tamiya customer support directly or the authorized retailer from whom you purchased the kit. Contact information can usually be found on the product packaging or Tamiya's official website.


