
1. Introduction
This manual provides essential instructions for the safe and effective use of your All American Model 910 Pressure Cooker/Canner. Designed for both pressure cooking and home canning, this 10.5-quart unit features a unique metal-to-metal sealing system, eliminating the need for gaskets. Please read all instructions carefully before initial use to ensure safety and optimal performance.
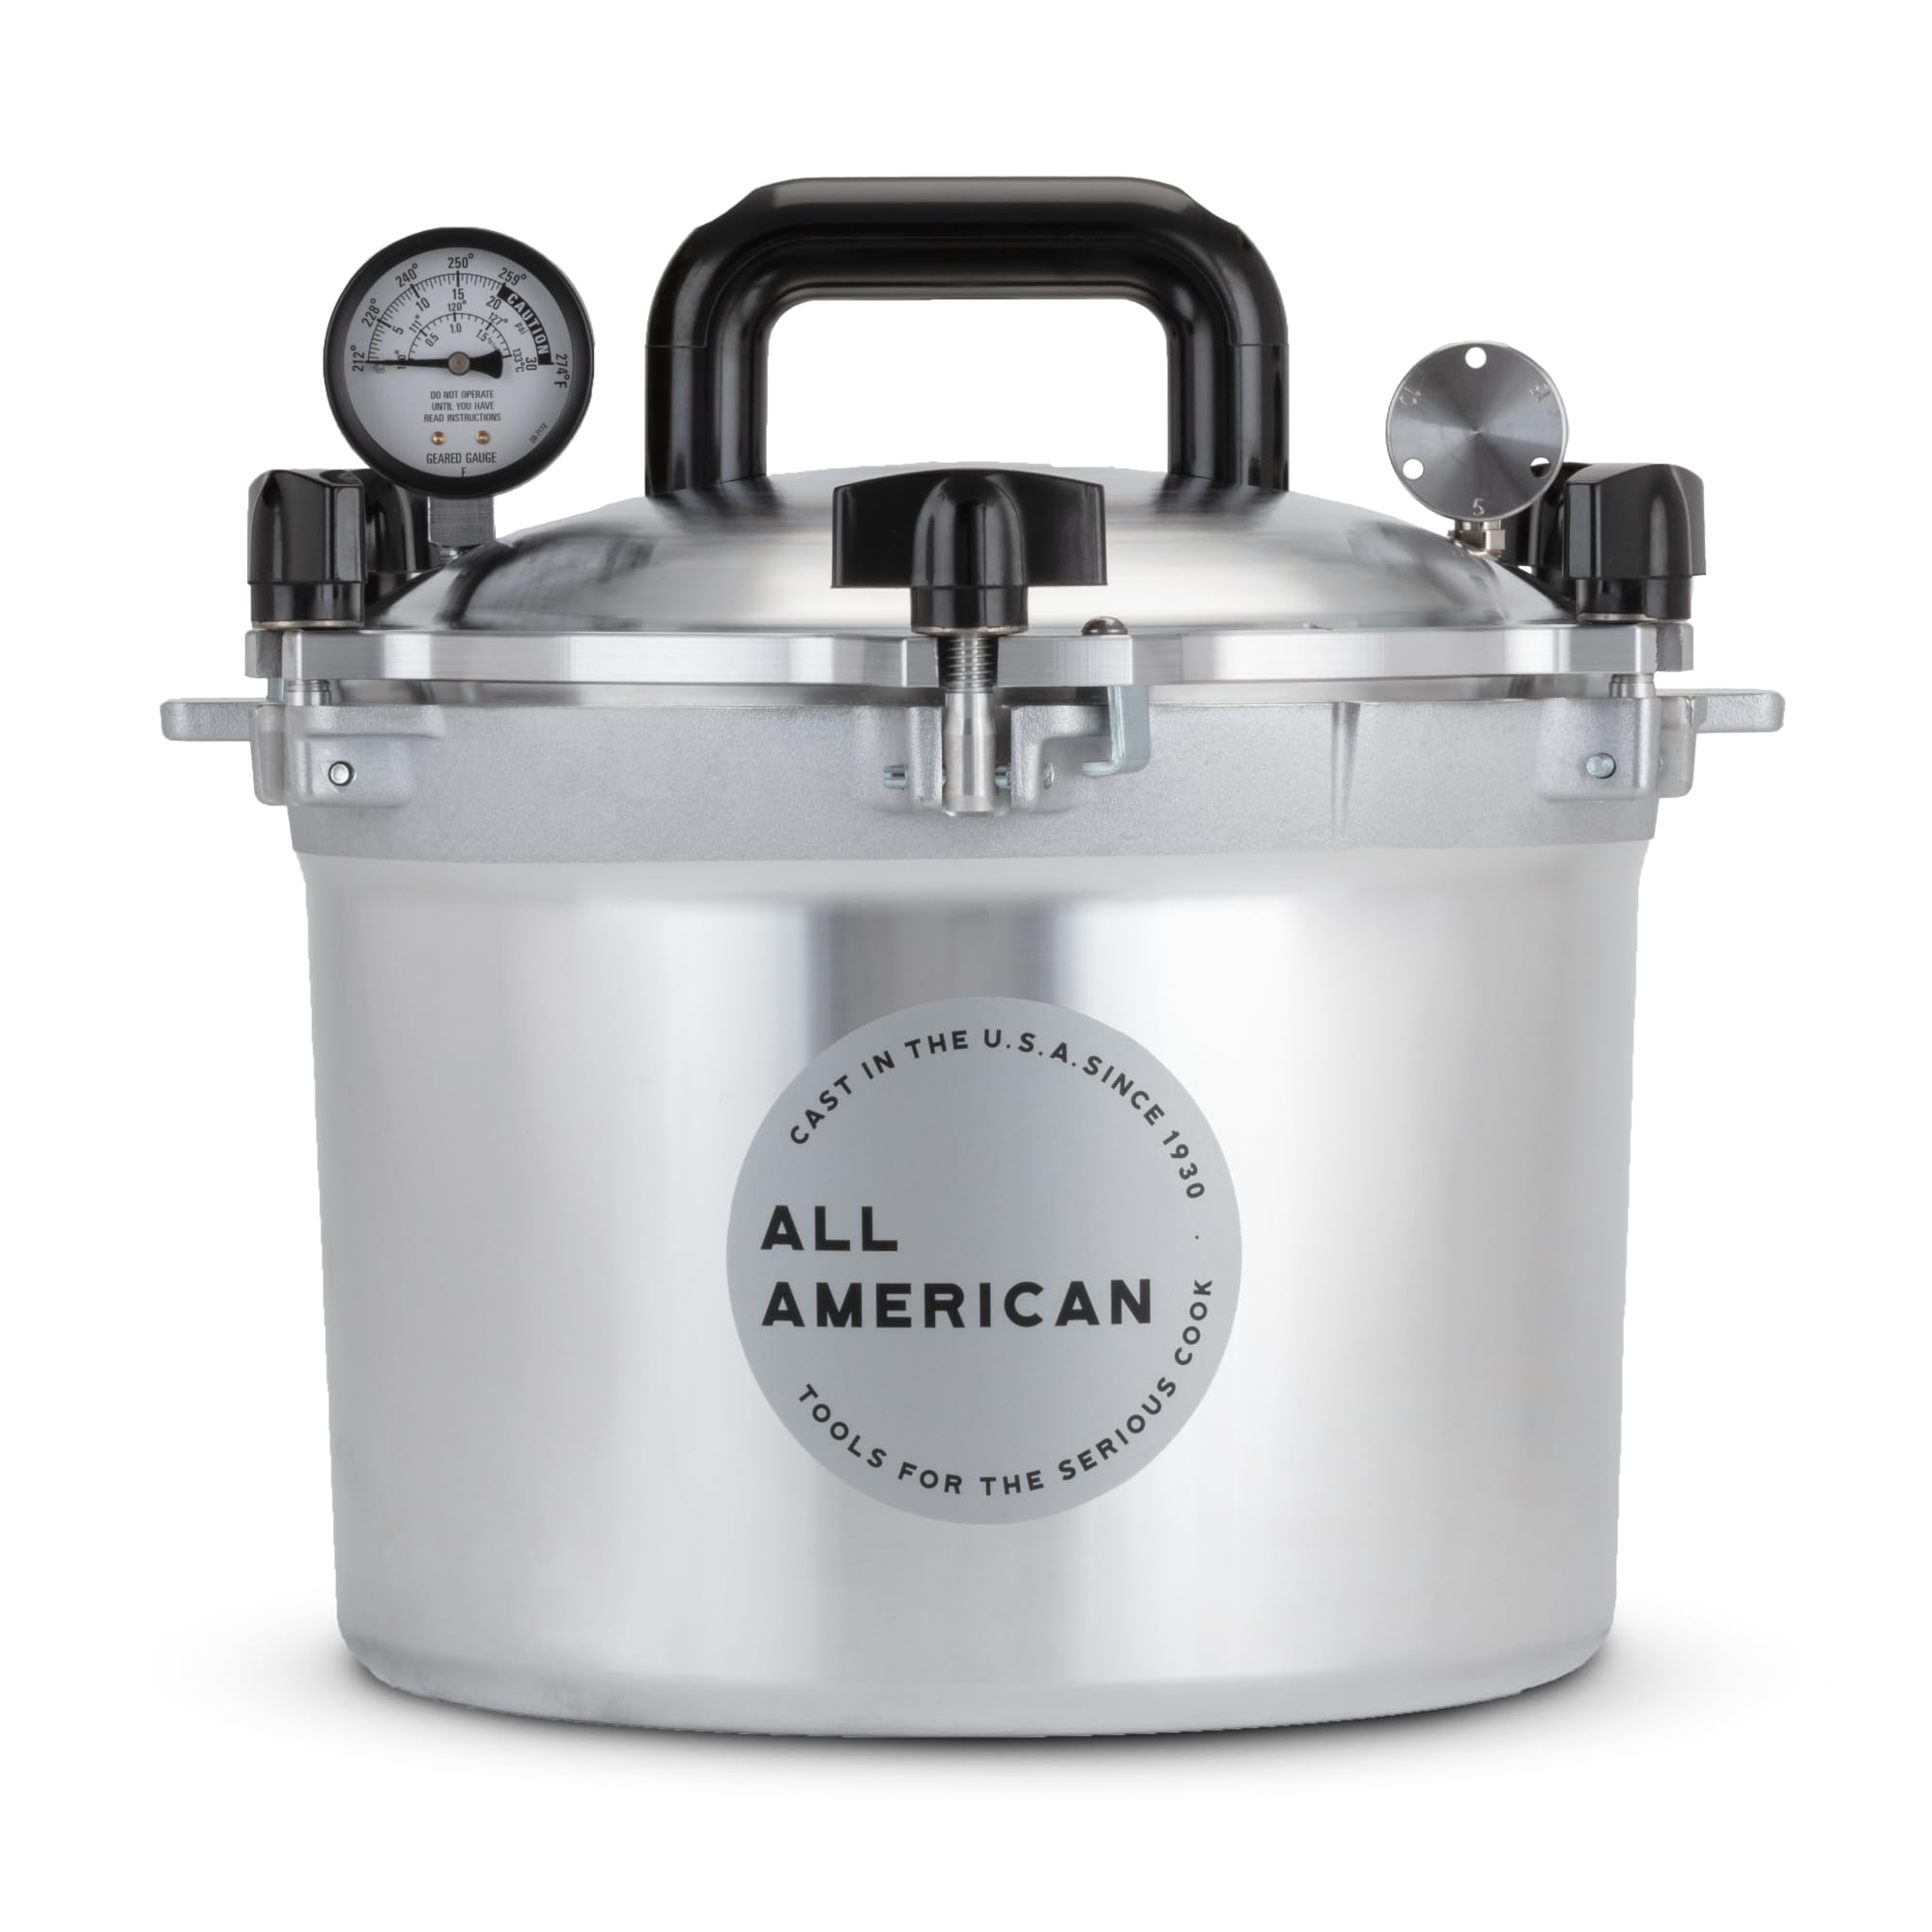
Image 1: The All American Model 910 Pressure Cooker/Canner.
Key Features:
- Metal-to-Metal Sealing System: Ensures a steam-tight seal without gaskets.
- Easy-to-Read Steam Gauge: For precise pressure monitoring.
- Precision Machined Regulator Weight: For accurate pressure control at 5, 10, and 15 pounds.
- Durable Construction: Made from high-grade cast aluminum with double-thickness edges for longevity.
- Versatile: Suitable for gas, electric, and flat-top stoves.

Image 2: Labeled diagram highlighting key components of the All American Pressure Canner, including the easy-to-read pressure dial gauge, pressure regulator weights, metal-to-metal seal, high-grade cast aluminum body, and included canning rack.
2. Safety Information
Your safety is paramount. Always adhere to the following guidelines:
- Never open the canner until the pressure gauge reads zero and the overpressure plug has dropped.
- Ensure the pressure regulator weight is properly seated during operation.
- Regularly inspect the overpressure plug and steam gauge for any signs of wear or damage.
- Do not use the canner on induction cooktops.
- Always use oven mitts when handling a hot canner.
Video 1: Official video demonstrating the safety features of the All American Pressure Canner, including the pressure gauge, overpressure plug, and regulator weight.
3. Setup
3.1 Initial Inspection
Upon unpacking, inspect all components for any shipping damage. Ensure the pressure gauge, regulator weight, and overpressure plug are securely in place and free from obstructions.
3.2 Assembly and First Use Preparation
- Clean the Unit: Wash the canner body and lid with warm, soapy water. Rinse thoroughly and dry.
- Lubricate the Metal-to-Metal Seal: Apply a thin coat of olive oil or petroleum jelly (Vaseline) to the beveled edge of the canner body and the corresponding groove on the lid. This lubrication is crucial for creating a proper seal and for easy opening and closing. Avoid scented products or general-purpose cooking oils that may contain abrasives or cause pitting.
- Position the Lid: Align the arrows on the canner body and lid. Place the lid onto the canner body.
- Secure the Clamps: Tighten the wing nuts across from each other, two at a time, gently at first to ensure even sealing. Once all are snug, go back and tighten them more firmly in the same cross-pattern. This prevents uneven wear and vapor locks.
- First Run (Water Test): Before canning food, perform an empty run with water. Fill the canner with 2-3 inches of water. Close and secure the lid. Place the appropriate regulator weight (e.g., 10 lb) on the vent pipe. Heat the canner until steam vents steadily for 10 minutes, then pressure builds to the desired level. This familiarizes you with the canner's operation and sounds. Allow it to cool completely before opening.

Image 3: Close-up view of the exclusive metal-to-metal sealing system, which does not require a gasket.
Video 2: Official video detailing the inspection checklist for the All American Pressure Canner, ensuring all parts are in good working order before use.
4. Operating Instructions
4.1 General Operation
- Prepare Contents: Place food items or jars into the canner. Ensure the canning rack is at the bottom to prevent jars from touching the canner base.
- Add Water: Add the recommended amount of water (typically 2-3 inches for canning, or as per recipe for pressure cooking).
- Secure Lid: Lubricate the seal, align arrows, and tighten wing nuts in a cross-pattern as described in Section 3.2.
- Heat and Vent: Place the canner on a suitable heat source. Heat on high until a steady stream of steam escapes from the vent pipe. Allow steam to vent for 10 minutes to ensure all air is expelled.
- Apply Regulator Weight: Place the appropriate regulator weight (5, 10, or 15 lb, depending on your recipe and altitude) onto the vent pipe.
- Build Pressure: Continue heating until the pressure gauge reaches the desired PSI. Adjust heat to maintain a steady pressure.
- Process: Follow your recipe's recommended processing time.
- Cool Down: Once processing is complete, turn off the heat. Allow the canner to cool naturally until the pressure gauge reads zero and the overpressure plug has dropped. Do not force cool.
- Open Canner: Remove the regulator weight, then loosen the wing nuts in a cross-pattern. Carefully remove the lid, tilting it away from you to avoid steam burns.

Image 4: Demonstrates the versatile and high capacity of the canner, showing jars being loaded for pressure canning.
4.2 Pressure Canning
The All American Model 910 is ideal for pressure canning. It can hold approximately 7 pint jars or 4 quart jars. Always refer to USDA guidelines and tested recipes for safe canning procedures, especially for low-acid foods.
Video 3: Official video demonstrating the ease of use of the All American Pressure Canner for home canning.
4.3 Pressure Cooking
This unit can also function as a large-capacity pressure cooker, shortening cooking times and enhancing flavors. Follow specific pressure cooking recipes and ensure adequate liquid is always present.
5. Maintenance
5.1 Cleaning and Care
- After each use, wash all parts with warm, soapy water. Avoid abrasive cleaners or steel wool, which can damage the aluminum finish.
- For mineral buildup, use a solution of vinegar and water, or a specialized aluminum cleaner. Rinse thoroughly.
- Ensure the vent pipe is clear of any food particles.
- Store the canner with the lid inverted or slightly ajar to allow air circulation and prevent odors.
5.2 Part Replacement
Regular inspection and timely replacement of certain parts ensure continued safe operation:
- Steam Gauge: It is recommended to replace the steam gauge yearly to ensure accuracy.
- Overpressure Plug: Replace the overpressure plug yearly, or immediately if it shows signs of wear or damage. Never replace with a used plug.
- Replacement parts are available directly from All American or authorized dealers.
Video 4: Official video demonstrating the inspection checklist for the All American Pressure Canner, ensuring all parts are in good working order before use.
6. Troubleshooting
| Problem | Possible Cause | Solution |
|---|---|---|
| Steam leaking from lid | Improper lid seating, insufficient lubrication, uneven tightening of wing nuts. | Ensure lid arrows are aligned. Apply olive oil/Vaseline to the seal. Tighten wing nuts evenly in a cross-pattern. |
| Canner not building pressure | Vent pipe clogged, regulator weight not seated, insufficient heat. | Check vent pipe for obstructions. Ensure regulator weight is properly placed. Increase heat. |
| Lid stuck after cooling (Vapor Lock) | Pressure inside is slightly lower than atmospheric pressure. | Gently loosen two opposite clamp screws with a paper towel-wrapped flathead screwdriver. Allow a few moments for air to enter. If still stuck, gently pry the lid under the arms with a dish towel-wrapped flathead screwdriver. |
| Mineral buildup inside canner | Hard water used for canning/cooking. | Clean with a vinegar and water solution. Consider using filtered, distilled, or pre-boiled water for future use to minimize buildup. |
7. Specifications
- Model Number: 910
- Capacity: 10.5 Quarts (9.94 liters)
- Material: High-Grade Cast Aluminum
- Color: Silver
- Product Dimensions (D x W x H): 10.25" x 10.25" x 11.75"
- Item Weight: 15 pounds
- Control Method: Manual (Hand Control)
- Heat Source Compatibility: Gas, Electric, Flat Top Stoves (Not Induction compatible)
- Jar Capacity: Approximately 7 pint jars or 4 quart jars

Image 5: Capacity details for the Model 910, showing it holds 7 pint jars or 4 quart jars.

Image 6: Overview of various All American Canner models, including the Model 910, with their capacities, dimensions, and compatible heat sources.
Video 5: Official video discussing how to choose the right All American Pressure Canner size for your needs, providing context for the Model 910's capacity.
8. Warranty & Support
All American products are known for their durability and come with an outstanding warranty. For specific warranty details, service, or evaluation, please contact the manufacturer directly. Replacement parts can be ordered at any time to ensure your canner lasts for generations.
For further assistance, please visit the official All American website or contact their customer support.


