Product Overview
The Stanley 1-20-600 Saw Storage Miter Box with Saw is designed for precise angle cuts in various materials. This kit includes both the miter box and a hand saw, making it a complete solution for DIY projects and professional use where accurate cuts are essential. The miter box features multiple angle slots and a patented clamping system to secure your workpiece.

Image: The Stanley 1-20-600 Saw Storage Miter Box with Saw, showing the yellow miter box and the included hand saw.
Setup and Assembly
The Stanley Miter Box is designed for quick setup. It comes pre-assembled, but understanding its components is key to effective use.
Components:
- Miter Box: The main yellow plastic body with pre-cut slots for various angles.
- Hand Saw: The included saw designed to fit the miter box slots.
- Clamping Pins (2): Two black, oval-shaped pins used to secure the workpiece.
Securing the Miter Box:
For optimal stability and precision, it is recommended to secure the miter box to a workbench or stable surface. The miter box features pre-drilled screw holes at each end for this purpose.

Image: A close-up of the miter box showing a screw being driven into one of the pre-drilled holes to secure it to a wooden surface.
Alternatively, the miter box can be clamped to a surface using external clamps, utilizing the integrated clamping features on the base.

Image: A Stanley FatMax clamp securing the miter box to a workbench, demonstrating an alternative securing method.
Operating Instructions
1. Inserting the Clamping Pins:
The two black clamping pins are used to hold your workpiece firmly in place. Insert these pins into the circular holes on the base of the miter box. The oval shape of the pins allows them to be rotated to tighten against the wood, providing a secure grip.

Image: A hand inserting one of the black clamping pins into a circular hole on the yellow miter box base.
2. Positioning the Workpiece:
Place the wood or material you intend to cut into the miter box, ensuring it rests against the back wall. Adjust the clamping pins by rotating them until the workpiece is held securely and does not shift during cutting.
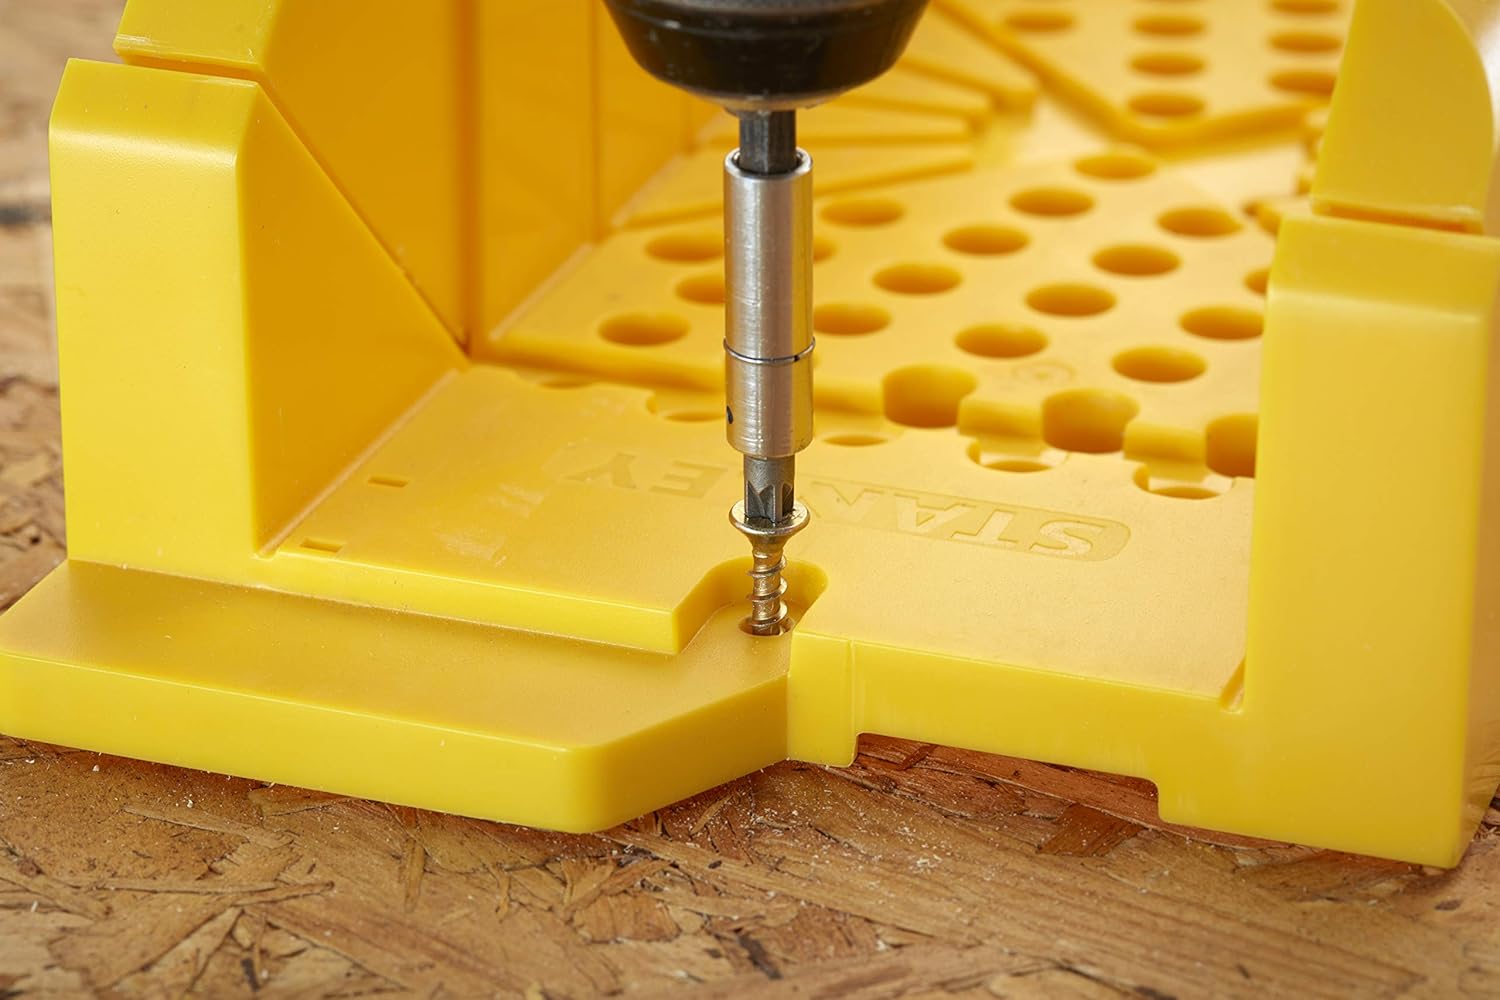
Image: A piece of wood positioned inside the miter box, with the clamping pins adjusted to hold it firmly.
3. Selecting the Cut Angle:
The Stanley miter box provides slots for common angles, including 90°, 45°, and 22.5°. Choose the appropriate slot for your desired cut. The saw is designed to fit snugly within these slots to guide your cut.
- 90° (Straight Cut): Use the central vertical slots.
- 45° Angle: Use the diagonal slots.
- 22.5° Angle: Use the narrower diagonal slots.
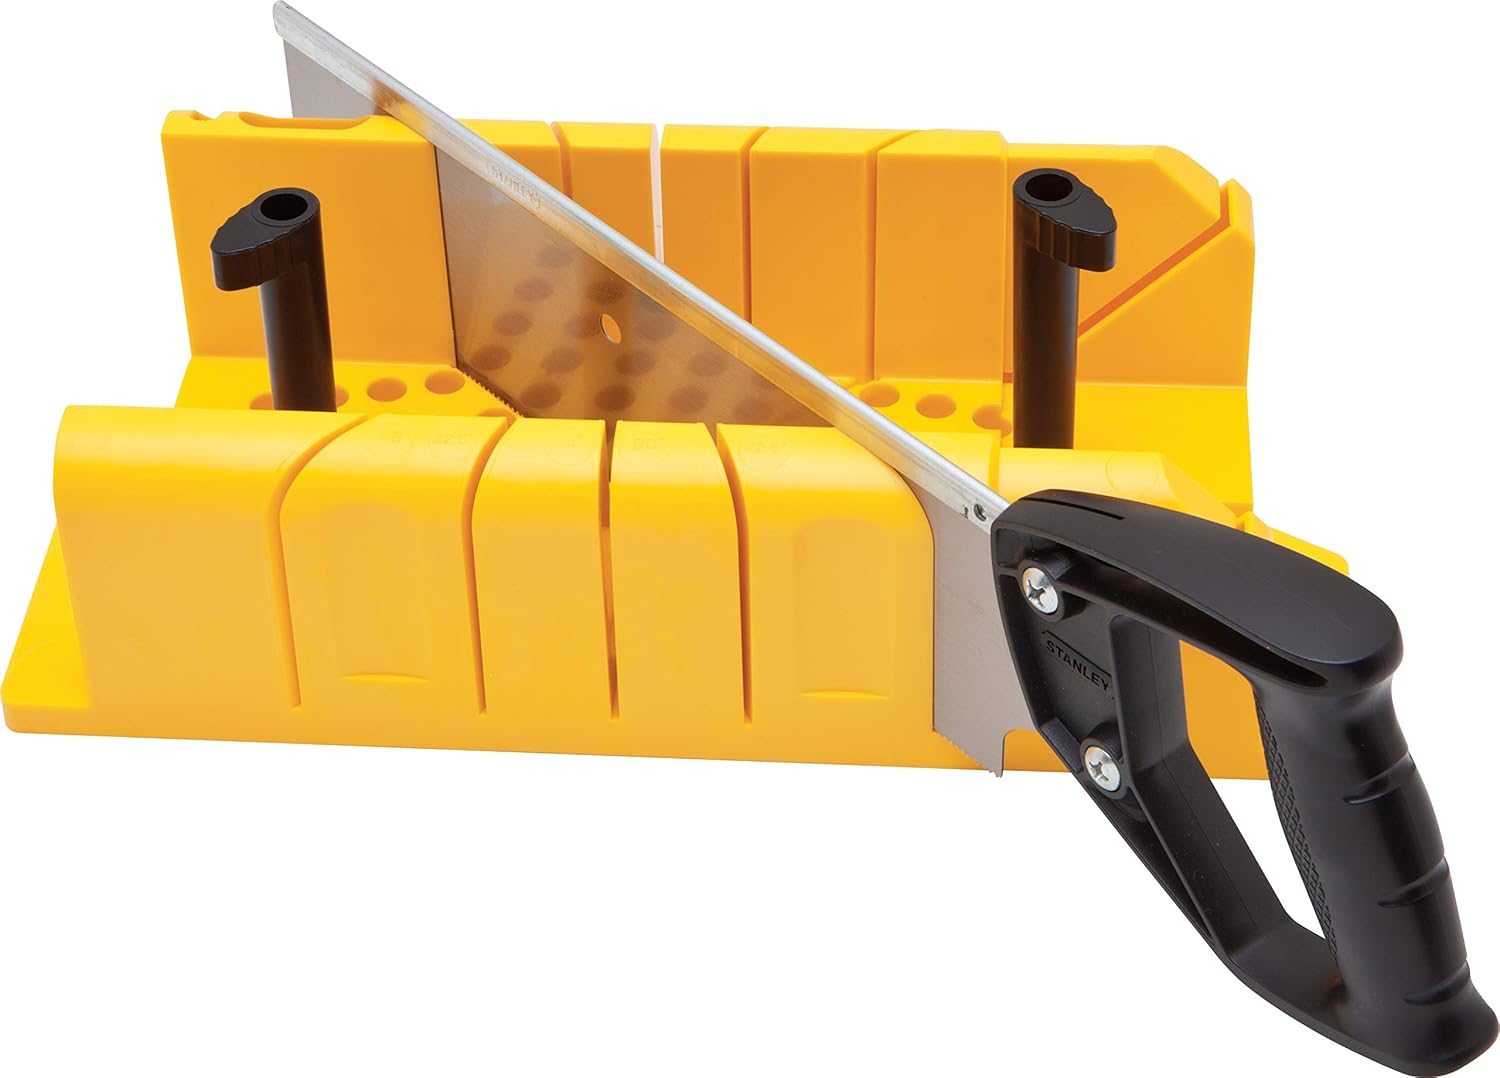
Image: The hand saw positioned in the 90-degree slot of the miter box, ready for a straight cut.
4. Making the Cut:
With the workpiece secured and the saw in the correct slot, apply steady, even pressure and move the saw back and forth. Allow the saw's teeth to do the work, avoiding excessive force. Maintain a consistent stroke to ensure a clean and accurate cut.

Image: A close-up of the hand saw cutting a piece of wood within the miter box, demonstrating the cutting action.
Maintenance
To ensure the longevity and continued performance of your Stanley Miter Box and Saw, follow these simple maintenance guidelines:
- Cleaning: After each use, clear any sawdust or debris from the miter box and saw blade. A brush or compressed air can be used.
- Saw Blade Care: Keep the saw blade clean and dry to prevent rust. If the blade becomes dull, it can be sharpened or replaced.
- Storage: Store the miter box and saw in a dry environment to prevent damage from moisture. The miter box is designed for saw storage within its base.

Image: The hand saw neatly stored within the base of the miter box, highlighting its integrated storage feature.
Troubleshooting
While the Stanley Miter Box and Saw are designed for reliability, you may encounter minor issues. Here are some common troubleshooting tips:
- Saw Binding in Slots: If the saw binds, check for sawdust buildup in the slots or on the blade. Clean thoroughly. Ensure the workpiece is securely clamped and not shifting. Some users have reported burrs on the saw blade mounting hole causing binding; smoothing these with a large drill bit can resolve this.
- Inaccurate Cuts: Ensure the miter box is firmly secured to your work surface. Verify that the clamping pins are holding the workpiece tightly. Apply consistent, even pressure during sawing.
- Plastic Warping: If the plastic miter box appears slightly warped, especially after unboxing, mounting it to a flat board and allowing it to warm up (e.g., in sunlight) can help it straighten out.
Specifications
| Feature | Detail |
|---|---|
| Brand | STANLEY |
| Model Number | 1-20-600 |
| Color | Black (Saw), Yellow (Miter Box) |
| Saw Blade Material | High Speed Steel |
| Miter Box Material | Durable Plastic |
| Product Dimensions | 19.29"L x 6.85"W x 3.98"H |
| Item Weight | 2.27 pounds (1.03 Kilograms) |
| Blade Length | 355 Millimeters |
| Cutting Angles | 90°, 45°, and 22.5° |
| Special Feature | Patented Quick Cam Lock |
Warranty and Support
The Stanley 1-20-600 Saw Storage Miter Box with Saw comes with a limited warranty. For specific details regarding warranty coverage, claims, or product support, please refer to the documentation included with your purchase or visit the official STANLEY website.
For additional assistance, you may also visit the STANLEY Store on Amazon.


