
1. Important Safety Information
Please read all instructions carefully before operating your Thomson RR 68 M clock. Keep this manual for future reference.
- Do not expose the clock to extreme temperatures, direct sunlight, or high humidity.
- Avoid dropping the clock or subjecting it to strong impacts.
- Do not attempt to disassemble or modify the clock. This will void the warranty.
- Use only the specified battery type. Ensure correct polarity when inserting batteries.
- Remove batteries if the clock will not be used for an extended period to prevent leakage.
2. Product Overview
Familiarize yourself with the components of your Thomson RR 68 M clock.
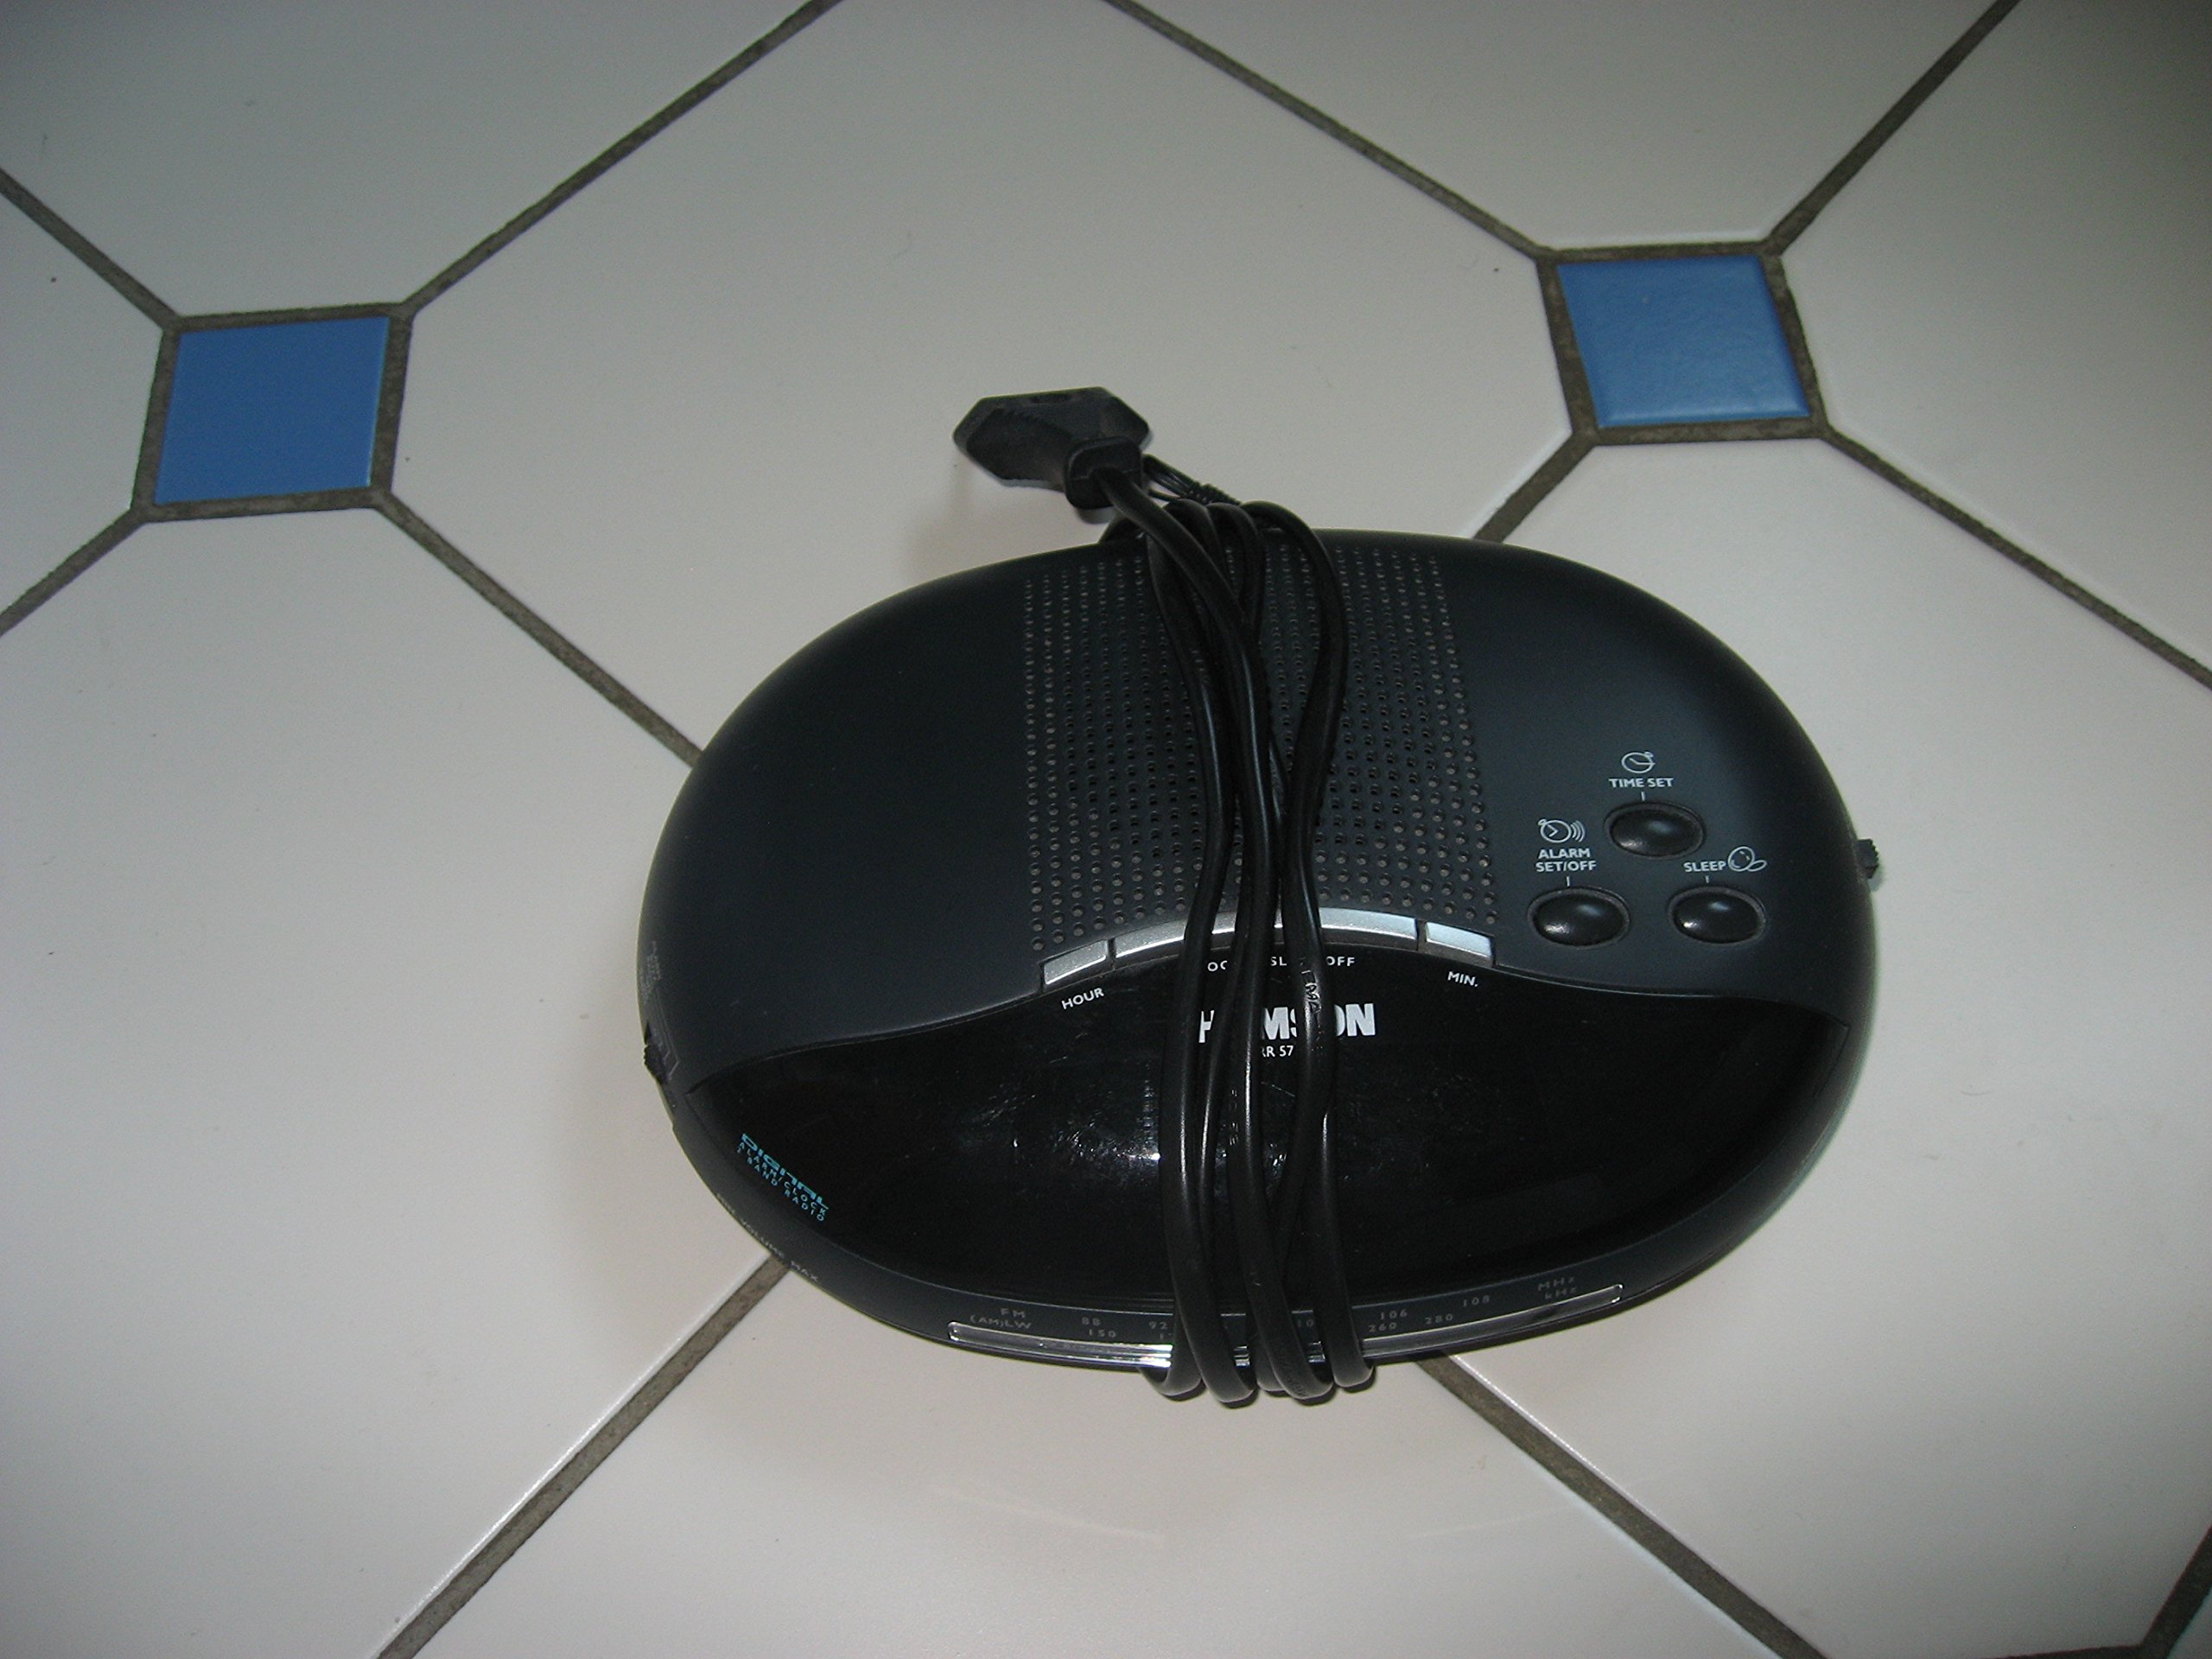
Image 1: Front view of the Thomson RR 68 M clock, showing the digital display and control buttons. This image illustrates the compact design suitable for tabletop placement.
2.1 Package Contents
- Thomson RR 68 M Clock Unit
- User Manual (this document)
3. Setup
3.1 Powering the Clock
The Thomson RR 68 M clock operates on batteries (not included). Ensure you have the correct type and quantity of batteries before proceeding.
- Locate the battery compartment cover on the back or bottom of the clock.
- Remove the battery compartment cover by sliding or unlatching it.
- Insert the required batteries, paying close attention to the polarity markings (+ and -) inside the compartment.
- Replace the battery compartment cover securely. The clock display should now illuminate.
4. Operating Instructions
4.1 Setting the Time
To set the current time on your Thomson RR 68 M clock:
- Locate the 'SET' or 'MODE' button, usually on the back or side of the clock. Press and hold this button for a few seconds until the hour digits begin to flash.
- Use the '+' or 'HOUR' button to adjust the hour. Press repeatedly to advance the hour.
- Press the 'SET' or 'MODE' button again. The minute digits will begin to flash.
- Use the '+' or 'MINUTE' button to adjust the minutes. Press repeatedly to advance the minutes.
- Press the 'SET' or 'MODE' button one last time to confirm the time setting and exit the setting mode. The display will stop flashing.
Note: This model does not feature an alarm function.
5. Maintenance
5.1 Cleaning
To maintain the appearance of your clock:
- Wipe the clock's exterior with a soft, dry cloth.
- Do not use abrasive cleaners, solvents, or chemical sprays, as these can damage the finish.
5.2 Battery Replacement
When the display dims or the clock stops functioning, it is time to replace the batteries. Follow the steps in Section 3.1 to replace the old batteries with new ones. Dispose of used batteries responsibly according to local regulations.
6. Troubleshooting
If you encounter issues with your Thomson RR 68 M clock, refer to the following common problems and solutions:
6.1 Clock Display is Blank or Dim
- Check Batteries: Ensure batteries are inserted correctly with the correct polarity. Replace with fresh batteries if necessary.
- Battery Compartment: Verify the battery compartment cover is securely closed.
6.2 Time is Incorrect
- Reset Time: Follow the instructions in Section 4.1 to manually set the time.
- Battery Power: If the time frequently resets or loses accuracy, the batteries may be low and require replacement.
7. Specifications
| Model Number | RR 68 M |
| Brand | THOMSON |
| Mounting Type | Tabletop |
| Power Source | Batteries (not included) |
| Alarm Function | No |
8. Warranty Information
Specific warranty details for the Thomson RR 68 M clock are not provided within this user manual. Please refer to the product packaging, the point of purchase, or the official Thomson website for comprehensive warranty terms and conditions.
9. Customer Support
For further assistance, technical support, or inquiries regarding your Thomson RR 68 M clock, please visit the official Thomson website or contact their customer service department. Contact information is typically available on the manufacturer's website or product packaging.


