1. Introduction
This instruction manual provides comprehensive guidance for the assembly and integration of your Vollmer Model Train Accessory Kit, Model 1308. This kit is designed for model railway enthusiasts to enhance their layouts with realistic structures. Please read all instructions carefully before beginning assembly to ensure a successful and enjoyable building experience.
2. Product Overview
The Vollmer Model Train Accessory Kit 1308 is a plastic construction kit intended for creating a detailed building for model railway layouts. It is compatible with both HO and OO scales, offering versatility for various model environments.
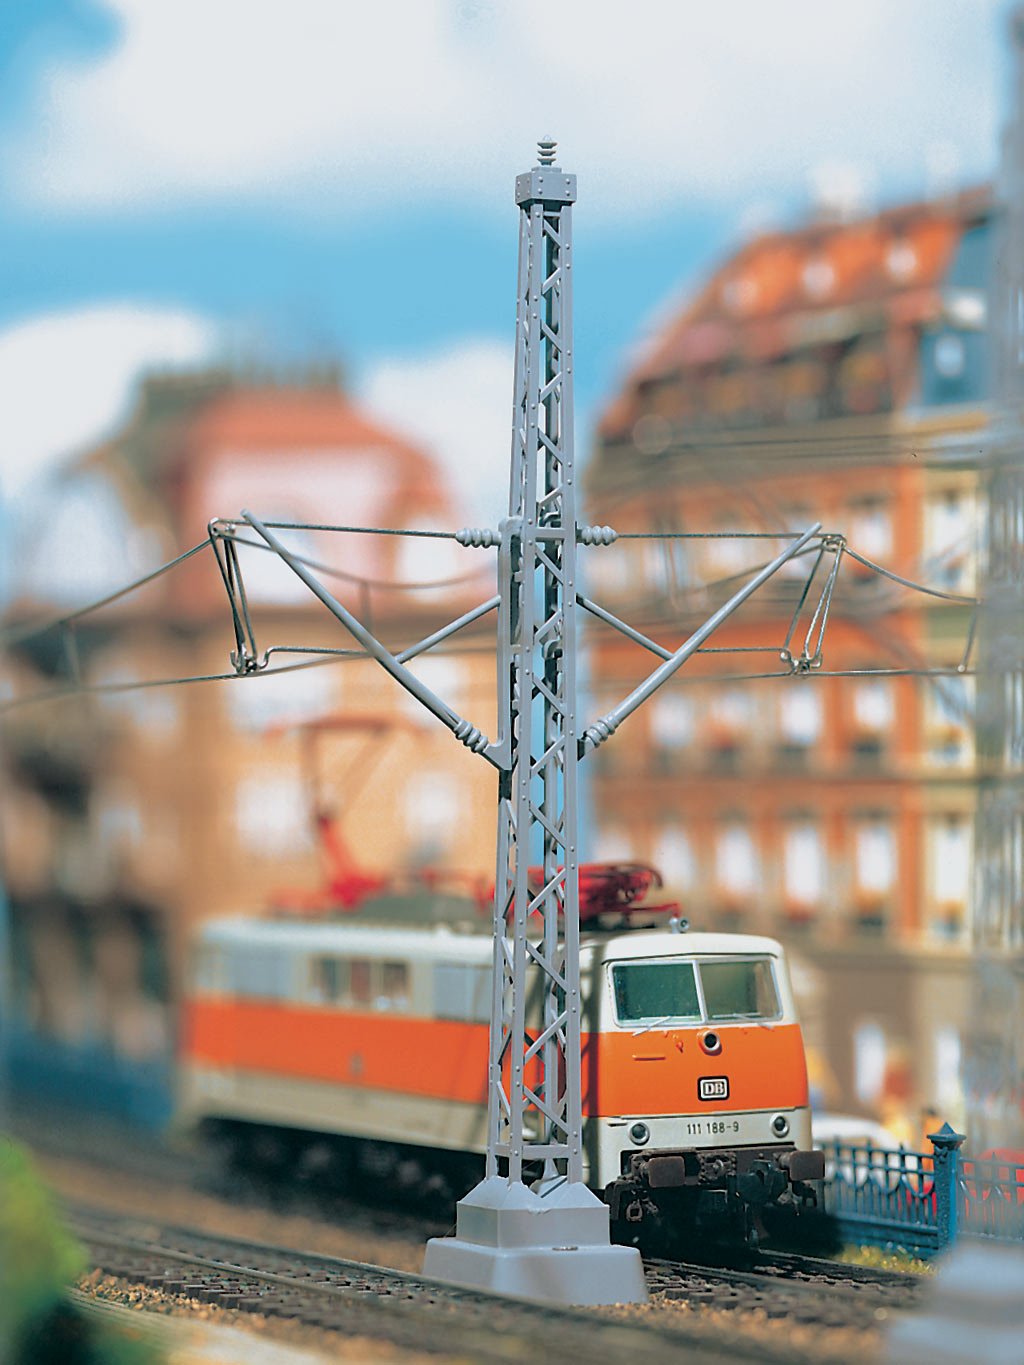
Figure 1: Vollmer Model Train Accessory Kit 1308. This image displays the product packaging, illustrating the various plastic components included in the kit and a visual representation of the completed model building.
Key Features:
- Plastic construction kit.
- Suitable for HO (1:87) and OO scales.
- Designed for model railway layouts.
- Assembly required.
3. Setup and Assembly
This kit requires assembly. Please ensure you have a clean, well-lit workspace and the necessary tools before you begin. Recommended age for assembly is 12 years and older.
3.1 Required Tools (Not Included)
- Hobby knife or sprue cutters
- Plastic model cement (glue)
- Small files or sandpaper (fine grit)
- Tweezers (optional, for small parts)
- Paint and brushes (optional, for detailing)
3.2 Assembly Steps
- Unpack and Inspect: Carefully unpack all components. Compare them against the parts list (if provided in the kit) to ensure all pieces are present and undamaged.
- Prepare Parts: Using a hobby knife or sprue cutters, carefully remove each part from its sprue. Trim any excess plastic (flash) with the knife or sandpaper. Be cautious not to damage the parts.
- Dry Fit: Before applying glue, dry fit parts together to understand their orientation and ensure a proper fit. This helps prevent errors during gluing.
- Assemble Components: Follow the numerical or pictorial instructions provided within your kit for the specific assembly sequence. Apply a small amount of plastic cement to the joining surfaces and hold the parts together until the glue sets. Work in small sections.
- Detailing (Optional): Once the main structure is assembled and the glue has fully cured, you may choose to paint or add additional details to your model for a more realistic appearance.
- Final Inspection: After assembly, inspect the model for any loose parts or areas requiring additional attention.
Safety Note: Always use tools with care. Ensure adequate ventilation when using plastic cement or paints. Keep small parts away from young children.
4. Integration into Your Layout
Once assembled, your Vollmer Model 1308 accessory is ready to be integrated into your model railway layout. Consider the following for optimal placement and realism:
- Placement: Choose a location on your layout that complements the building's design and scale. Ensure it does not obstruct train movement or other operational elements.
- Securing: You may wish to permanently secure the model to your layout base using a small amount of adhesive or screws, depending on your base material.
- Landscaping: Integrate the building into its surroundings with appropriate landscaping, such as grass, trees, fences, and figures, to enhance realism.
- Lighting (Optional): For advanced modelers, internal lighting can be added to the building to create a more dynamic scene, especially during evening operation.
5. Maintenance
Proper care will ensure the longevity and appearance of your model building.
- Dusting: Regularly dust the model using a soft brush or a can of compressed air to prevent dust buildup, which can be difficult to remove later.
- Cleaning: For stubborn dirt, gently wipe with a slightly damp cloth. Avoid harsh chemicals or abrasive cleaners, as these can damage the plastic or paint.
- Storage: If storing the model separately from your layout, keep it in a dust-free container away from direct sunlight and extreme temperatures.
6. Troubleshooting
Most issues with model kits relate to assembly. Here are some common points:
- Parts Not Fitting: Ensure you are using the correct parts for the step. Sometimes, minor trimming or sanding of edges is required for a perfect fit. Do not force parts.
- Glue Issues: If parts are not holding, ensure you are using plastic model cement (not super glue for general plastic models) and that surfaces are clean and dry. Allow adequate curing time.
- Missing Parts: Double-check the packaging and sprue frames. If a part is genuinely missing, contact the retailer or manufacturer with your proof of purchase.
7. Specifications
| Model Number: | 1308 |
| Material: | Plastic |
| Compatible Scales: | HO (1:87), OO |
| Recommended Age: | 12 years and up |
| Approximate Package Dimensions: | 17.8 x 4.6 x 2.2 cm |
| Approximate Product Weight: | 18.1 g |
8. Safety Information
- This product contains small parts and is not suitable for children under 3 years of age due to choking hazards.
- Adult supervision is recommended for users under 16 years old during assembly.
- Use hobby knives and other sharp tools with extreme caution. Always cut away from your body.
- When using plastic model cement or paints, ensure adequate ventilation. Avoid inhaling fumes and contact with skin or eyes. Refer to the specific glue/paint manufacturer's safety data sheet.
9. Warranty and Support
Specific warranty information for the Vollmer Model Train Accessory Kit 1308 is not provided within the product details. For any questions regarding product defects, missing parts, or technical support, please contact the retailer where you purchased the kit or refer to the official Vollmer website for customer service contact information.
Please retain your proof of purchase for any warranty claims or support inquiries.


