
1. Introduction
The Bayou Classic 3066A 30-Quart Outdoor Turkey Fryer Kit is designed for outdoor cooking, specifically for frying whole turkeys. This kit includes a 30-quart stockpot and an outdoor gas stove, along with essential accessories for safe and efficient operation. Please read this manual thoroughly before assembly and use to ensure proper and safe operation of your fryer kit.
2. Safety Information
WARNING: Failure to follow these safety instructions could result in fire, explosion, or severe burns.
- Outdoor Use Only: This fryer kit is designed for outdoor use in a well-ventilated area. Never operate indoors or in an enclosed space.
- Clearance from Combustibles: Maintain a minimum distance of 10 feet (3 meters) from any combustible materials, including buildings, vehicles, and vegetation.
- Stable, Level Surface: Always place the fryer on a stable, level, non-combustible surface to prevent tipping.
- Oil Level: Never overfill the pot with oil. The oil level should be sufficient to cover the turkey without overflowing when the turkey is submerged. A common method is to place the turkey in the empty pot, fill with water until the turkey is covered by 1-2 inches, remove the turkey, and mark the water level. This is your maximum oil fill line.
- Never Leave Unattended: Do not leave the fryer unattended while in use, especially when heating oil or frying.
- Water and Oil: Never allow water or ice to come into contact with hot oil. Ensure the turkey is completely thawed and dry before placing it into hot oil. Even small amounts of water can cause violent oil eruptions.
- Protective Gear: Always wear appropriate protective gear, including long sleeves, gloves, and eye protection, when operating the fryer.
- Children and Pets: Keep children and pets away from the fryer at all times.
- Propane Tank: Use only a properly maintained propane tank. Ensure all connections are tight and leak-free before lighting the burner.
- Fire Extinguisher: Have a Class B fire extinguisher readily available. Never use water to extinguish an oil fire.
3. Package Contents
Verify that all components are present before assembly.

Image: All components of the Bayou Classic 3066A 30-Quart Outdoor Turkey Fryer Kit, including the pot, burner, regulator, and accessories.
- 30-Quart Aluminum Stockpot with Vented Lid
- Outdoor Gas Stove (Burner with cast-iron reversible grate)
- 10-PSI Regulator with Hose
- Perforated Poultry Rack
- Grab Hook
- 12-inch Stainless Steel Deep Fry Thermometer
- 1-ounce Seasoning Injector
4. Setup and Assembly
- Assemble the Burner Stand: Attach the legs to the burner frame. Ensure all connections are secure and the stand is stable. It is recommended to attach the legs before installing the burner and heat shield for easier assembly.
- Connect Regulator and Hose: Securely attach the 10-PSI regulator and hose assembly to the burner's gas inlet. Then, connect the other end of the hose to your propane tank. Hand-tighten all connections.
- Leak Test: Before lighting, perform a leak test. Apply a soapy water solution to all gas connections. Open the propane tank valve slightly. If bubbles appear, there is a leak. Close the tank valve, tighten connections, and retest. Do not proceed if leaks are detected.
- Placement: Position the assembled fryer kit on a stable, level, non-combustible surface outdoors, away from any combustible materials.
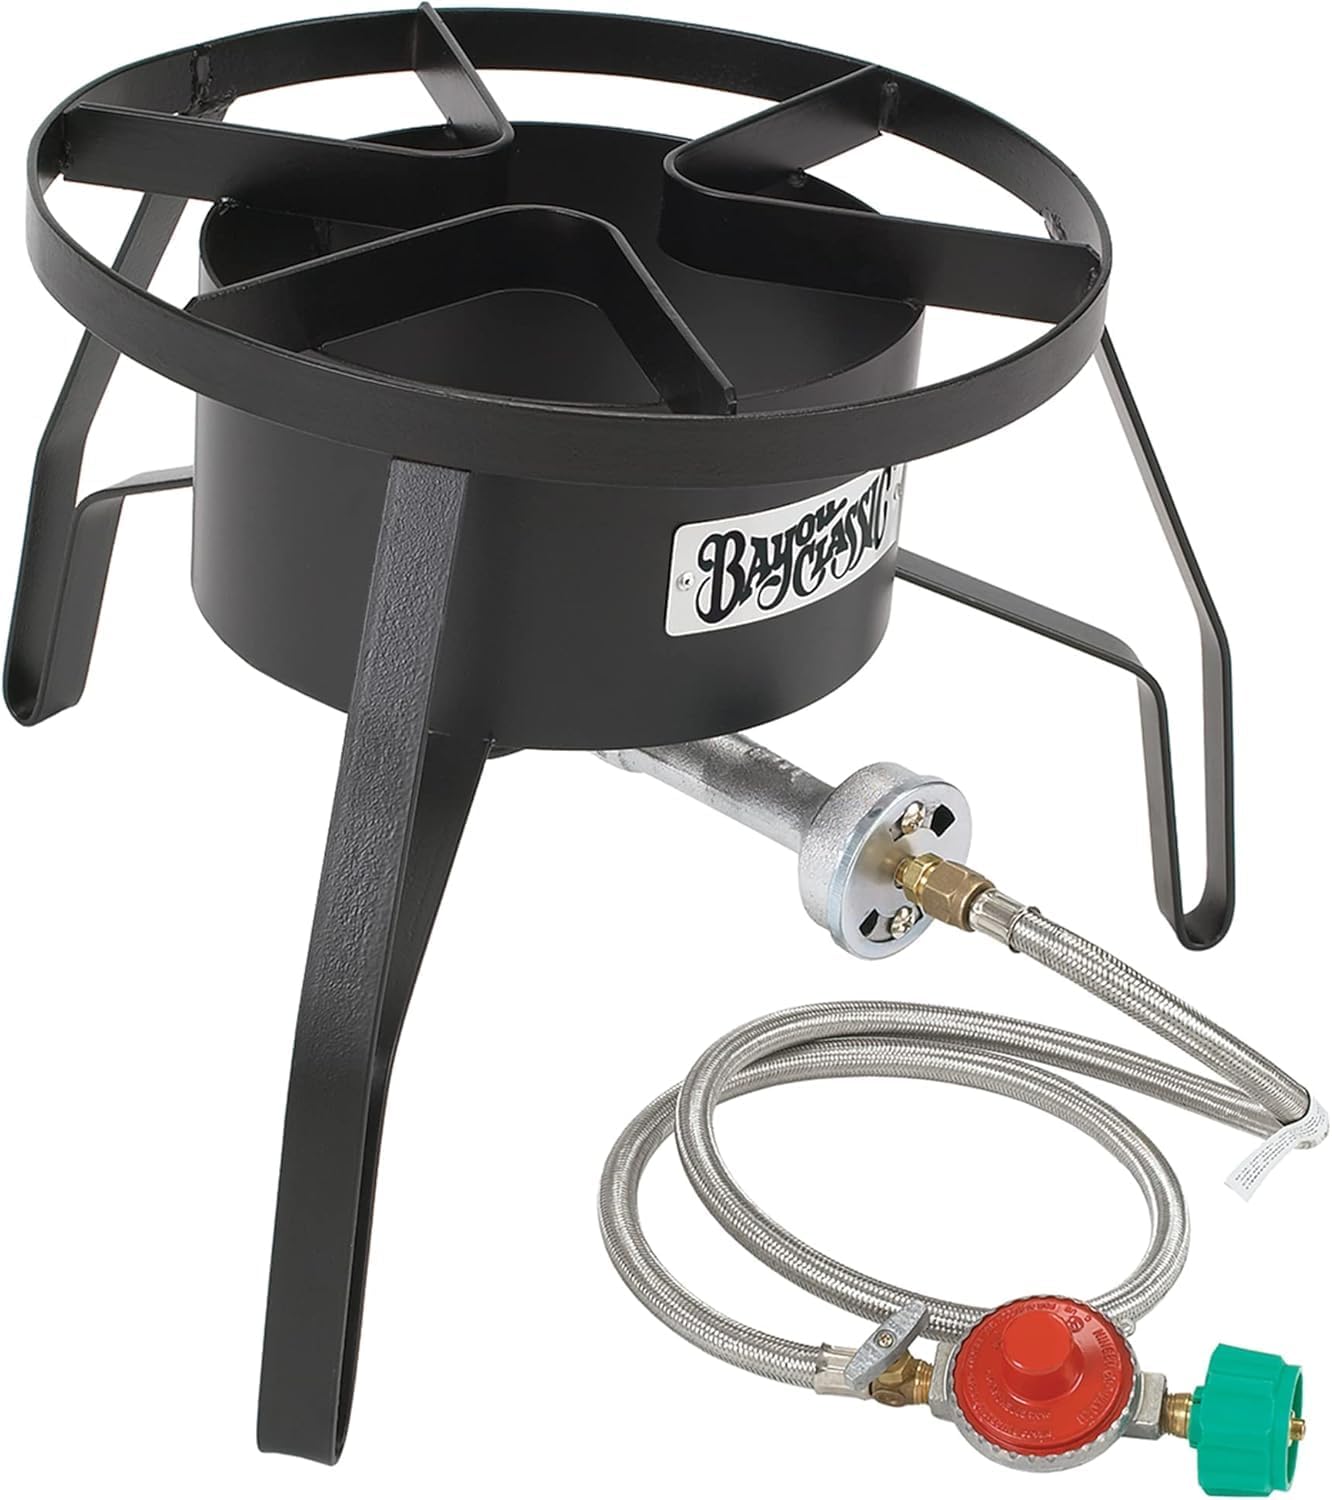
Image: The outdoor gas stove with its legs, connected to the regulator and hose, ready for propane tank attachment.
5. Operating Instructions
5.1. Pre-use Preparation
- Turkey Preparation: Ensure the turkey is completely thawed and thoroughly dry, both inside and out. Pat it dry with paper towels. Remove any pop-up timers or plastic parts.
- Determine Oil Quantity: Place the turkey (without the rack) into the empty 30-quart stockpot. Fill the pot with water until the turkey is covered by approximately 1 to 2 inches. Remove the turkey, allowing the water to drain back into the pot. Note or mark the water level. This is the maximum oil fill line. Discard the water and thoroughly dry the pot.
- Add Oil: Fill the pot with peanut oil or another high smoke point cooking oil up to the determined oil level.
- Thermometer Placement: Attach the 12-inch stainless steel deep fry thermometer to the side of the pot, ensuring the probe is submerged in the oil but not touching the bottom.
- Seasoning (Optional): Use the 1-ounce seasoning injector to inject marinades or seasonings into the turkey if desired.
5.2. Frying Process
- Light the Burner: Open the propane tank valve. Use a long lighter or match to ignite the burner. Adjust the flame to a medium-high setting.
- Heat the Oil: Slowly heat the oil to the desired frying temperature, typically 350°F (175°C). Monitor the thermometer closely. This may take 20-30 minutes.
- Prepare Turkey for Frying: Place the prepared turkey onto the perforated poultry rack.
- Lower Turkey Safely: Once the oil reaches 350°F, turn off the burner. Using the grab hook, slowly and carefully lower the turkey on the rack into the hot oil. Lower it very gradually to prevent oil from bubbling over. Once fully submerged, re-ignite the burner.
- Maintain Temperature: Adjust the burner flame to maintain a consistent oil temperature of 325-350°F (163-175°C) throughout the cooking process.
- Cooking Time: Fry the turkey for approximately 3.5 minutes per pound, or until the internal temperature reaches 165°F (74°C) in the thickest part of the thigh.
- Remove Turkey: Once cooked, turn off the burner. Carefully lift the turkey out of the oil using the grab hook and rack. Allow excess oil to drain back into the pot.
- Resting: Transfer the turkey to a cutting board or platter lined with paper towels to rest for at least 15-20 minutes before carving.
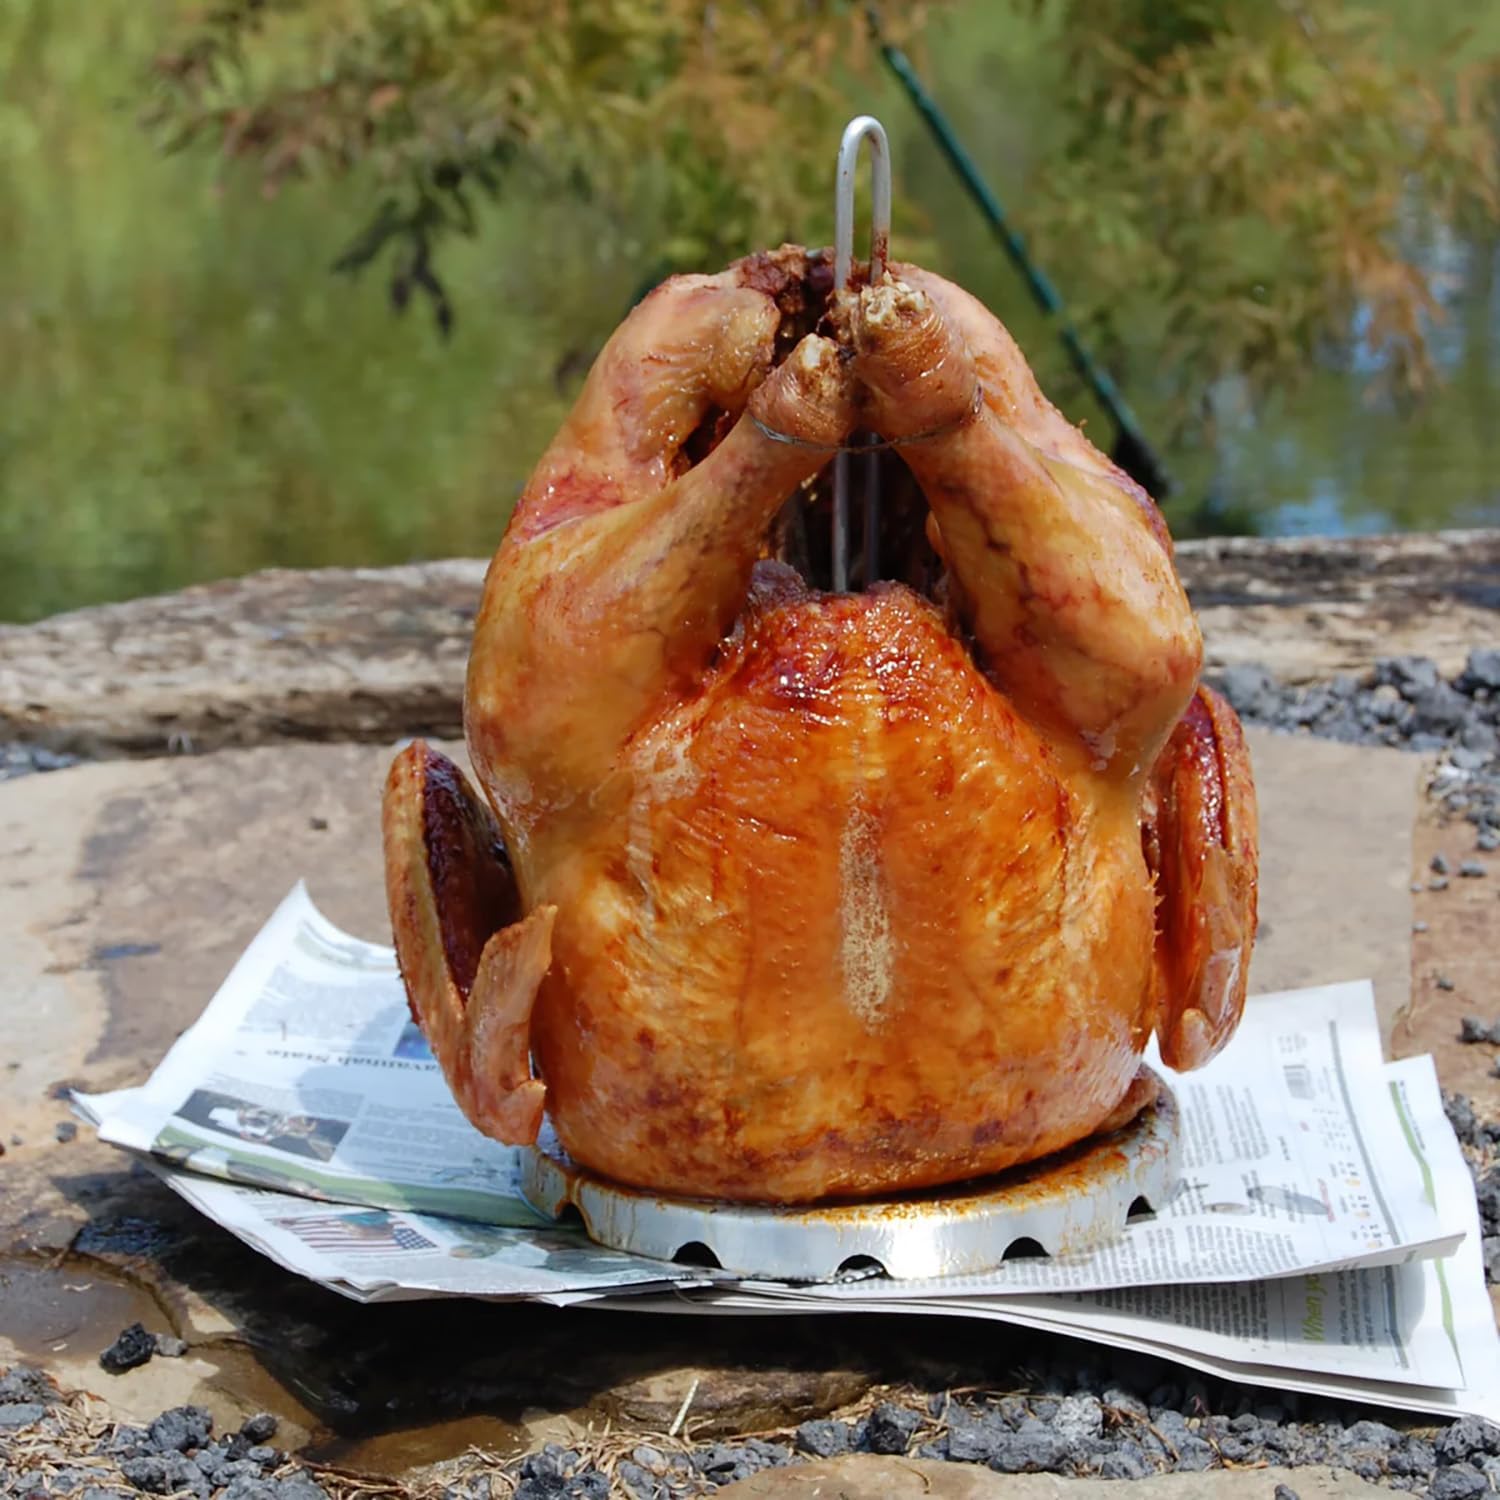
Image: A perfectly golden brown fried turkey resting on its rack after cooking.
5.3. Post-use
- Cooling Oil: Allow the oil to cool completely in the pot before attempting to move or dispose of it. This may take several hours.
- Oil Disposal: Once cooled, the oil can be strained and reused, or disposed of properly according to local regulations. Do not pour oil down drains.
6. Maintenance and Cleaning
- Pot Cleaning: After the pot has cooled, wash it with warm, soapy water. Use a non-abrasive sponge or cloth to prevent scratching the aluminum. Rinse thoroughly and dry completely to prevent water spots.
- Burner Cleaning: Allow the burner and stand to cool completely. Wipe down the burner and stand with a damp cloth to remove any grease or debris. Ensure the burner ports are clear of obstructions.
- Accessory Cleaning: Wash the poultry rack, grab hook, thermometer, and seasoning injector with warm, soapy water. Rinse and dry thoroughly.
- Storage: Store all components in a clean, dry place when not in use. Disconnect the propane tank and store it upright in a well-ventilated area away from ignition sources.
7. Troubleshooting
| Problem | Possible Cause | Solution |
|---|---|---|
| Burner will not light | No propane flow; Clogged burner; Faulty regulator | Check propane tank level; Ensure tank valve is open; Check hose and regulator connections; Clean burner ports; Replace regulator if faulty. |
| Oil not heating sufficiently | Low flame; Insufficient propane; Cold ambient temperature | Adjust flame higher; Check propane level; Allow more time for heating. |
| Oil overflowing when turkey is added | Too much oil in pot; Turkey not dry | Ensure oil level is correct (see Section 5.1); Thoroughly dry turkey before submerging. |
| Excessive smoke from burner | Grease buildup; Paint burning off (normal for first few uses) | Clean burner and stand; Initial paint burn-off is normal and will subside. |
8. Specifications
- Model Number: 3066A
- Brand: Bayou Classic
- Pot Capacity: 30 Quarts
- Material: Aluminum (Pot), Steel/Cast Iron (Burner Stand)
- Color: Silver and Black
- Assembled Dimensions: Approximately 16"D x 16"W x 33"H
- Item Weight: Approximately 17.95 pounds
- Regulator: 10-PSI
- Included Accessories: Vented lid, perforated poultry rack, grab hook, 12-inch stainless thermometer, 1-ounce seasoning injector.
9. Warranty and Support
For warranty information and customer support, please refer to the documentation included with your purchase or contact Bayou Classic directly. You may also visit the official Bayou Classic Store for additional resources.