
1. Introduction and Overview
This manual provides detailed instructions for the installation, operation, and maintenance of your Faria Beede 32812 Euro Speedometer. Designed for marine and automotive applications, this electromechanical gauge accurately measures speeds up to 80 MPH. Please read this manual thoroughly before installation and use to ensure proper function and longevity of your speedometer.
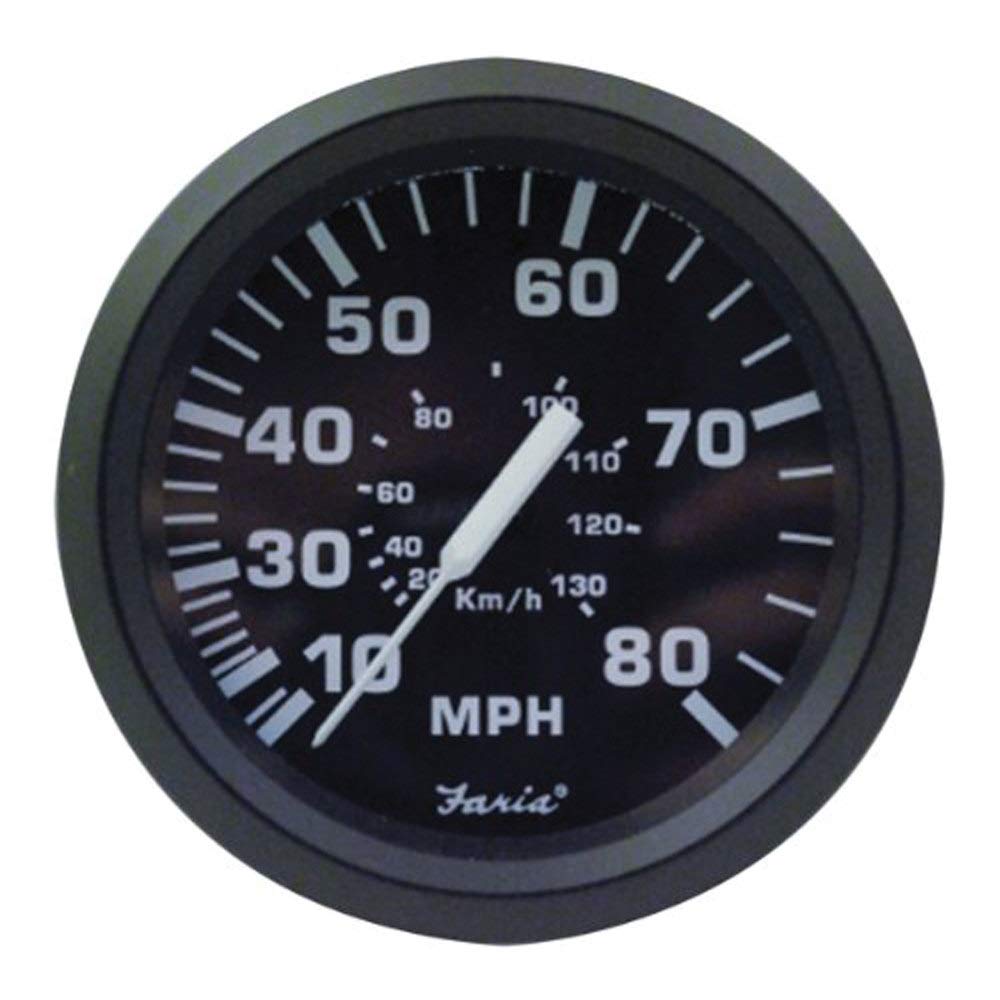
Figure 1.1: Faria Beede 32812 Euro Speedometer. This image displays the front view of the speedometer, featuring a black dial with white graphics and a red needle, encased in a black bezel.
2. Package Contents
Verify that all items are present and undamaged upon opening the package:
- Faria Beede 32812 Euro Speedometer (80 MPH) - 4, Black
- Mounting hardware (if applicable, not explicitly listed but implied for installation)
- Instruction Manual
3. Features
The Faria Beede 32812 Euro Speedometer offers the following key features:
- Model: Euro Black 4-inch Speedometer - 80MPH (Pitot)
- Display Size: 4 inches
- Weight: 0.54 pounds
- Dimensions: 5 x 6 x 5 inches
- Material: Plastic
- Bezel: Black aluminum
- Dial: Perimeter-lighted, black with bold white graphics
- Lens: Flat glass
- Speedometer type: Electromechanical gauge
4. Specifications
| Attribute | Value |
|---|---|
| Brand | Faria |
| Model Number | 32812 |
| Material | Plastic |
| Item Dimensions (L x W x H) | 6 x 5 x 5 inches |
| Item Weight | 8.64 ounces |
| Number of Items | 1 |
| Part Number | 32812 |
| UPC | 759266328129 |
| Manufacturer | Faria Beede |
| Speedometer Type | Electromechanical gauge |
| Bezel | Black aluminum |
| Dial | Perimeter-lighted, black with bold white graphics |
| Lens | Flat glass |
5. Installation
Professional installation is recommended for optimal performance and safety. Ensure the vehicle's power is disconnected before beginning installation.
- Select Mounting Location: Choose a flat, secure surface on the dashboard or panel with sufficient clearance behind for wiring and mounting hardware. The gauge requires a 4-inch diameter cutout.
- Prepare Mounting Hole: Carefully cut a 4-inch (approximately 101.6mm) diameter hole in the chosen location. Ensure the hole is smooth and free of debris.
- Wiring Connections:
- Connect the black wire to a reliable ground source.
- Connect the red wire to a switched 9-32VDC power source.
- Connect the yellow wire to the backlight power source (e.g., dashboard illumination circuit).
Note: Ensure all connections are secure and insulated to prevent short circuits.
- Secure Speedometer: Insert the speedometer into the mounting hole. Use the provided mounting bracket and nuts to secure the gauge firmly from behind the panel. Do not overtighten.
- Connect Pitot Tube (if applicable): If your system uses a pitot tube for speed sensing, connect it to the appropriate port on the speedometer according to the pitot tube manufacturer's instructions.
- Test Functionality: Reconnect power to the vehicle and test the speedometer's operation and backlight.
6. Operation
The Faria Beede 32812 Euro Speedometer is designed for straightforward operation.
- Power On: When the vehicle's ignition is turned on, the speedometer will power up. The needle will sweep to its maximum reading and return to zero as part of a self-test.
- Speed Reading: As the vehicle moves, the speedometer needle will indicate the current speed in Miles Per Hour (MPH) on the dial.
- Backlight: The perimeter-lighted dial will illuminate when the vehicle's lighting system is activated (assuming the yellow backlight wire is correctly connected). This provides clear visibility in low-light conditions.
7. Maintenance
To ensure the longevity and accurate performance of your speedometer, follow these maintenance guidelines:
- Cleaning: Clean the gauge face and bezel with a soft, damp cloth. Avoid abrasive cleaners or solvents that could damage the lens or finish.
- Regular Inspection: Periodically check all wiring connections for tightness and corrosion. Ensure the mounting is secure.
- Pitot Tube (if applicable): If using a pitot tube, ensure it is clear of obstructions and free from damage. Refer to the pitot tube manufacturer's instructions for specific maintenance.
8. Troubleshooting
If you encounter issues with your Faria Beede 32812 Speedometer, refer to the following common troubleshooting steps:
- No Power/No Display:
- Check all power and ground connections for proper contact and voltage.
- Verify that the vehicle's ignition is on.
- Inspect fuses in the power circuit.
- Inaccurate Speed Reading:
- Ensure the pitot tube (if used) is correctly installed, free from blockages, and positioned properly in the water flow.
- Check for any kinks or damage in the pitot tube hose.
- Verify the speedometer is correctly calibrated for your specific application (if adjustable, consult a professional).
- Backlight Not Working:
- Check the connection of the yellow backlight wire.
- Ensure the vehicle's dashboard lights are turned on.
- Inspect for any blown fuses in the lighting circuit.
If these steps do not resolve the issue, contact Faria Beede customer support or a qualified technician.
9. Warranty and Support
This Faria Beede product is covered by a manufacturer's warranty. For specific warranty details, including duration and coverage, please refer to the documentation included with your purchase or visit the official Faria Beede website.
For technical support, replacement parts, or further assistance, please contact Faria Beede customer service. Contact information can typically be found on the manufacturer's website or on the product packaging.


