
1. Introduction
The Acctim Stratus Smartlite Wall/Desk Clock is a versatile digital timepiece designed for both wall mounting and desk placement. It features a multi-function display providing time, calendar information, and indoor temperature. Equipped with Acctim's Smartlite Technology, the clock offers enhanced visibility in low-light conditions while ensuring extended battery life. This clock is radio-controlled for automatic time synchronization, primarily within the UK and Ireland.

Figure 1: Front view of the Acctim Stratus Smartlite Wall/Desk Clock. The display shows the current time, date (month/day/day of week), and indoor temperature. A radio signal icon indicates successful synchronization.
2. Package Contents
- 1 x Acctim Stratus Smartlite Wall/Desk Clock
Please ensure all components are present and undamaged upon unboxing.
3. Key Features
- Radio Controlled Time: Automatically sets time and adjusts for seasonal changes (Daylight Saving Time) based on radio signals (primarily UK & Ireland).
- Smartlite Technology: Illuminates the display for clear night-time viewing without excessive brightness, designed for efficient battery usage.
- Multi-function Display: Shows time, full calendar (date, month, day of week), and indoor temperature.
- Versatile Placement: Suitable for both wall mounting and desk use.
- Battery Operated: Requires 3 x AA batteries (not included).
4. Setup
4.1 Battery Installation
- Locate the battery compartment on the back of the clock.
- Open the battery compartment cover.
- Insert 3 x AA batteries (not included), ensuring correct polarity (+/-).
- Close the battery compartment cover securely.

Figure 2: Rear view of the clock, illustrating the battery compartment and the location of control buttons for setup and adjustments.
4.2 Initial Setup and Radio Signal Reception
Upon battery installation, the clock will automatically attempt to receive the radio-controlled time signal. This process may take several minutes. For optimal reception, place the clock near a window and away from electronic devices that may cause interference.
- A radio signal icon on the display will indicate successful reception.
- If the signal is not received within a few hours, or if you are outside the UK/Ireland reception area, manual time setting may be required.
4.3 Placement
The clock can be placed on a desk using its integrated stand or mounted on a wall using the keyhole slot on the back. Ensure the surface is stable for desk placement or use appropriate hardware for wall mounting.
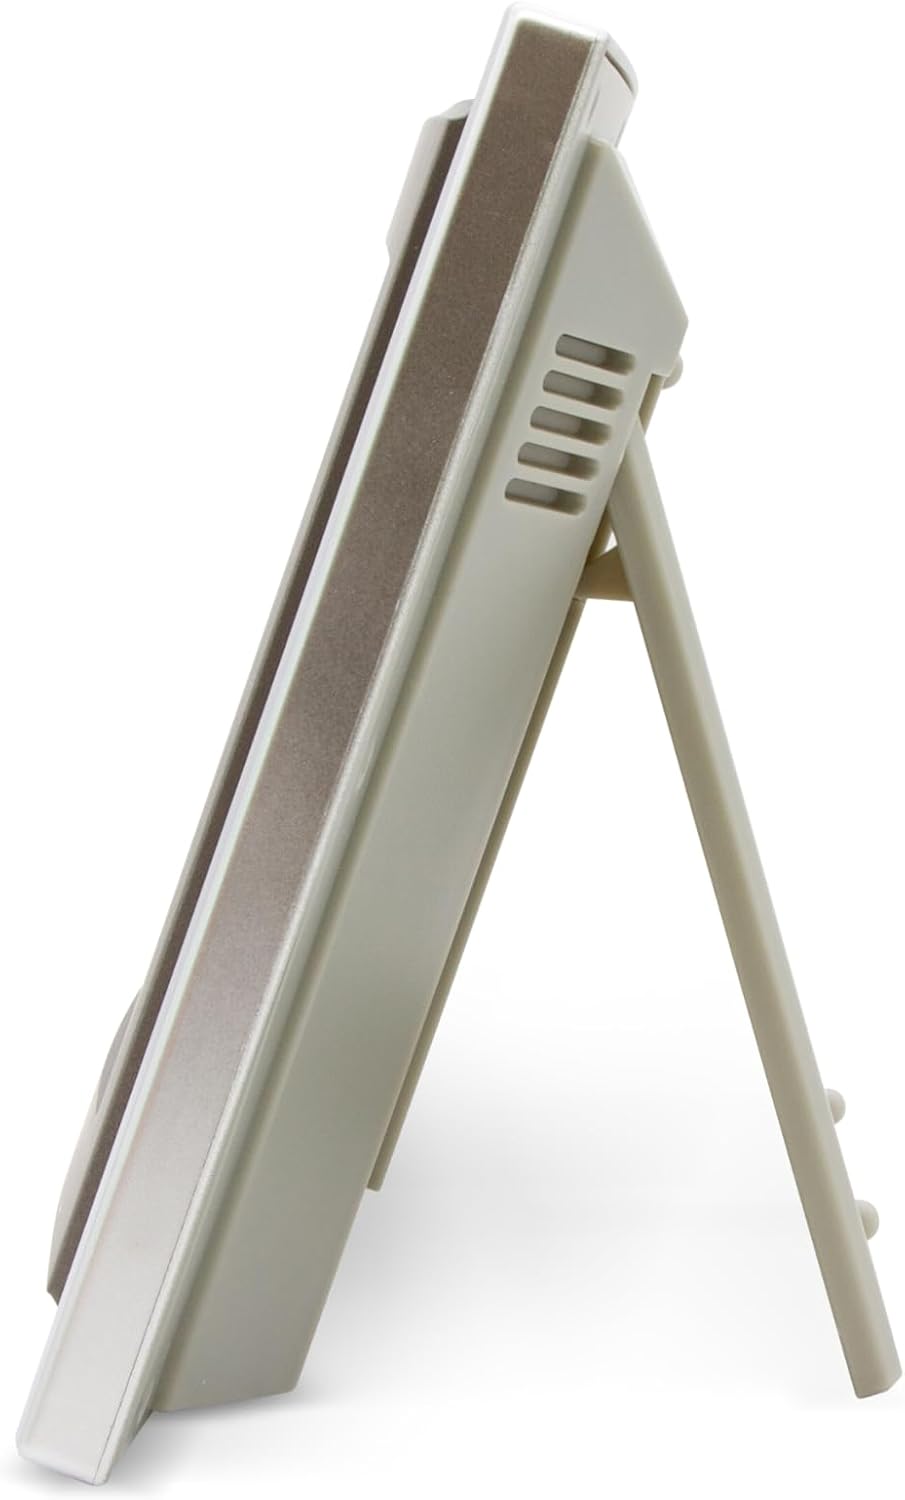
Figure 3: Side view of the clock, demonstrating the extended stand for stable desk placement.
5. Operating Instructions
The clock's primary functions are automatically managed by the radio signal. Manual adjustments are typically only needed if the signal is unavailable or for specific preferences.
5.1 Display Information
The large LCD display shows the following information:
- Time: Displays hours, minutes, and seconds. Can be set to 12-hour (with AM/PM indicator) or 24-hour format.
- Date: Shows month and day.
- Day of Week: Displays the current day.
- Temperature: Indicates the indoor ambient temperature.
- Radio Signal Indicator: An icon confirms successful reception of the radio time signal.
- DST Indicator: Shows if Daylight Saving Time is active.
5.2 Manual Time and Date Setting
If the radio signal is not available or if you need to adjust settings manually:
- Locate the control buttons on the back of the clock (refer to Figure 2).
- Press the 'MODE' button to cycle through setting options (Time, Date, Year, 12/24 hour format).
- Use the 'UP' and 'DOWN' buttons to adjust the values.
- Press 'MODE' again to confirm and move to the next setting, or to exit setting mode.
5.3 Smartlite Function
The Smartlite feature automatically illuminates the display in low-light conditions. This function is always active and does not require manual activation. It is designed to provide sufficient visibility without being overly bright, conserving battery power.
6. Maintenance
6.1 Battery Replacement
When the display dims or functions become erratic, it is time to replace the batteries. Follow the battery installation steps in Section 4.1. Always replace all three AA batteries at the same time with new ones.
6.2 Cleaning
Wipe the clock's surface with a soft, dry cloth. Do not use abrasive cleaners or solvents, as these may damage the display or casing. Avoid exposing the clock to excessive moisture.
7. Troubleshooting
| Problem | Possible Cause | Solution |
|---|---|---|
| Clock not setting time automatically. | Weak or no radio signal reception; geographical location outside UK/Ireland primary signal range. | Move the clock closer to a window or to a different location. Ensure no strong electronic interference. If outside reception area, set time manually (refer to Section 5.2). |
| Display is dim or blank. | Low batteries. | Replace all 3 x AA batteries with new ones. |
| Incorrect time displayed (e.g., 1 hour off). | Daylight Saving Time (DST) not adjusted, or clock is receiving a signal from a different time zone. | Ensure the clock is receiving the correct signal for your region. If necessary, manually adjust the time (Section 5.2). Note that this clock is primarily designed for UK/Ireland time zones. |
| Buttons on the back are difficult to access. | Design consideration for wall mounting. | This is part of the product design. For easier access, remove the clock from the wall or adjust its position when making manual settings. |
8. Specifications

Figure 4: Dimensions of the Acctim Stratus Smartlite Wall/Desk Clock.
| Feature | Detail |
|---|---|
| Brand | Acctim |
| Model Number | 74057 |
| Display Type | Digital |
| Color | Silver |
| Product Dimensions (W x H x D) | 171 x 285 x 30 mm (approx. 6.73"W x 10.63"H) |
| Power Source | Battery Powered |
| Batteries Required | 3 x AA (not included) |
| Mounting Type | Desk Clock, Wall Mount |
| Material | Plastic |
| Special Features | Calendar Display, Radio Controlled, Smartlite Technology |
| Operation Mode | Atomic |
9. Warranty and Support
For warranty information or technical support, please refer to the contact details provided with your purchase or visit the official Acctim website. Keep your proof of purchase for any warranty claims.
