
Introduction
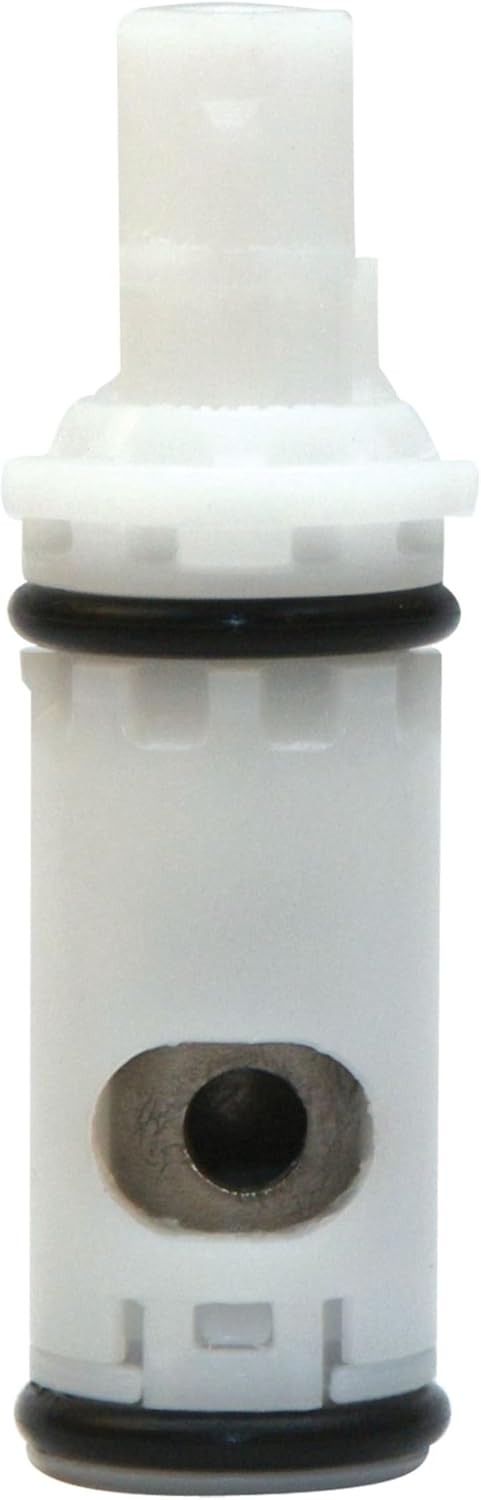
This manual provides detailed instructions for the installation, operation, and maintenance of the Moen 1224 Replacement Faucet Cartridge Kit. This cartridge is designed to restore proper function to most double-handle Moen faucets and tub/showers, addressing issues such as leaks or inconsistent water flow.
Safety Information
- Always turn off the main water supply to the faucet before beginning any work.
- Wear appropriate personal protective equipment, such as safety glasses, to prevent injury.
- Ensure all tools are used correctly to avoid damage to the faucet or personal injury.
- If you are unsure about any step, consult a qualified plumber.
Package Contents
The Moen 1224 Replacement Faucet Cartridge Kit typically includes:
- One (1) Moen 1224 Replacement Cartridge
- One (1) Cartridge Removal/Installation Tool (may vary by kit)
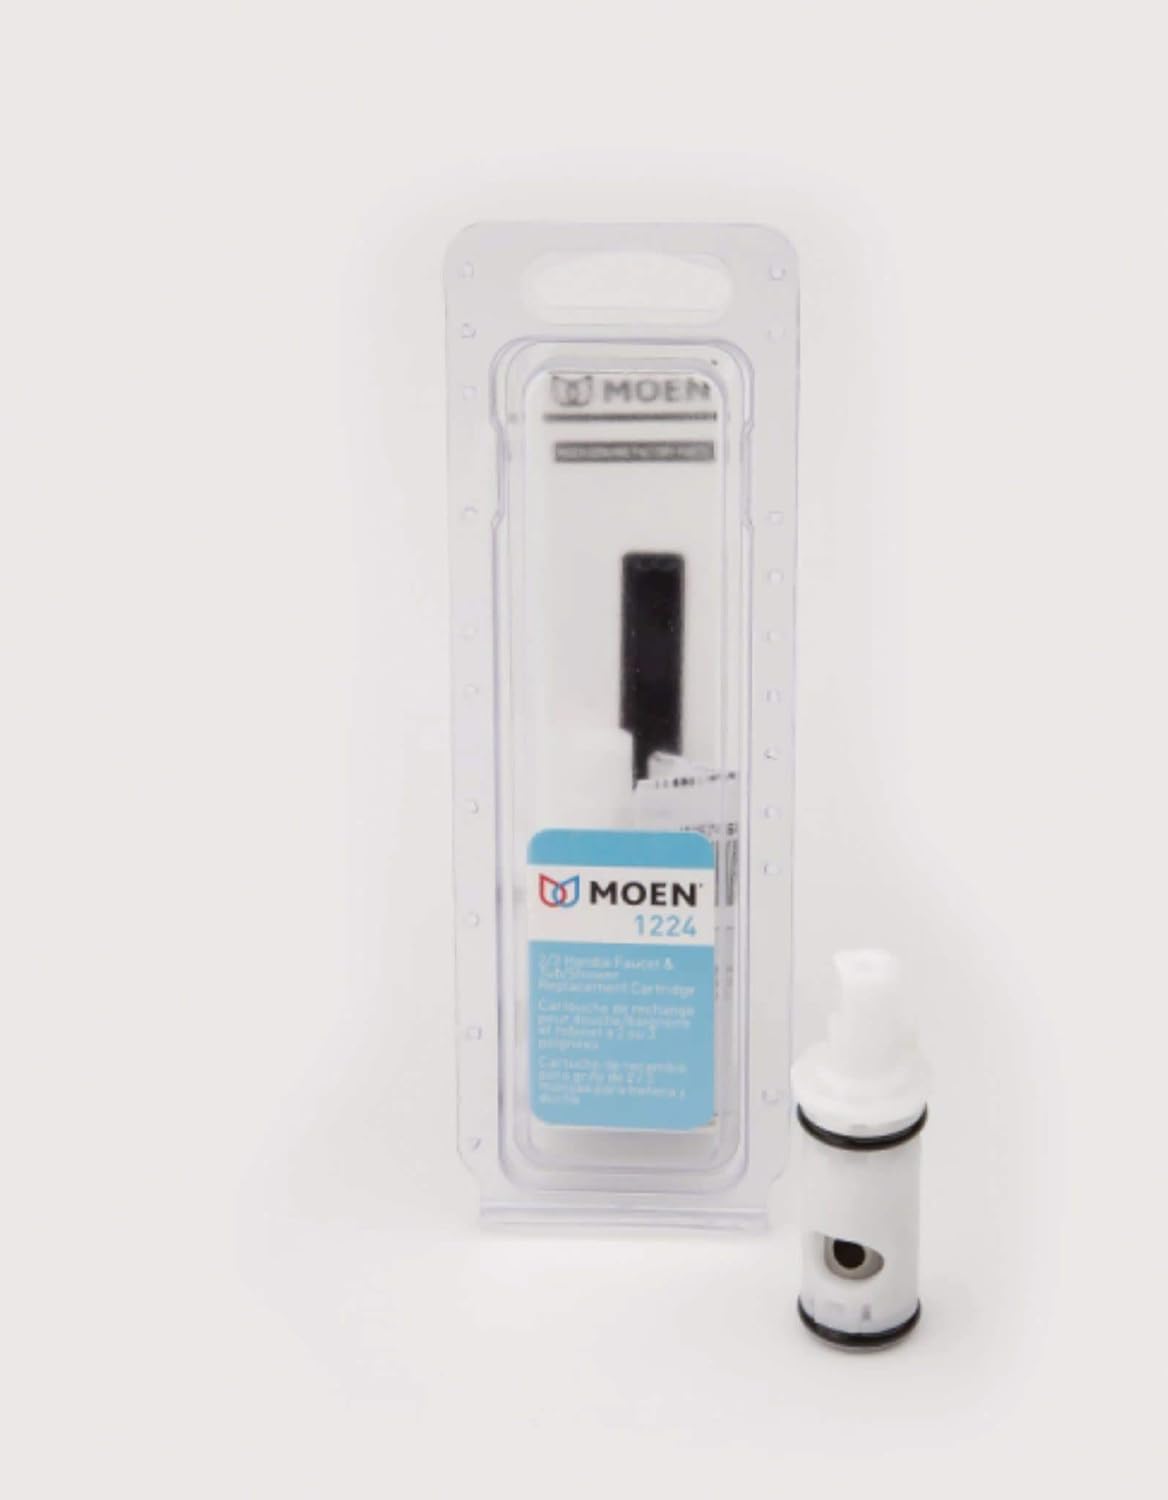
The Moen 1224 cartridge kit, including the replacement cartridge and a specialized tool for removal and installation.
Installation Instructions
Follow these steps to replace the faucet cartridge:
- Turn Off Water Supply: Locate the main water shut-off valve for your home or the specific shut-off valves for the faucet (hot and cold). Turn them off completely.
- Relieve Water Pressure: Open the faucet handles to drain any remaining water and relieve pressure in the lines. Close the handles once water stops flowing.
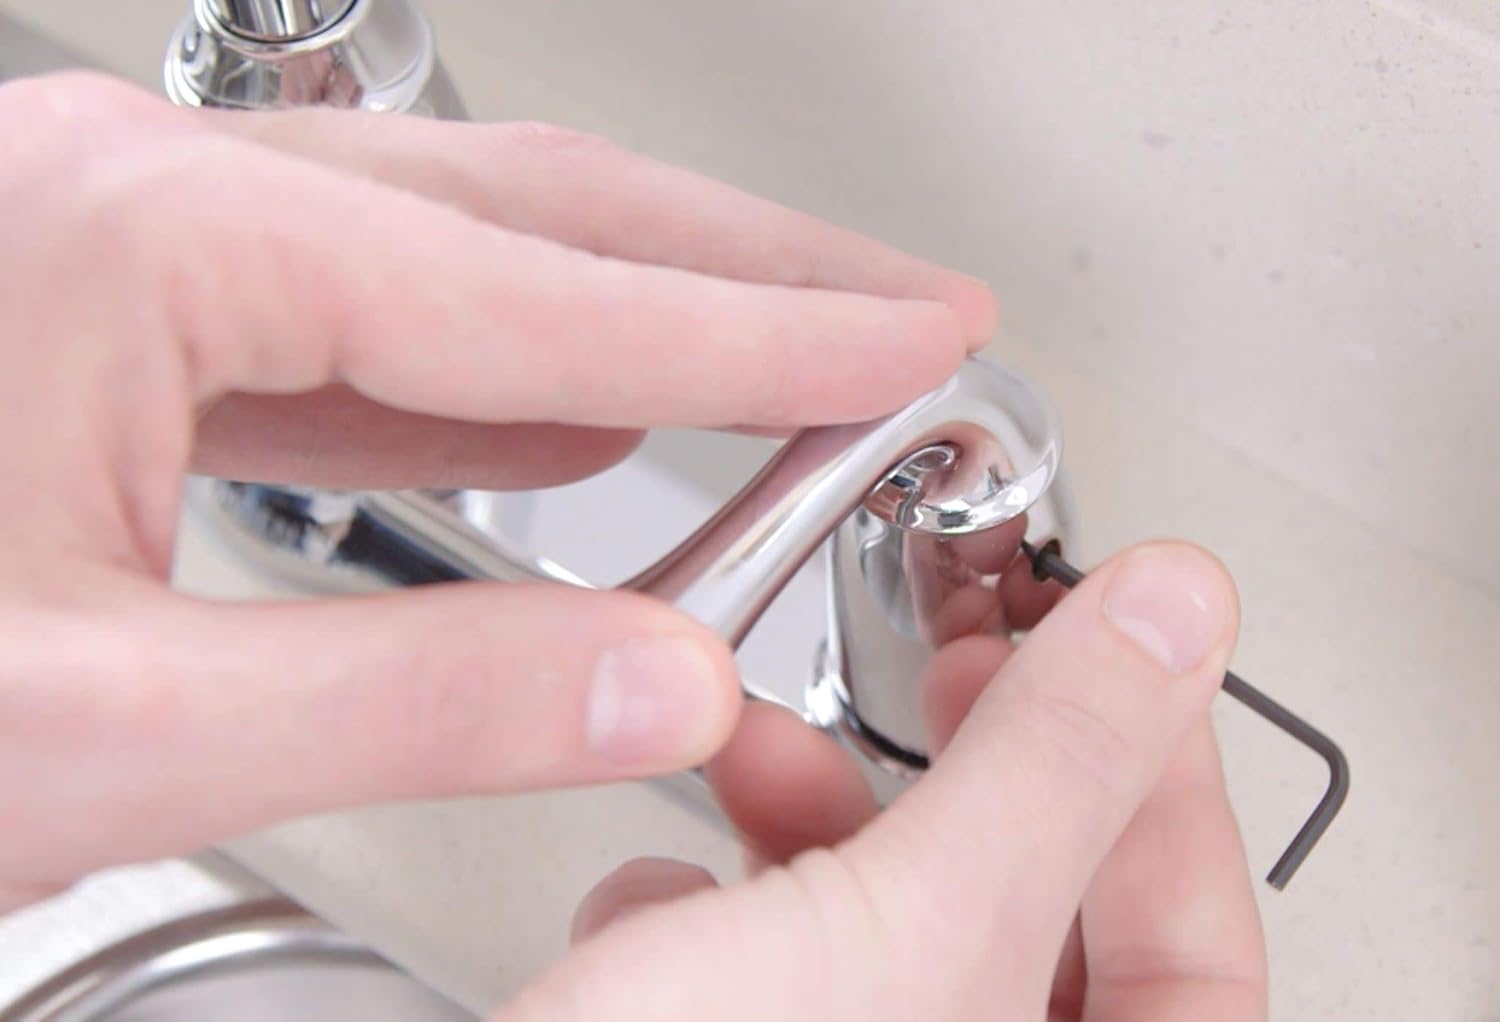
- Remove Faucet Handle: Depending on your faucet model, you may need to pry off a decorative cap to expose a set screw. Use an Allen wrench or screwdriver to loosen and remove the set screw, then pull the handle off the faucet stem.

A close-up of a hand using an Allen wrench to remove the set screw from a faucet handle.
A hand lifting the faucet handle off the stem after the set screw has been loosened.
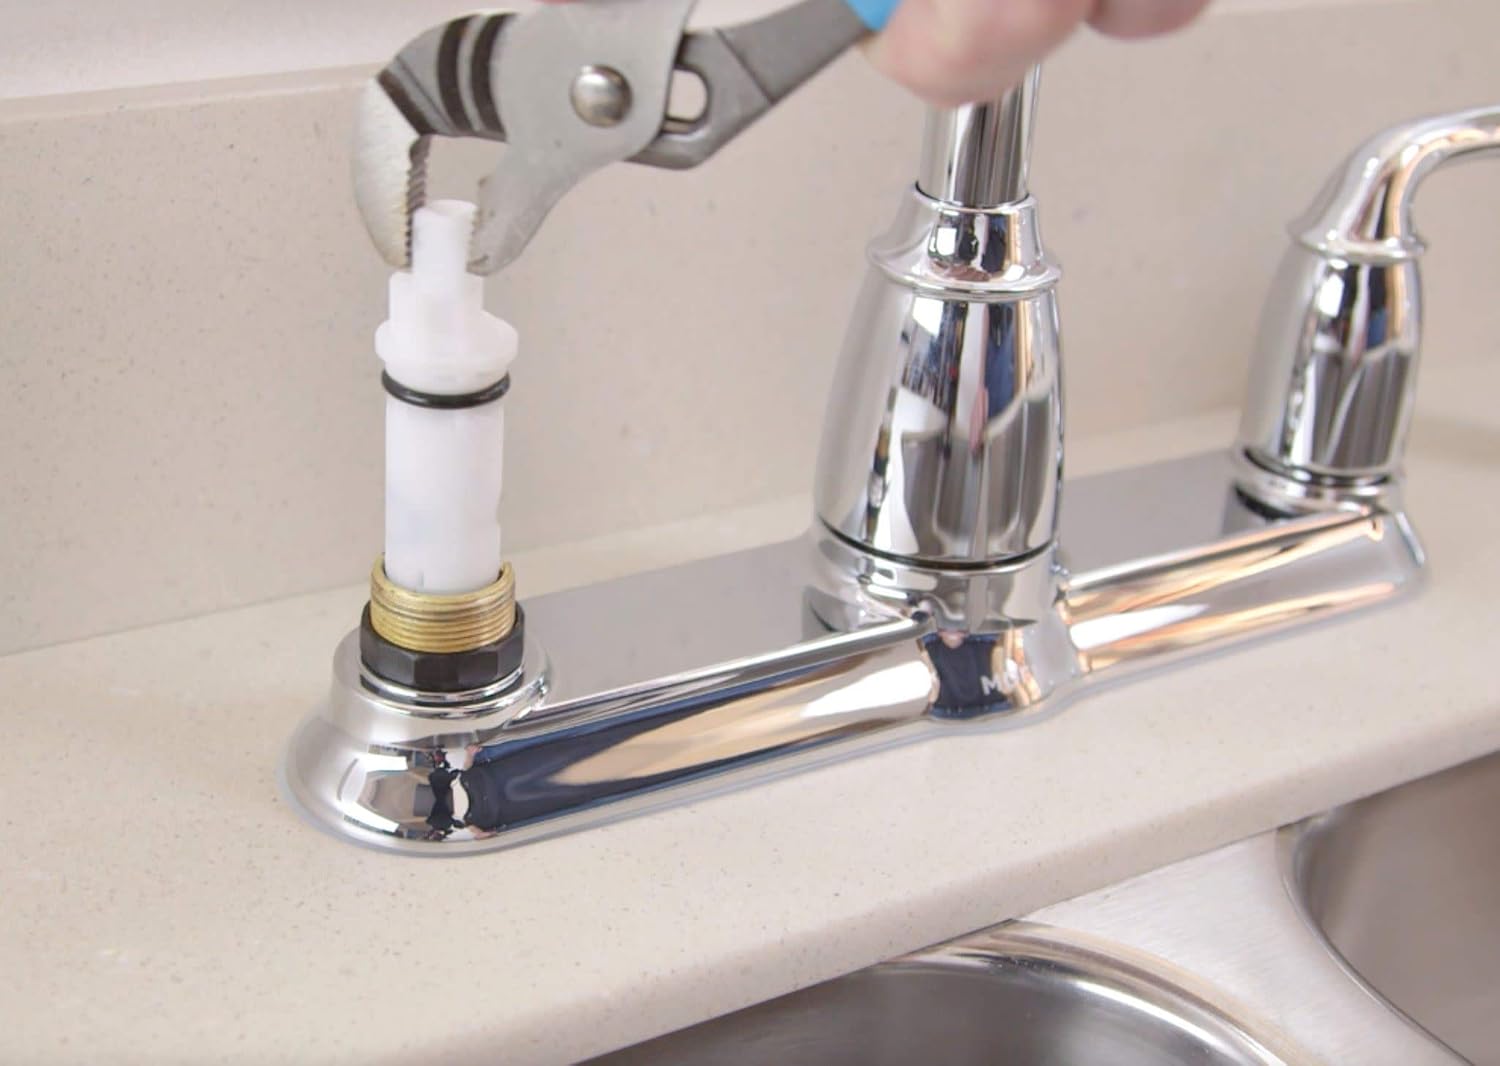
- Remove Retaining Nut/Clip: You will see a brass retaining nut or a metal retaining clip holding the cartridge in place. Use adjustable pliers to unscrew the nut or a screwdriver to carefully remove the clip.

Pliers being used to unscrew the brass retaining nut that secures the cartridge in the faucet body.
- Remove Old Cartridge: Use the specialized Moen tool (if included) or adjustable pliers to grip the top of the old cartridge and pull it straight out. It may require some force if it's stuck due to mineral buildup.

A hand using the specialized Moen tool to extract the old cartridge from the faucet body.

The old faucet cartridge fully removed from the faucet body, ready for replacement.
- Insert New Cartridge: Ensure the new Moen 1224 cartridge is oriented correctly. There is typically a small tab or notch on the cartridge that aligns with a slot in the faucet body. Push the new cartridge firmly into place.

A hand pushing the new cartridge into the faucet body, ensuring it is fully seated.

A hand carefully placing the new Moen 1224 cartridge into the faucet body, ensuring proper alignment.
- Secure Cartridge: Reinstall the retaining nut or clip, tightening the nut with pliers or securing the clip until the cartridge is firmly held in place.
Pliers being used to tighten the brass retaining nut, securing the new cartridge in place.
- Reattach Handle: Place the faucet handle back onto the cartridge stem, align it, and tighten the set screw.
A hand placing the faucet handle back onto the cartridge stem.
- Restore Water Supply: Slowly turn the main water supply back on.
- Test Faucet: Check for leaks and verify proper water flow and temperature control.
Operating the Faucet
The Moen 1224 cartridge restores proper water flow and temperature control to your double-handle Moen faucet. Once installed, operate your faucet as usual by turning the handles to control water flow and temperature.
Maintenance
The Moen 1224 cartridge is designed for durability. Regular maintenance involves:
- Periodically checking for leaks around the faucet base and handles.
- Cleaning the faucet exterior with a soft cloth and mild soap to prevent mineral buildup.
- If leaks or flow issues recur, re-evaluate the installation or consider replacing the cartridge again.
Troubleshooting
| Problem | Possible Cause | Solution |
|---|---|---|
| Faucet leaks from handle or spout | Cartridge not seated correctly, retaining nut loose, or cartridge seals damaged. | Ensure cartridge is fully inserted and oriented correctly. Tighten retaining nut. If problem persists, inspect cartridge for damage or replace. |
| No water flow or reduced flow | Water supply off, cartridge clogged, or improperly installed. | Check water supply valves. Remove and inspect cartridge for debris. Ensure cartridge is installed with correct orientation. |
| Incorrect water temperature | Cartridge installed incorrectly (e.g., rotated 180 degrees). | Remove cartridge and re-install, ensuring proper orientation according to manufacturer guidelines. |
Specifications
- Brand: Moen
- Model: 1224
- Material: Acrylonitrile Butadiene Styrene (Plastic) with Brass components
- Recommended Uses: Kitchen, Bathroom (for compatible double-handle Moen faucets)
- Number of Handles: Designed for 1-handle operation within a double-handle faucet system
- Included Components: Replacement Parts or Service Kit
- Special Feature: Durable
- Item Weight: Approximately 0.8 ounces (22.68 g)
- Product Dimensions: 1"D x 1"W x 1"H (approximate)
Warranty and Support
The Moen 1224 Replacement Faucet Cartridge Kit is backed by Moen’s Limited Lifetime Warranty. For detailed warranty information or technical support, please refer to the official Moen website or contact Moen customer service directly.
Moen Customer Service: For assistance, visit www.moen.com/customer-support or consult your product packaging for contact details.


