1. Introduction
The MUSTOOL DM9 Pro is a versatile 7-inch HDMI digital microscope designed for detailed observation, inspection, and analysis. It features a high-resolution IPS screen, adjustable magnification from 10X to 1200X, and a 16MP camera sensor for capturing clear images and 1080FHD videos. With its remote control, adjustable lighting, and multiple output options (HDMI, USB), it is suitable for various applications including electronics repair, coin inspection, jewelry appraisal, and educational purposes.

Figure 1: MUSTOOL DM9 Pro Digital Microscope Overview
2. Safety Information
Please read and understand all safety instructions before using the microscope. Failure to follow these instructions may result in electric shock, fire, or serious injury.
- Keep the device away from water and other liquids.
- Do not disassemble or modify the microscope. Refer all servicing to qualified personnel.
- Use only the provided power adapter and cables.
- Avoid direct exposure of the LED lights to eyes.
- Ensure the microscope is placed on a stable, level surface to prevent tipping.
- Keep out of reach of children unless under adult supervision.
3. Package Contents
Verify that all items listed below are included in your package. If any items are missing or damaged, please contact customer support.
- 1 x MUSTOOL DM9 Pro Digital Microscope
- 1 x HDMI Cable
- 1 x USB Cable
- 1 x Remote Control
4. Setup
4.1 Assembly Instructions
Follow these steps to assemble your DM9 Pro Digital Microscope:
- Connect the bracket to the base.
- Tighten the knob to secure the bracket.
- Place the screen unit onto the top of the bracket.
- Tighten the two knobs on the screen unit to fix its position.
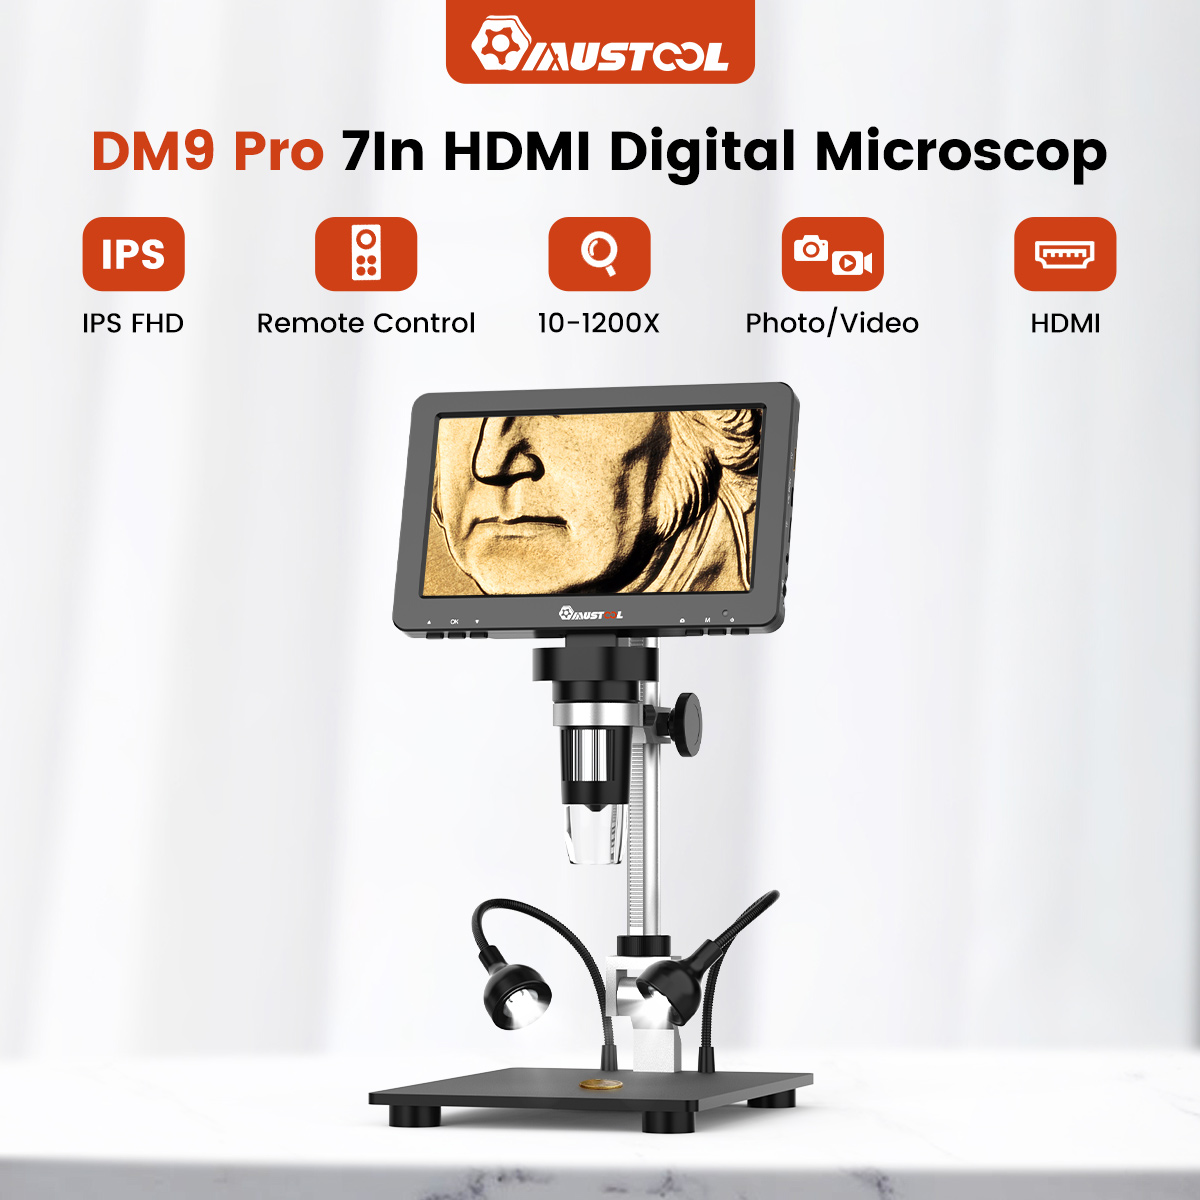
Figure 2: Microscope Assembly Guidelines
4.2 Powering On and Charging
Connect the microscope to a power source using the provided Type-C charging port. The device can be used while charging. Press and hold the power button to turn the microscope on or off.

Figure 3: Key Features and Ports
5. Operating Instructions
5.1 Adjusting Magnification and Focus
The DM9 Pro offers a magnification range of 10X to 1200X. To adjust the magnification, move the microscope head up or down along the stand. Use the anti-slip wheel focusing knob (Figure 3, item 02) to achieve a clear image. Rotate the wheel slowly until the object is in sharp focus on the screen.

Figure 4: Magnification Examples
5.2 Adjusting Lighting
The microscope is equipped with 8 adjustable LED lights around the lens and 2 adjustable gooseneck lights (Figure 3, items 03 & 04). Use the brightness adjustment switch (Figure 5) to control the intensity of the lights to ensure optimal illumination for your specimen.
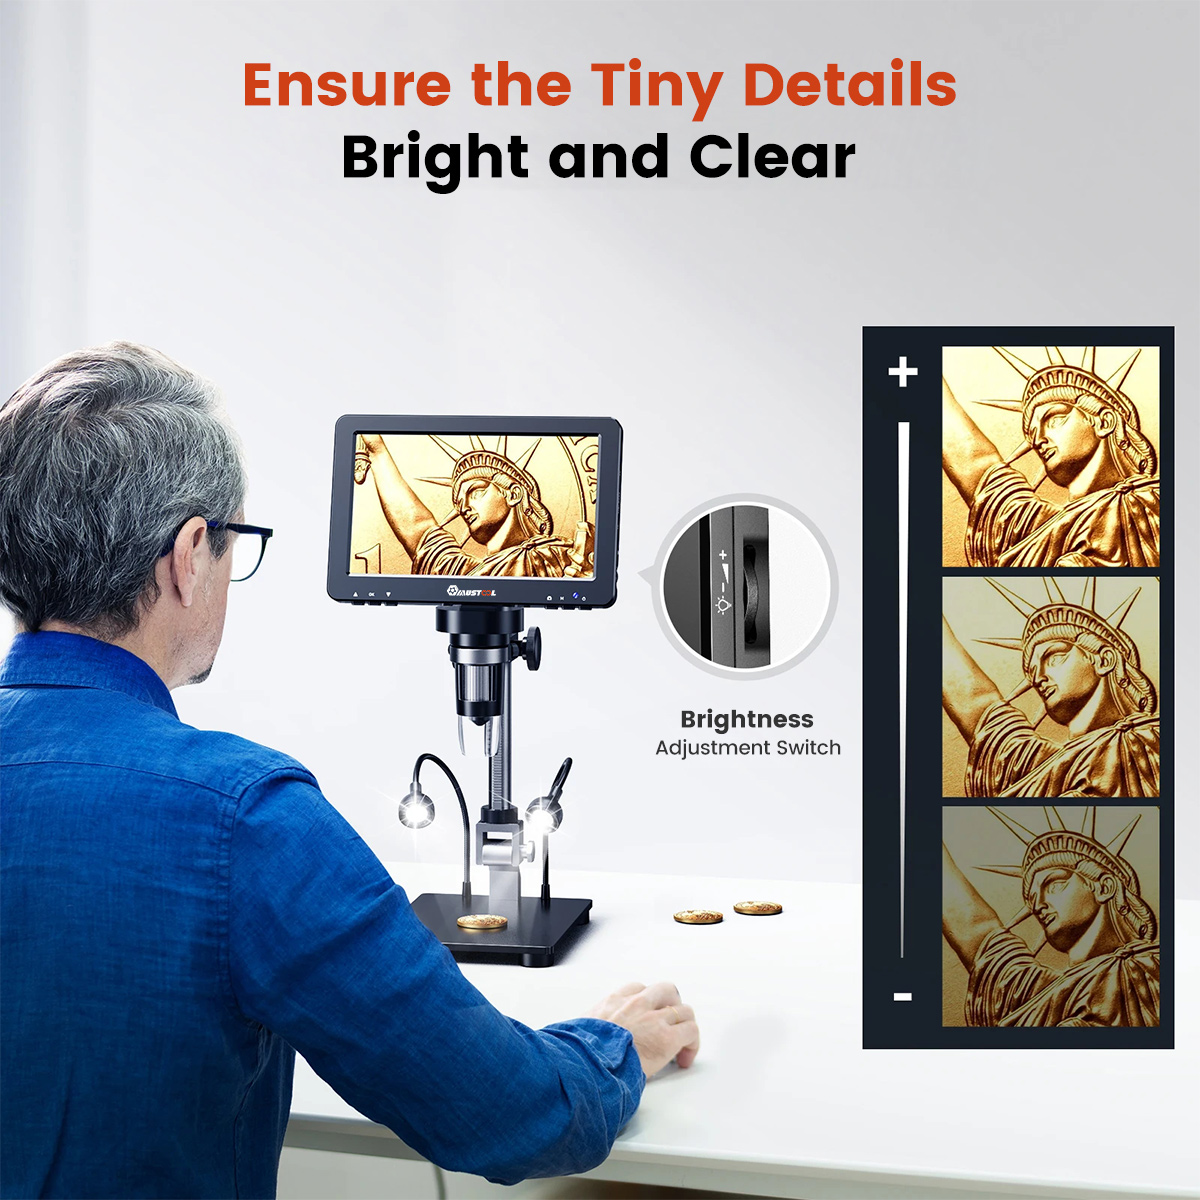
Figure 5: Brightness Adjustment Switch
5.3 Using the Remote Control
The included remote control allows you to take pictures and record videos without touching the microscope, minimizing vibrations and ensuring stable captures.
- Press the "Take Picture" button (camera icon) to capture a still image.
- Press the "Record Video" button (video camera icon) to start/stop video recording.

Figure 6: Remote Control Functions
5.4 Adjusting the Stand and Screen
The microscope stand and screen are adjustable to suit your viewing needs. The screen can be tilted 90 degrees, the height of the microscope head can be adjusted, and the screen angle can be adjusted up to 145 degrees for optimal viewing comfort.

Figure 7: Stand and Screen Adjustments
5.5 Connecting to External Displays
The DM9 Pro supports HDMI and USB output for viewing on larger screens.
- HDMI Output: Connect an HDMI cable from the microscope to an HD TV or projector for a large, high-definition display.
- USB Output: Connect a USB cable from the microscope to a Windows PC or Mac for viewing and further analysis on your computer.

Figure 8: HDMI & USB Output Connectivity
6. Maintenance
- Cleaning: Use a soft, dry cloth to clean the microscope body. For the lens, use a specialized lens cleaning cloth and solution. Avoid abrasive cleaners or solvents.
- Storage: Store the microscope in a cool, dry place, away from direct sunlight and extreme temperatures. Cover the lens when not in use to prevent dust accumulation.
- Battery Care: If the microscope has a built-in rechargeable battery, ensure it is charged periodically if stored for long durations to maintain battery health.
7. Troubleshooting
| Problem | Possible Cause | Solution |
|---|---|---|
| No image on screen | Device not powered on; cable loose; brightness too low. | Ensure device is charged and powered on. Check all cable connections. Adjust brightness. |
| Image blurry | Incorrect focus; wrong magnification; dirty lens. | Adjust the focusing wheel. Adjust the height of the microscope head. Clean the lens. |
| No output to external display | Incorrect cable; wrong input selected on TV/PC; driver issue (for USB). | Ensure correct HDMI/USB cable is used. Select the correct input source on your TV/PC. Install necessary drivers for USB connection if prompted. |
| Remote control not working | Battery depleted; obstruction; out of range. | Replace remote control battery. Ensure no obstructions between remote and microscope. Use within effective range. |
8. Specifications
| Feature | Detail |
|---|---|
| Product Name | MUSTOOL DM9 Pro |
| Magnification Ratio | 10X - 1200X |
| Video Maximum Pixels | 1080FHD |
| CMOS Size | 1080FHD |
| Photo Resolution | 16M, 12M, 10M, 8MP, 5MP, 3MP, 2MP |
| Video Format | AVI |
| Video Resolution | 1080FHD, 1080P |
| Focus Mode | Manual |
| Image Format | JPG |
| Light Source | 8 LED lights (main), 2 adjustable gooseneck lights |
| Focusing Range | 10-40mm |
| PC Resolution & Image Transfer Rate | 1280*720/25fps |
| PC Operating System | Windows 7, Windows 8.1, Windows 10, Mac OS*12 |
| Supported Languages | 12 languages |
| Interface and Signal Transmission | Type-C / TV (HDMI) |
| Battery Included | Yes |
| Certification | CE |
9. User Tips
- For very small or reflective objects, experiment with the gooseneck lights to eliminate glare and achieve even illumination.
- When connecting to a PC, ensure any necessary drivers are installed for optimal performance and image transfer.
- Utilize the remote control for capturing images and videos to prevent any camera shake from manual interaction with the microscope.
- Adjust the screen tilt and height for comfortable viewing during extended use.
10. Warranty and Support
This product comes with a standard manufacturer's warranty. For warranty claims, technical support, or any questions regarding the operation of your MUSTOOL DM9 Pro Digital Microscope, please contact the seller or manufacturer's customer service. Please retain your proof of purchase for warranty purposes.


