1. Isingeniso
This manual provides detailed instructions for replacing the home button on compatible iPhone models. This replacement part restores all home button functions, excluding Touch ID functionality. Touch ID is uniquely paired to the original logic board and cannot be restored with a replacement home button.
For optimal results, it is recommended to have prior experience with small electronics repair or to seek professional assistance.
2. Ulwazi Lokuphepha
Please read and understand all safety precautions before beginning the repair process.
- Vala Idivayisi: Always ensure your iPhone is completely powered off before starting any repair.
- Nqamula Ibhethri: Disconnect the battery as early as possible in the repair process to prevent accidental short circuits.
- Ukukhipha Okumile: Use an anti-static wrist strap or work on an anti-static mat to prevent electrostatic discharge (ESD), which can damage sensitive electronic components.
- Phatha Ngokunakekela: Electronic components are fragile. Handle them gently and avoid excessive force.
- Izingxenye Ezincane: Keep track of all screws and small parts. Using a magnetic mat or labeled containers is highly recommended.
- Ukuvikelwa Kwamehlo: Consider wearing eye protection to guard against small flying debris.
3. Umkhiqizo Uphelileview
The iFixit Home Button replacement part is designed to restore the physical click and home button functionality of your compatible iPhone.
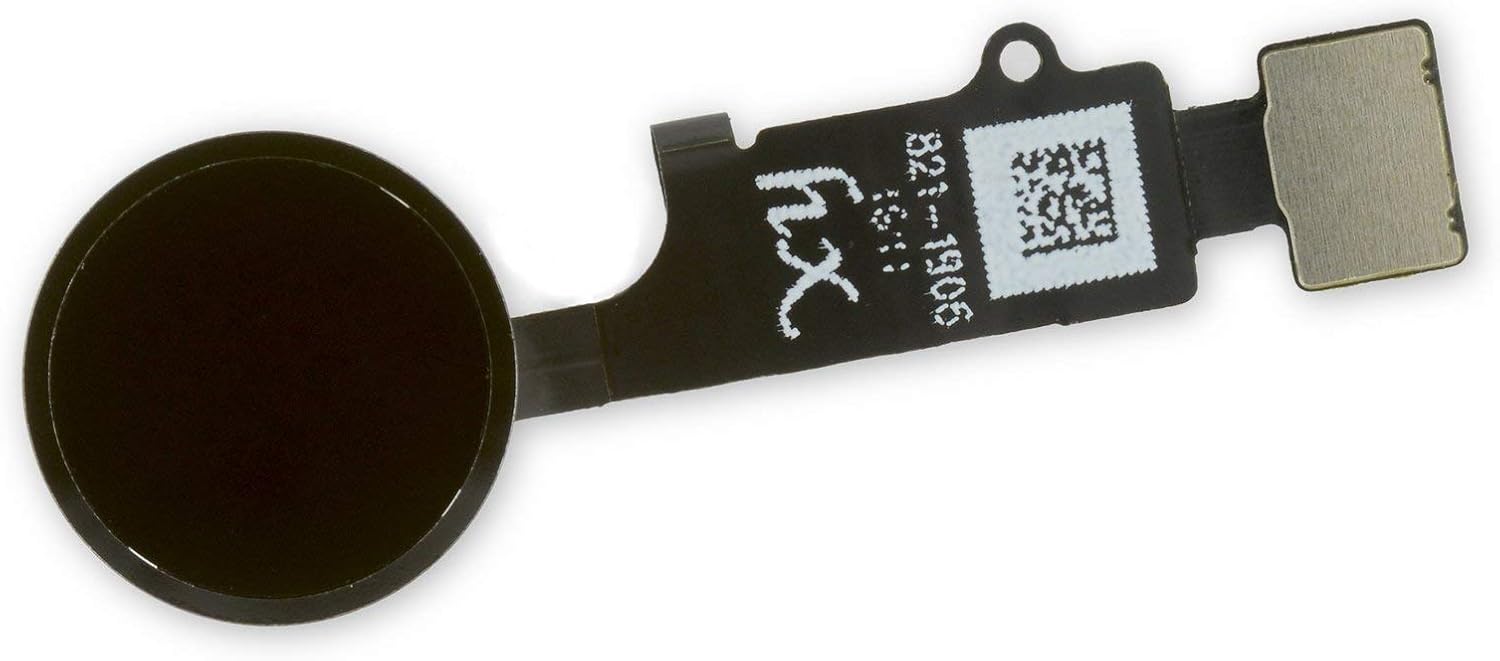
Umfanekiso 3.1: Ngaphambili view of the iFixit replacement home button, showing the black circular button and the flexible circuit board.

Umfanekiso 3.2: Emuva view of the iFixit replacement home button, revealing the internal circuitry and connector.
Izici Eziyinhloko:
- Restores home button click functionality.
- Compatible with iPhone 7, 7 Plus, 8, 8 Plus, and SE 2020.
- Does NOT restore Touch ID functionality.
4. Umhlahlandlela Wokufaka
This section outlines the general steps for replacing the home button. Specific disassembly steps may vary slightly between iPhone models. Refer to detailed repair guides for your specific iPhone model on the iFixit webisiza (www.ifixit.com) for comprehensive, step-by-step visual instructions.
Amathuluzi adingekayo (awafakiwe):
- I-screwdriver ye-Pentalobe
- I-Phillips screwdriver
- Tri-point screwdriver
- I-Spudger
- Opening picks
- Inkomishi yokumunca
- Ama-Tweezer
- Heat gun or hairdryer (optional, for adhesive softening)
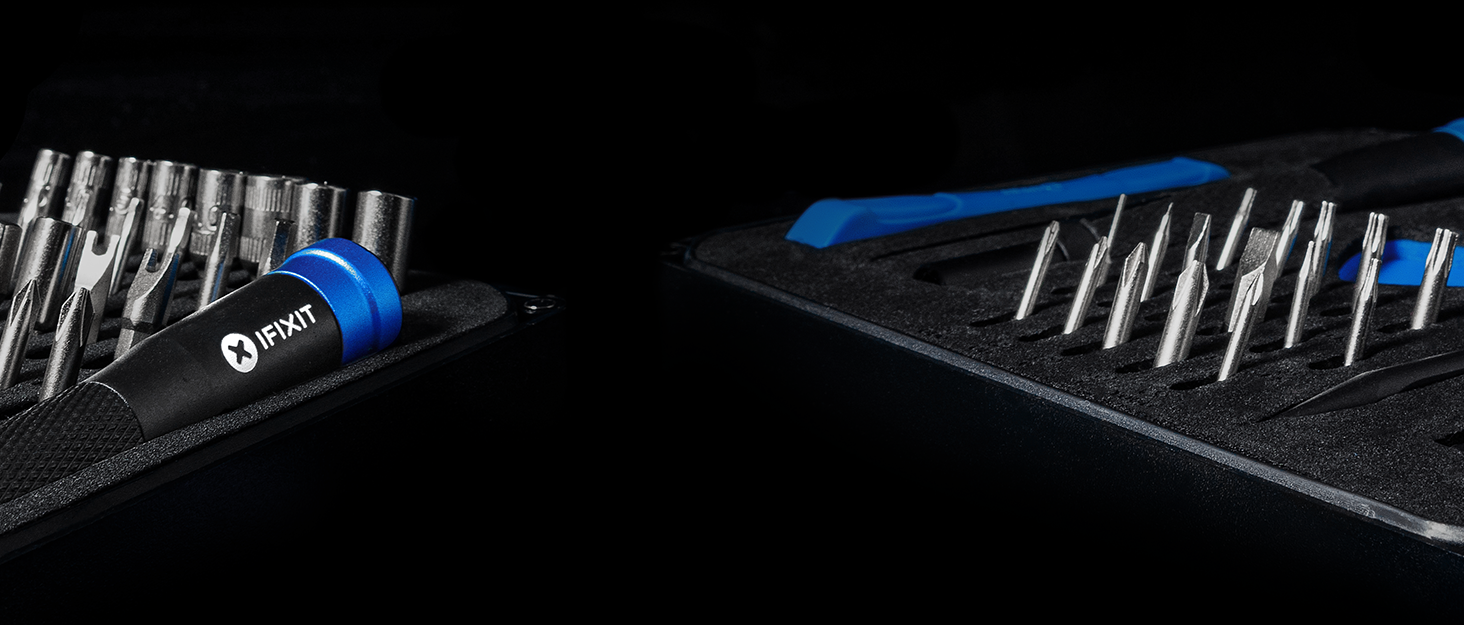
Umfanekiso 4.1: Example of an iFixit repair kit containing various tools necessary for electronics repair.
Izinyathelo Zokufaka Okujwayelekile:
- Lungiselela indawo yokusebenza: Ensure a clean, well-lit, and static-free environment.
- Power Off iPhone: Completely shut down your iPhone.
- Remove Pentalobe Screws: Remove the two pentalobe screws located at the bottom edge of the iPhone, next to the charging port.
- Open Display Assembly: Carefully open the display assembly. This usually involves using a suction cup and opening picks to separate the display from the frame. Be aware of adhesive and delicate cables.
- Nqamula Ibhethri: Locate and disconnect the battery connector to prevent power flow during the repair.
- Disconnect Display Cables: Disconnect all display and digitizer cables from the logic board.
- Remove Display Assembly: Carefully remove the entire display assembly from the iPhone body.
- Access Home Button: On the back of the display assembly, locate the home button bracket and screws. Remove them.
- Disconnect Home Button Cable: Carefully disconnect the home button flex cable from the display assembly.
- Remove Old Home Button: Gently remove the old home button. It may be lightly adhered.
- Install New Home Button: Position the new iFixit home button into place. Ensure it sits correctly and the flex cable aligns.
- Connect New Home Button Cable: Carefully connect the new home button flex cable.
- Phinda uhlanganise: Follow the disassembly steps in reverse order. Reconnect display cables, then the battery. Reattach the display assembly to the iPhone body and secure the pentalobe screws.
- Ukusebenza Kokuhlola: Power on the iPhone and test the home button functionality (single press, double press). Remember, Touch ID will not work.
5. Operating the Replacement Home Button
Once installed, the iFixit replacement home button operates identically to the original in terms of physical presses and gestures, with the exception of Touch ID.
- I-Single Press: Returns to the Home screen from any application.
- Cindezela kabili: Activates the App Switcher, allowing you to view bese ushintsha phakathi kwezinhlelo zokusebenza ezivuliwe.
- Cindezela Kathathu: Activates Accessibility Shortcuts (if configured in Settings > Accessibility > Accessibility Shortcut).
- Cindezela futhi Ubambe: Activates Siri (if enabled).
Important Note: Touch ID functionality will be permanently lost with the installation of any non-original home button. This is a security feature implemented by Apple.
6. Isondlo
The iFixit home button replacement part requires minimal maintenance once installed. However, following these general guidelines can help ensure its longevity:
- Gcina Uhlanzekile: Regularly wipe the home button and surrounding area with a soft, dry, lint-free cloth to prevent dust and debris buildup.
- Gwema Uketshezi: Do not expose the home button or your device to liquids, as this can cause damage to internal components.
- Ukusetshenziswa Okumnene: Avoid excessive force when pressing the home button.
7. Ukuxazulula izinkinga
If you encounter issues after installing the replacement home button, consider the following troubleshooting steps:
| Inkinga | Imbangela Engenzeka | Isixazululo |
|---|---|---|
| Home button does not click or respond. |
|
|
| Home button feels loose or wobbly. |
|
|
| Touch ID is not working. |
|
|
8. Imininingwane
| Ingxenye Igama | Home Button Replacement |
| Ibhrendi | iFixit |
| Ukuhambisana | iPhone 7, iPhone 7 Plus, iPhone 8, iPhone 8 Plus, iPhone SE 2020 |
| Umbala | Mnyama |
| Ukusebenza | Restores home button click and navigation. Does NOT restore Touch ID. |
| Isisindo sento | 0.16 amakhilogremu |
| ASIN | B086V6XCS7 |
| Izwe azalelwe kulo | China |
| Usuku Lokuqala Olutholakalayo | Julayi 17, 2020 |
9. Iwaranti kanye Nokusekela
iFixit stands behind its products. For specific warranty information and support, please refer to the official iFixit webindawo.
iFixit offers a "Backed for Life" warranty on their tools and parts. This means if a tool breaks or a part is defective, they will replace it for as long as you own it.

Umfanekiso 9.1: iFixit's "Backed for Life" commitment, emphasizing quality and long-term support.
For further assistance, visit the iFixit support page or community forums:


