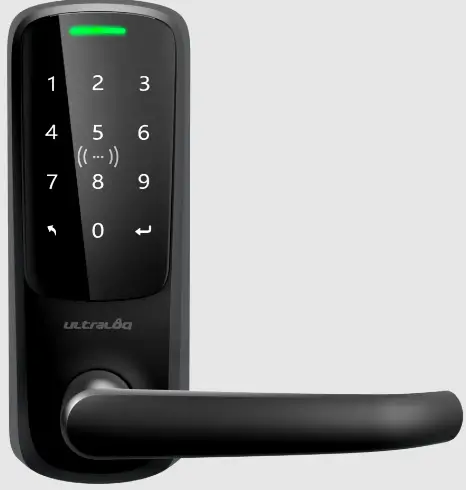
U-tec LATCH 5 NFC Smart Keypad Lock$
Install latch and strike
- Prepare the door.

- Make sure the latch angle faces the door jamb.

- Install the strike on the door frame and ensure the latch will match the strike.

Install exterior keypad assembly
- Make sure the triangle is facing upwards as illustrated.

- Route the cable above the bolt and through the hole stated below

- Install Interior Mounting Plate

Install interior assembly
- Install the spring if the door thickness is over 1.65”(42mm). Plug in the spindle.

- Attach the connectors as indicated and secure the interior assembly.Attach the connectors as indicated and secure the interior assembly.

- Install batteries and cover


Install interior/exterior lever

| Part Code | Part Name | Quantity |
| A | Exterior Assembly | 1 |
| B | Interior Mounting Plate | 1 |
| C | Interior Assembly | 1 |
| D | Handles | 2 |
| E | Cover | 1 |
| F | Spindle | 1 |
| G | Spring | 1 |
| H | Backup Keys | 3 |
| I | AA Batteries | 4 |
| J | Latch | 1 |
| K | Strike | 1 |
| Reset Needle | 1 | |
| Screwdriver | 1 | |
| Drilling Template | 1 | |
| Key Fob | 2 |
| Screw Code | Screw Name | Quantity |
| AA | #8 x 3/4″ Wood Screws | 4 |
| BB | #8-32 x 1-3/8″ Machine Screws | 3 |
|
BB + |
M4x25 Machine Screw (Optional) | 1 |
| M4 x 30+6 Stud Screw (Optional) | 1 | |
| CC | #8-32 x 5/16″ Machine Screws | 2 |
| DD | #8-32 x 15/32″ Machine Screws | 2 |
| EE | #4-32 x 15/32″ Captive Screw | 1 |

QR SCAN
Need help?
To get help or learn more
https://support.u-tec.com
Documents / Resources
 |
U-tec LATCH 5 NFC Smart Keypad Lock [pdf] Installation Guide LATCH 5 NFC Smart Keypad Lock, LATCH 5 NFC, Smart Keypad Lock, Keypad Lock, Lock |


