1. บทนำ
Thank you for choosing the KLARSTEIN VapoAir Opal Smart Humidifier. This device is designed to improve air quality and comfort in your home by adding moisture to dry air. It features smart control via an app, an ionizer, a large 5-liter water tank, and multiple mist levels. Please read this manual carefully before use to ensure proper operation and maintenance.
2. คำแนะนำด้านความปลอดภัย
- Always place the humidifier on a firm, flat, waterproof surface away from direct sunlight and heat sources.
- Do not place the humidifier near furniture or appliances that are sensitive to moisture.
- เก็บอุปกรณ์ให้พ้นจากมือเด็กและสัตว์เลี้ยง
- อย่าจุ่มเครื่องในน้ำหรือของเหลวอื่น ๆ
- ถอดปลั๊กเครื่องเพิ่มความชื้นออกจากเต้าเสียบไฟก่อนเติมน้ำ ทำความสะอาด หรือเคลื่อนย้ายเครื่อง
- ใช้เฉพาะน้ำประปาที่สะอาดและเย็นเท่านั้น แนะนำให้ใช้น้ำกลั่นหรือน้ำปราศจากแร่ธาตุเพื่อป้องกันการสะสมของแร่ธาตุ
- ห้ามเทน้ำมันหอมระเหยลงในถังน้ำโดยตรง ให้ใช้ถาดสำหรับเครื่องกระจายกลิ่นหอมที่จัดไว้ให้แทน
- หากสายไฟเสียหาย จะต้องเปลี่ยนโดยผู้ผลิต ตัวแทนให้บริการ หรือบุคคลที่มีคุณสมบัติใกล้เคียงเพื่อหลีกเลี่ยงอันตราย
- อย่าปิดกั้นช่องจ่ายหมอก
3. เนื้อหาบรรจุภัณฑ์
กรุณาตรวจสอบแพ็คเกจสำหรับรายการต่อไปนี้:
- KLARSTEIN VapoAir Opal Smart Humidifier
- รีโมทคอนโทรล
- คู่มือการใช้งาน
- แปรงทำความสะอาด (อาจมีให้ในชุด)
4. สินค้าหมดview และส่วนประกอบ
ทำความรู้จักกับส่วนประกอบหลักๆ ของเครื่องเพิ่มความชื้นในอากาศของคุณ:

ภาพ: ด้านหน้า view of the KLARSTEIN VapoAir Opal Smart Humidifier, showcasinด้วยดีไซน์ที่ทันสมัยและจอแสดงผล LED
- ทางออกหมอก: Where the mist is released into the air.
- ถังเก็บน้ำ: Removable tank for water storage.
- หน่วยฐาน: Contains the ultrasonic transducer and heating element.
- Control Panel/LED Display: Touch-sensitive buttons and digital display for settings.
- ถาดสำหรับวางเครื่องกระจายกลิ่นหอม: Small tray for essential oils (located at the bottom/side).
- สายไฟ: สำหรับเชื่อมต่อกับเต้ารับไฟฟ้า

Image: The KLARSTEIN VapoAir Opal Smart Humidifier with its dimensions labeled: 23cm (depth), 18cm (width), 37cm (height).
5. การตั้งค่า
5.1 การแกะกล่อง
Carefully remove all packaging materials. Retain the packaging for future storage or transport.
5.2 การจัดวาง
Place the humidifier on a flat, stable surface at least 15 cm away from walls and furniture. Ensure the mist outlet is not directed towards any objects or walls.
5.3 การเติมถังเก็บน้ำ
- ตรวจสอบให้แน่ใจว่าได้ถอดปลั๊กเครื่องเพิ่มความชื้นแล้ว
- Carefully lift the water tank from the base unit.
- Invert the water tank and unscrew the cap at the bottom.
- Fill the tank with clean, cool tap water. Distilled or demineralized water is recommended to minimize mineral residue. Do not fill past the MAX line.
- ขันฝากลับให้แน่น
- Place the filled water tank back onto the base unit, ensuring it is seated correctly. The auto-stop function will prevent operation if the tank is not properly placed or if water is absent.

Image: Diagram illustrating the removal and refilling process of the water tank, highlighting the auto-stop feature when the tank is removed or empty.
5.4 การเชื่อมต่อสายไฟ
เสียบสายไฟเข้ากับเต้ารับไฟฟ้าที่เหมาะสม (230V)
6. คู่มือการใช้งาน
6.1 แผงควบคุมโอเวอร์view

ภาพ: ภาพระยะใกล้ view of the humidifier's LED display and touch controls, showing a hand interacting with the buttons.
The LED display shows current humidity, temperature, and selected settings. The touch buttons allow control over various functions.
6.2 เปิด/ปิดเครื่อง
กดปุ่ม เปิด/ปิด ปุ่มบนแผงควบคุมหรือรีโมทคอนโทรลเพื่อเปิดหรือปิดเครื่อง
6.3 การปรับระดับละอองน้ำ
The humidifier offers 7 levels of mist output. Press the หมอก button repeatedly to cycle through the mist intensity levels. The current level will be displayed on the screen.
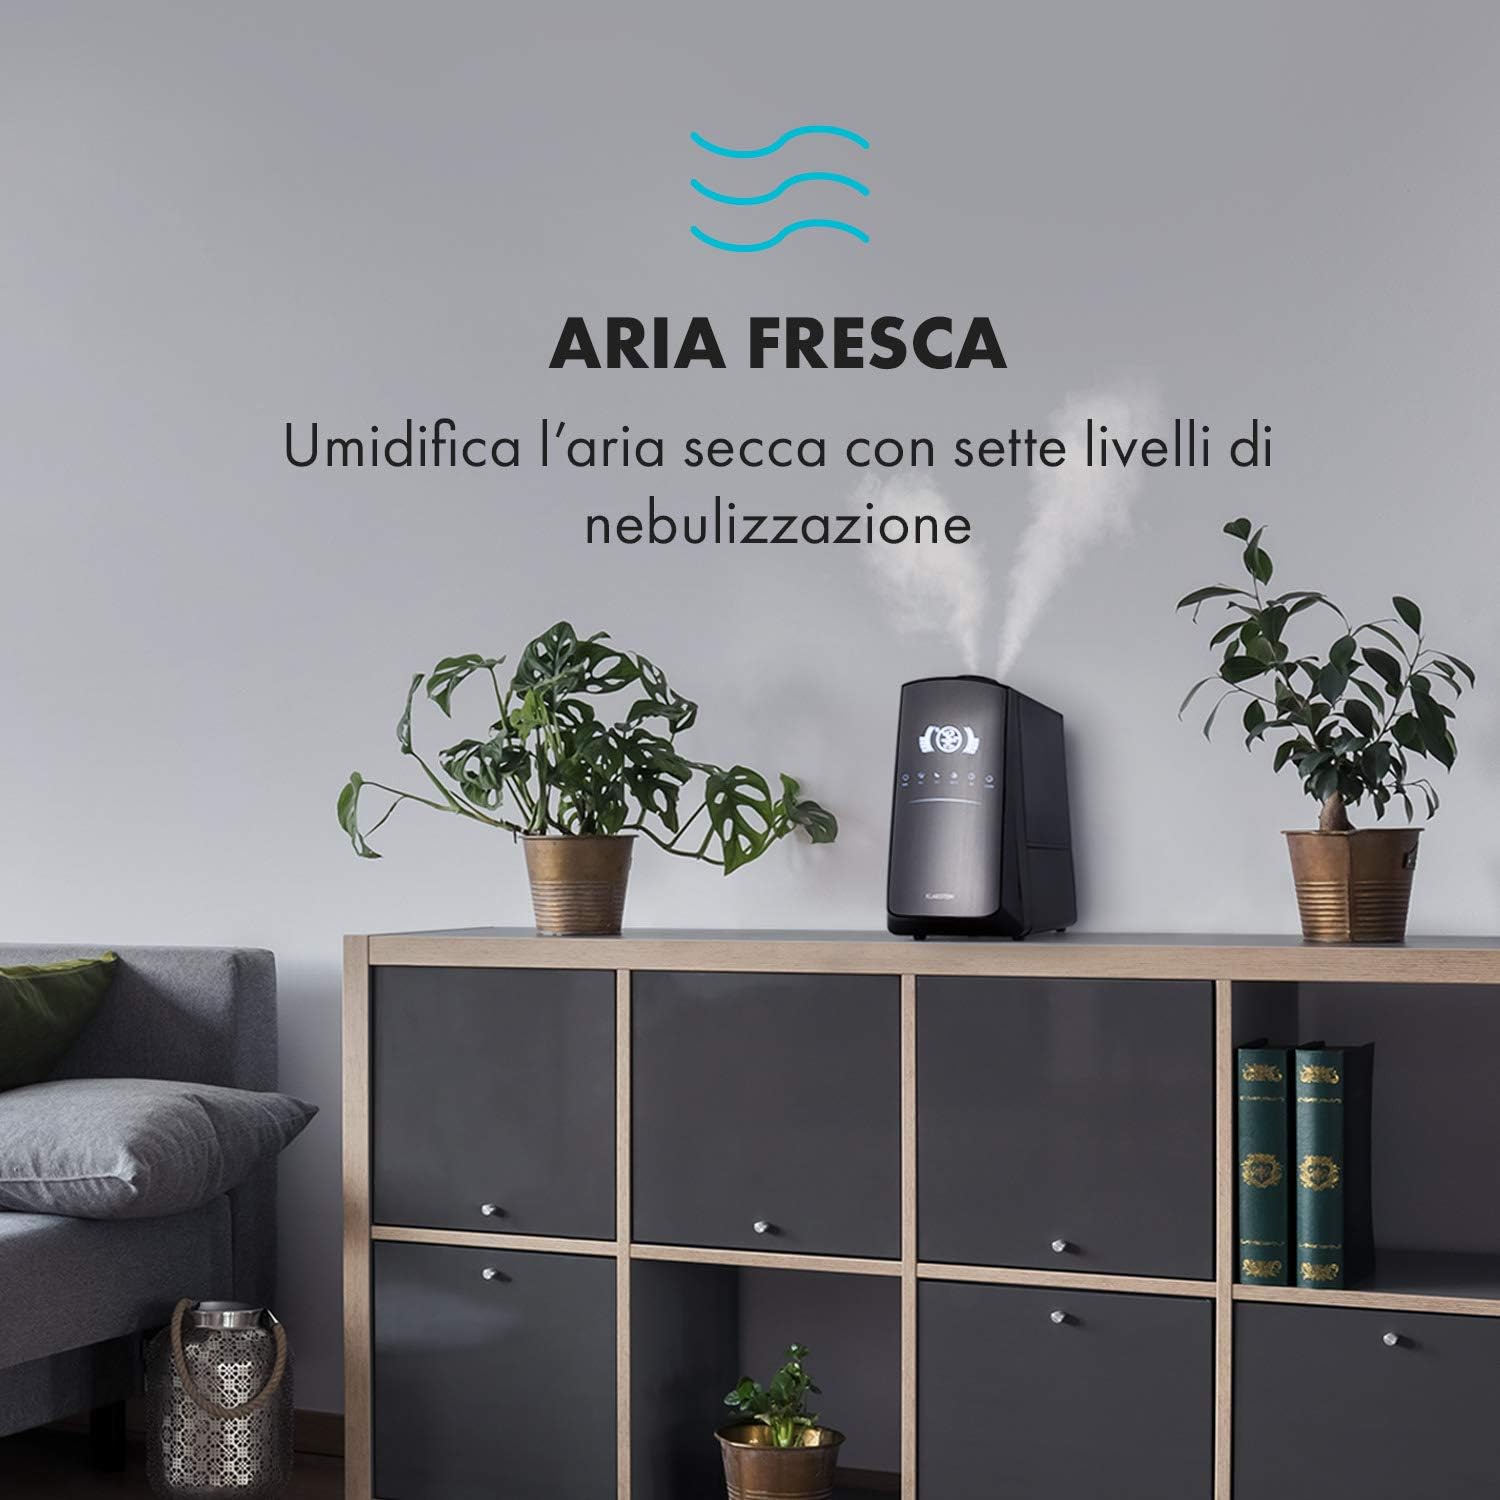
Image: The humidifier operating in a room, releasing mist to humidify the air.
6.4 Humidity Setting (Humidistat)
กดปุ่ม ความชื้น button to set your desired humidity level (e.g., 40% to 80% RH). The unit will automatically maintain this level, turning on and off as needed.
6.5 Warm/Cool Mist
กดปุ่ม ความร้อน button to activate the warm mist function. Press again to switch back to cool mist. Warm mist can help raise room temperature slightly and is often preferred in colder climates.

Image: A close-up shot of the mist output, illustrating the option for either cool or warm mist.
6.6 ฟังก์ชั่นจับเวลา
กดปุ่ม ตัวจับเวลา button to set an operating duration from 1 to 12 hours. The unit will automatically turn off after the set time.
6.7 ฟังก์ชั่นเครื่องสร้างไอออน
กดปุ่ม ไอออน button to activate the ionizer. This function releases negative ions to help purify the air by attracting dust and other particles.
6.8 เครื่องกระจายกลิ่นอโรมา
Pull out the aroma diffuser tray located at the bottom of the unit. Add a few drops of essential oil onto the sponge pad. Slide the tray back in. The mist will carry the aroma into the air.

Image: The integrated aroma diffuser tray, shown pulled out with an essential oil bottle and lemon slices nearby, indicating its use for adding scents.
6.9 โหมดกลางคืน
กดปุ่ม กลางคืน button to dim the LED display and reduce operational noise for undisturbed sleep.

Image: The humidifier in a modern living space, illustrating its versatile functions like auto mode, heating, health, baby, night mode, and timer.
7. การควบคุมแอป
The KLARSTEIN VapoAir Opal Smart Humidifier can be controlled via a dedicated smartphone application.

Image: A person using a smartphone with the Klarstein app open, showing controls for the humidifier's settings and current humidity levels.
7.1 การดาวน์โหลดแอพ
ค้นหา the 'Klarstein App Experience' in your smartphone's app store (available for Android and iOS).
7.2 การเชื่อมต่อกับ Wi-Fi
- Ensure your humidifier is plugged in and turned on.
- Open the Klarstein App and follow the on-screen instructions to add a new device.
- The humidifier requires a เครือข่าย Wi-Fi 2.4 GHz for connection. It is not compatible with 5 GHz networks. Ensure your router is configured to support 2.4 GHz or that your phone is connected to the 2.4 GHz band during setup.
- Once connected, you can control all humidifier functions remotely via the app.

Image: A smartphone displaying the Klarstein app interface, indicating smart home control via WiFi for Android and iOS devices.
8. การบำรุงรักษาและการทำความสะอาด
การทำความสะอาดอย่างสม่ำเสมอเป็นสิ่งจำเป็นเพื่อประสิทธิภาพและสุขอนามัยที่ดีที่สุด
8.1 การบำรุงรักษารายวัน
- เทน้ำทิ้งและล้างถังเก็บน้ำทุกวัน
- เช็ดทำความสะอาดด้านในถังเก็บน้ำด้วยผ้าสะอาด
8.2 การทำความสะอาดรายสัปดาห์
- ถอดปลั๊กเครื่อง ก่อนการทำความสะอาด
- Remove the water tank and empty any remaining water from both the tank and the base unit.
- การทำความสะอาดถังเก็บน้ำ: Fill the tank with a mixture of water and white vinegar (1:1 ratio). Let it sit for 30 minutes, then rinse thoroughly.
- การทำความสะอาดตัวเครื่องหลัก: Gently wipe the ultrasonic transducer (the small disc in the center of the base) with a soft brush or cloth to remove mineral deposits. Do not scrape or use abrasive cleaners. You can use a cotton swab dipped in vinegar for hard-to-reach areas.
- ถาดสำหรับวางเครื่องกระจายกลิ่นหอม: Remove and clean the sponge pad with mild soap and water. Allow it to dry completely before reinserting.
- Wipe all external surfaces with a soft, damp ผ้า.
8.3 พื้นที่จัดเก็บ
หากไม่ได้ใช้งานเครื่องเพิ่มความชื้นเป็นเวลานาน ควรทำความสะอาดอย่างทั่วถึง ตรวจสอบให้แน่ใจว่าทุกส่วนแห้งสนิท และเก็บไว้ในบรรจุภัณฑ์เดิมในที่แห้งและเย็น
9 การแก้ไขปัญหา
| ปัญหา | สาเหตุที่เป็นไปได้ | สารละลาย |
|---|---|---|
| ไม่มีหมอกหรือมีหมอกปริมาณน้อย |
|
|
| เครื่องไม่เปิด |
|
|
| กลิ่นไม่พึงประสงค์ |
|
|
| มีฝุ่นสีขาวปกคลุมอยู่รอบๆ ตัวเครื่อง | Hard water with high mineral content | Use distilled or demineralized water. Clean the unit regularly. |
| ปัญหาการเชื่อมต่อ Wi-Fi |
|
|
10. ข้อมูลจำเพาะ
| คุณสมบัติ | ข้อมูลจำเพาะ |
|---|---|
| ยี่ห้อ | คลาร์สไตน์ |
| หมายเลขรุ่น | XJ3-VapoAirOpalSmart |
| สี | สีดำ |
| ขนาด (กว้าง x ยาว x สูง) | 23 x 18 x 37 ซม. |
| น้ำหนัก | 2.5 กก. |
| พลัง | 110 วัตต์ |
| เล่มที่tage | 230 โวลต์ |
| ความจุถังน้ำ | 5 ลิตร |
| เวลาดำเนินการ | Up to 2 hours (continuous, depending on mist level) |
| คุณสมบัติพิเศษ | Remote Control, Timer, App Control, Ionizer, LED Display, 7 Mist Levels, Warm/Cool Mist, Aroma Diffuser |
| ประเภทห้อง | ห้องนั่งเล่น |
11. การรับประกันและการสนับสนุน
KLARSTEIN products are covered by a manufacturer's warranty. For detailed warranty information, please refer to the warranty card included with your product or visit the official KLARSTEIN website. For technical support, spare parts, or service inquiries, please contact KLARSTEIN customer service through their official channels.
โปรดเก็บหลักฐานการซื้อของคุณไว้เพื่อเรียกร้องการรับประกัน


