1. บทนำ
This manual provides comprehensive instructions for the installation, operation, and maintenance of your Cisco CP-DX80-VESA VESA Adapter and Wall Mount. Please read this manual thoroughly before installation to ensure correct setup and to prevent damage to the product or connected devices. Retain this manual for future reference.
2. ข้อมูลด้านความปลอดภัย
โปรดปฏิบัติตามข้อควรระวังด้านความปลอดภัยต่อไปนี้ในระหว่างการติดตั้งและการใช้งาน:
- คำเตือน: Improper installation can result in serious personal injury or damage to equipment. Ensure all mounting hardware is securely fastened.
- คำเตือน: Do not exceed the weight capacity specified for this mount. Refer to the specifications section for details.
- Ensure the wall structure can safely support the combined weight of the mount and the attached device.
- Use appropriate tools and follow all steps carefully. If unsure, consult a qualified installer.
- เก็บชิ้นส่วนเล็ก ๆ ให้ห่างจากมือเด็ก
3. เนื้อหาบรรจุภัณฑ์
ตรวจสอบว่าส่วนประกอบทั้งหมดมีอยู่ก่อนเริ่มการติดตั้ง:
- Cisco CP-DX80-VESA VESA Adapter
- ขายึดติดผนัง
- ชุดอุปกรณ์ติดตั้ง (สกรู, พุก, แหวนรอง)
- คู่มือการใช้งาน
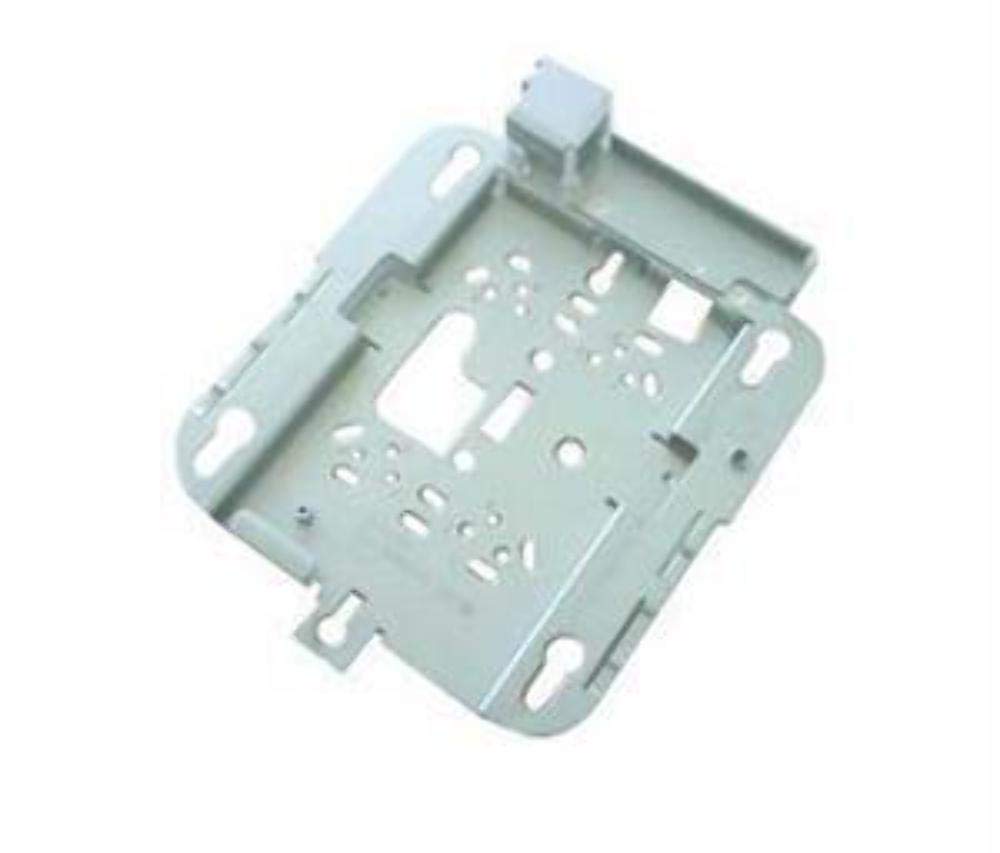
Image: The Cisco CP-DX80-VESA VESA Adapter and Wall Mount. This image displays the primary components of the product, including the adapter plate and the wall mounting bracket, designed to secure a video conferencing system to a wall.
4. การตั้งค่าและการติดตั้ง
4.1 เครื่องมือที่จำเป็น
- เจาะ
- Drill bits (appropriate for wall material)
- ไขควงหัวแฉก
- ระดับ
- ดินสอ
- เครื่องตรวจหาโครงไม้ (แนะนำสำหรับการติดตั้งแผ่นยิปซัม)
4.2 การติดตั้งแบบติดผนัง
- เลือกสถานที่: Choose a suitable wall location, ensuring it can support the weight of the mount and the device. Avoid areas with electrical wires or plumbing.
- ทำเครื่องหมายรูเจาะ: Hold the wall mount bracket against the wall at the desired height. Use a level to ensure it is straight. Mark the drill hole locations with a pencil.
- เจาะรู: Drill pilot holes at the marked locations. Use appropriate drill bits for your wall type (e.g., wood studs, concrete, drywall with anchors).
- วงเล็บยึดที่ปลอดภัย: Insert wall anchors (if required) into the pilot holes. Align the wall mount bracket with the holes and secure it to the wall using the provided screws. Ensure it is firmly attached.
4.3 VESA Adapter Attachment to Device
- ระบุรูปแบบ VESA: Locate the VESA mounting holes on the back of your Cisco DX80 video conferencing system.
- อะแดปเตอร์ติด: Align the Cisco CP-DX80-VESA adapter with the VESA mounting holes on the DX80 device.
- อะแดปเตอร์ที่ปลอดภัย: Use the appropriate screws from the mounting hardware kit to securely fasten the VESA adapter to the DX80 device. Do not overtighten.
4.4 Mounting the Device to the Wall Bracket
- Lift Device: Carefully lift the DX80 device with the attached VESA adapter. It is recommended to have assistance for this step.
- Engage Mount: Hook the VESA adapter onto the wall mount bracket. Ensure the adapter is fully seated and engaged with the bracket's locking mechanism.
- อุปกรณ์ที่ปลอดภัย: Depending on the design, there may be additional screws or clips to secure the device to the wall bracket. Fasten these as instructed to prevent accidental dislodging.
- การตรวจสอบขั้นสุดท้าย: Gently pull on the mounted device to ensure it is stable and securely attached to the wall.
5. ข้อควรพิจารณาในการดำเนินงาน
Once the Cisco DX80 is securely mounted using the CP-DX80-VESA adapter and wall mount, its operation remains consistent with its standard functionality. The mount provides a stable platform for the device.
- Ensure all cables (power, network, video) are properly connected and routed to avoid strain or interference.
- Periodically check the stability of the mount and the device, especially after any adjustments or movement.
6. การบำรุงรักษา
The Cisco CP-DX80-VESA VESA Adapter and Wall Mount requires minimal maintenance.
- การทำความสะอาด: เช็ดพื้นผิวของตัวยึดด้วยผ้านุ่มและแห้ง หลีกเลี่ยงน้ำยาทำความสะอาดที่มีฤทธิ์กัดกร่อนหรือตัวทำละลายที่อาจทำลายพื้นผิว
- การตรวจสอบ: Periodically inspect all mounting screws and connections to ensure they remain tight. Over time, vibrations or environmental factors can cause screws to loosen.
- ความเสียหาย: If any part of the mount appears damaged or worn, discontinue use and contact Cisco support for replacement parts or advice.
7 การแก้ไขปัญหา
This section addresses common issues related to the installation and stability of the mount.
| ปัญหา | สาเหตุที่เป็นไปได้ | สารละลาย |
|---|---|---|
| ฐานยึดดูไม่มั่นคงหรือโยกเยก | Loose mounting screws; inadequate wall support; incorrect anchors. | Tighten all screws. Verify wall structure and use appropriate anchors. Reinstall if necessary. |
| Device not attaching correctly to VESA adapter. | Incorrect screw size; misalignment. | Ensure correct VESA screws are used. Realign the adapter with the device's mounting holes. |
| Wall mount bracket not level. | ข้อผิดพลาดในการติดตั้ง | Remove bracket, re-mark holes using a level, and reinstall. |
8. ข้อมูลจำเพาะ
Key technical specifications for the Cisco CP-DX80-VESA VESA Adapter and Wall Mount:
| คุณสมบัติ | รายละเอียด |
|---|---|
| หมายเลขรุ่น | CP-DX80-VESA |
| ขนาดสินค้า | 10.63 x 16.14 x 3.54 นิ้ว |
| น้ำหนักสินค้า | 2.2 ปอนด์ |
| ฮาร์ดแวร์อินเตอร์เฟซ | Ethernet (for connected device) |
| ผู้ผลิต | บริษัท ซิสโก้ ซิสเต็มส์ อิงค์ |
| วันที่พร้อมใช้งานครั้งแรก | วันที่ 21 สิงหาคม 2015 |
| ยูพีซี | 882658710469 |
9. การรับประกันและการสนับสนุน
For information regarding the product warranty, please refer to the official Cisco warranty documentation provided with your original purchase or visit the Cisco webไซต์ เงื่อนไขการรับประกันเฉพาะอาจแตกต่างกันไปตามภูมิภาคและผลิตภัณฑ์
9.1 การสนับสนุนด้านเทคนิค
If you encounter issues that cannot be resolved using the troubleshooting guide, or require further assistance, please contact Cisco Technical Support:
- Webเว็บไซต์: Visit the official Cisco support website for documentation, FAQs, and contact options.
- โทรศัพท์: Refer to your product's packaging or the Cisco webไซต์สำหรับหมายเลขโทรศัพท์ฝ่ายสนับสนุนระดับภูมิภาค
When contacting support, please have your product model number (CP-DX80-VESA) and purchase information readily available.


