
UNICOOK Airis Sense Radio Pairing Multisensor Control Unit
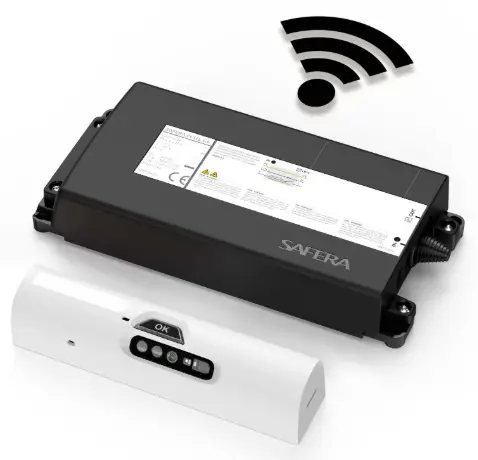
Product Information
Specifications
- Model: Airis Sense
- Function: Pairing of multisensor and Control Unit
- Tools Needed: 1x flat-head screwdriver
- Power Source: Batteries (3x AA)
Radio pairing of the multisensor and the Control Unit
Each multi-sensor assembly and PCU (power control unit) is coupled to ensure that there is no “crosstalk” with other Airis Sense installations nearby. However, if a multi-sensor or PCU needs to be replaced, it will be necessary to pair the new PCU and multi-sensor combination before they can work together.
Necessary Tools and Materials
1x flat-head screwdriver
Instructions for use
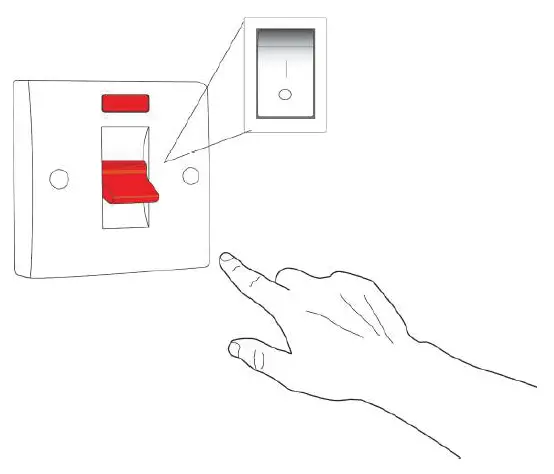
Stage 1/7: Power Off
Turn off the power to the hob at the circuit breaker.
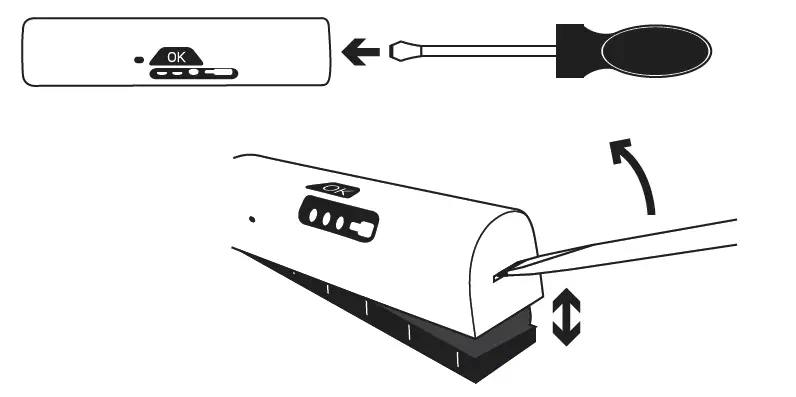
Stage 2/7: Remove Black Base
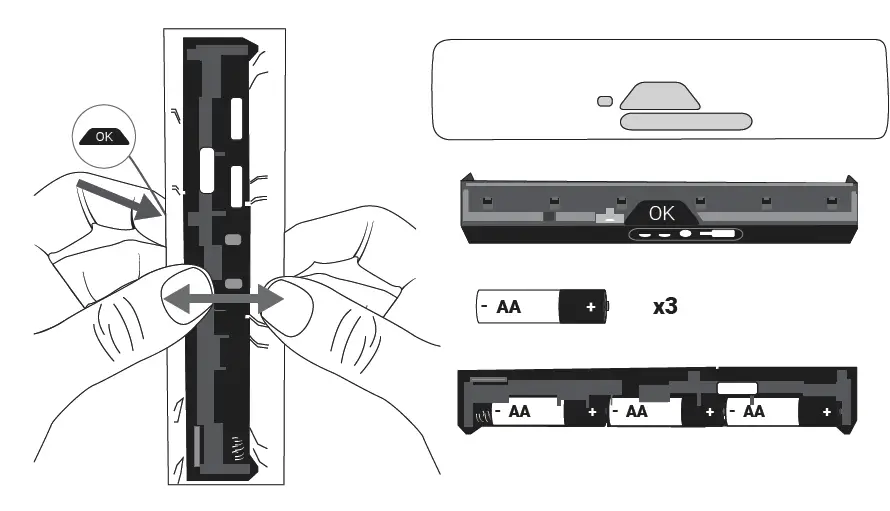
First, remove the black base from the white case. To do this, use a screwdriver or similar object and gently press into the slot on either side of the case before gently prising it apart.
Stage 3/7: Install Batteries
- Next, remove the multisensor from the white casing by gently parting both sides of the white casing with your fingers and pushing on the other side using the “OK” button.
- Place 3 batteries in the back of the multisensor.
Stage 4/7: Pairing Initiation
Press and hold button 2 (right side/multi-sensor end) for approximately 5 seconds until the OK button lights up white.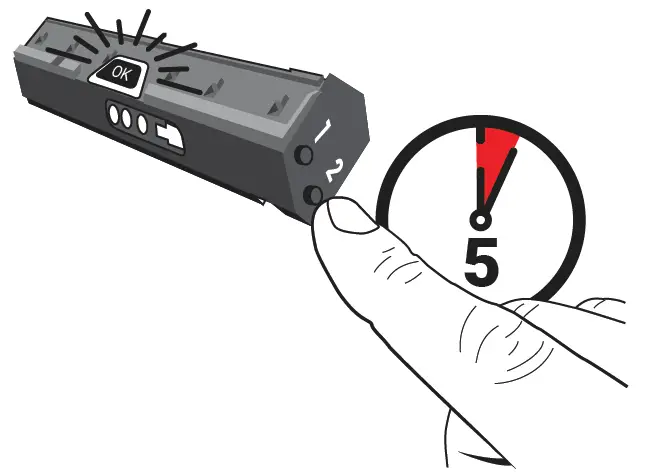
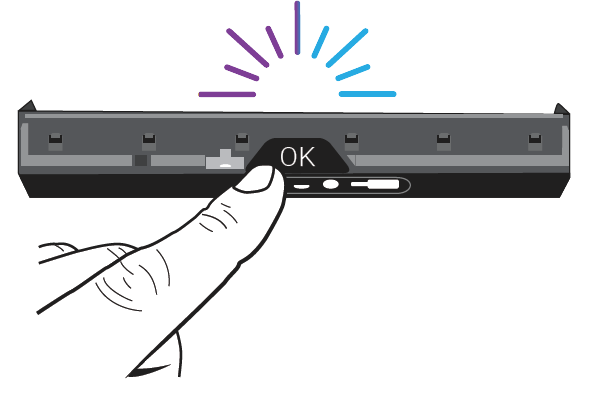
Stage 5/7: Power On
Press and release the OK button – the light will alternate between purple/blue.
 Stage 6/7: Finalize Pairing
Power the PCU back on. The multi-sensor will respond with 3 quick beeps to confirm pairing is complete.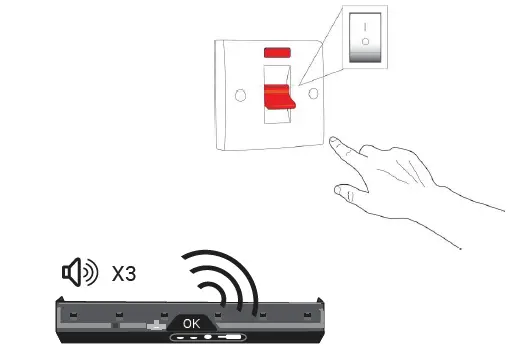
Stage 7/7 :
Replace the multisensor in the white housing. Reinstall all batteries and reattach the multisensor to the wall mount
Note: approximately 2.5 minutes after the start of the next cooking session, the multisensor reestablishes its pitch and roll position on the wall, so it is important to put the multisensor back in the correct position as soon as this pairing process is complete.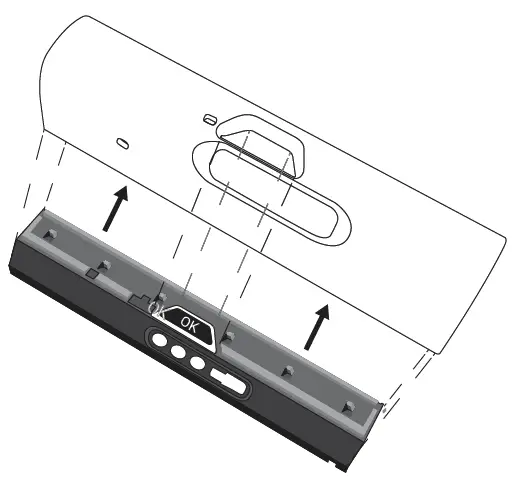
Frequently Asked Questions
- Q: Why is pairing necessary?
- A: Pairing ensures that the multisensor and PCU work together without interference from nearby installations.
- Q: What should I do if pairing fails?
- A: If pairing fails, repeat the pairing process carefully and ensure proper battery installation.
Documents / Resources
 |
UNICOOK Airis Sense Radio Pairing Multisensor Control Unit [pdf] Instruction Manual Airis Sense Radio Pairing Multisensor Control Unit, Airis Sense, Radio Pairing Multisensor Control Unit, Pairing Multisensor Control Unit, Multisensor Control Unit, Control Unit |