EVCO EVLink Wi-Fi Module

INTRODUCTION
This product has been manufactured following the quality standards by European Union, which incorporates top quality materials which has been checked before leaving our facilities.
It is necessary to read this manual carefully before carrying out any manipulation to avoid misuse problems.
Driver components
The Wi-Fi module contains the usual driver of our equipment and one module for Wi-Fi communication.
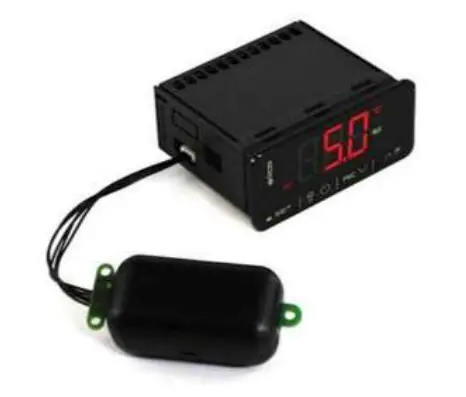
Operation
The controller + Wi-Fi module acts on the INDOL unit components and uses the installation router to receive / send information in the cloud server. This server is available for the user for monitoring and control of the equipment. Internet connection is needed.

START UP
Before starting
Make sure you have:
- INDOL unit equipment with Wi-Fi module.
- Android Smartphone or Tablet with Epoca Start App or PC.
- Wi-Fi router with internet connection.
- Name and password of the Wi-Fi network.
Turning on the driver
Make the hydraulic and electrical installation with the driver turned off and once this is finished, turn on the driver.
EVLink Wi-Fi Settings
The driver must be turned on before and during setup.
The initial connection with the Wi-Fi module can be made through the Android app or internet browser. Below, they both processes are shown separately.
Android app starting:
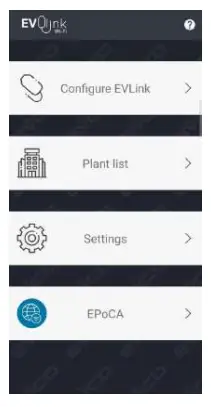
Start Epoca Start and push Configure EVLink (Configure devices).
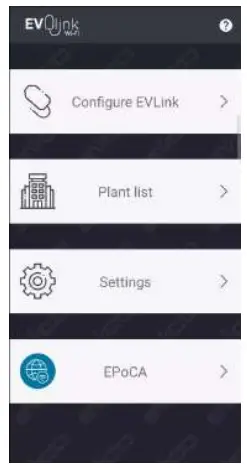
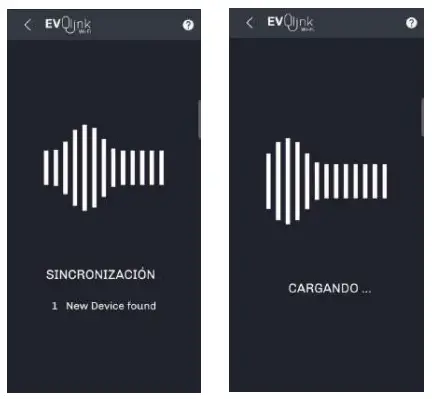
The screen will show the message Looking for devices… until it finds the Wi-Fi network created by the Wi-Fi module. The Wi-Fi network will have similar name to Epoca… Push Connect.

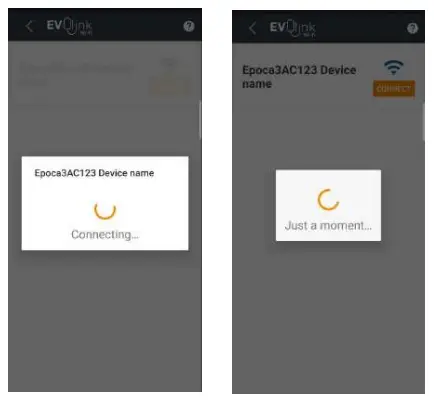
Informational messages
Browser starting:
Connect to the Wi-Fi network created by the Wi-Fi module.

If you see an error message, you could check the password on the Wi-Fi module label.
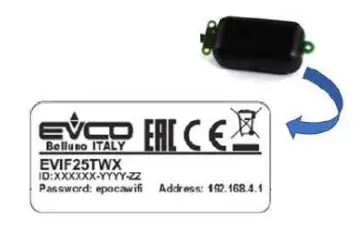
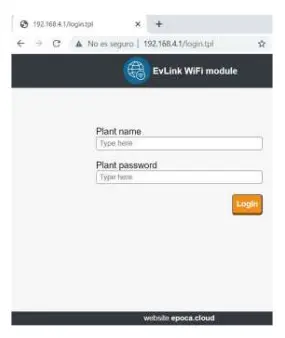
Enter 192.168.4.1 in your browser to connect to the Wi-Fi module. In case of error, youkan check the address on the Wi-Fi module label. Enter the desired values for Plant name and Plant password.
In panel Plant, fill the required fields and download the configuration file for later use. Click here to download.
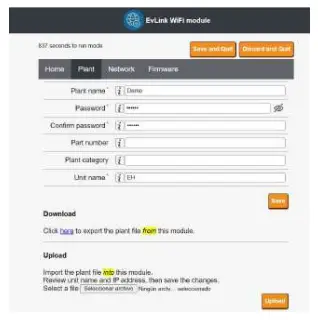
You must return to your installation Wi-Fi connection after the download.
EVLink Wi-Fi settings. From this point, the process is similar for app or web browser, except some points that will be indicated. Please note that the interface is multiplatform and could change its appearance depending on the device used. Menu name does not change except updates made after this manual.
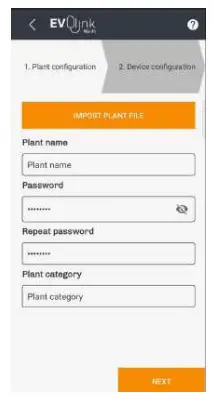
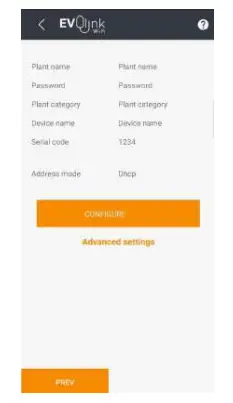
In Plant name enter the facility name and set your Password.
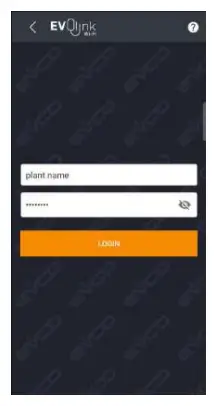
Push Configure.
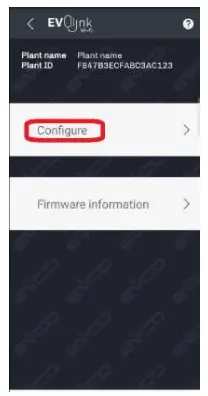
Fill the required fields and push NEXT. Plant name and Password could be the ones used previously and Plant category is available for installations with several sectors.
Attention: In case of configuration from web browser, you must import the configuration file you downloaded previously. Press IMPORT PLANT FILE and look for to select the configuration file.
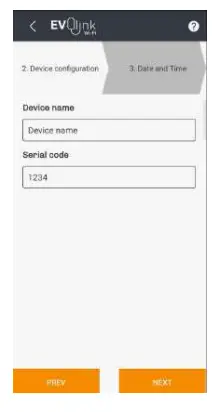
Fill the fields required and push NEXT.
Device name is the name of the INDOL unit and Serial number. You can choose the values you want.
Select the time zone, Eu for Europe, and push SET DATE AND TIME to set date and time. Finally, confirm the selected data using NEXT.


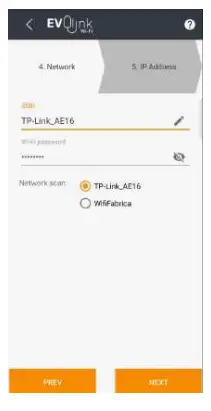
You can enter the name of your network in SSDI or select it in Network scan. You must enter the Password manually in any case.
Assign dynamic IP by selecting Dynamic.
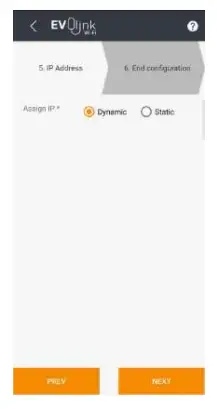
Push Configure.
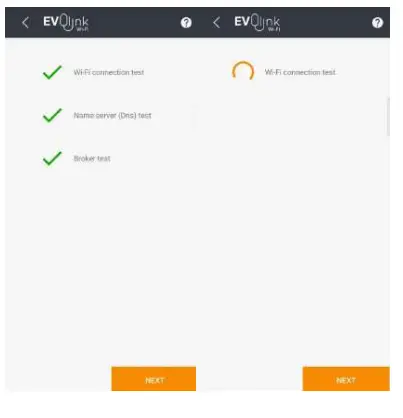
The screen will perform checks, press NEXT.
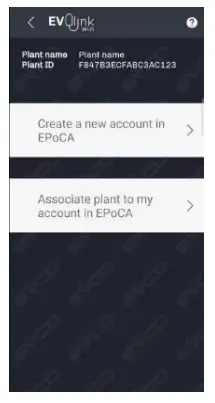
Click on Create
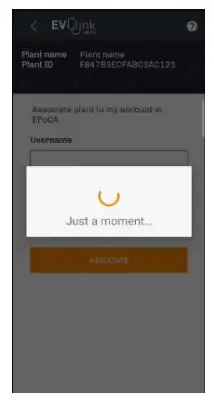
a new account in Epoca to create an EVLink server user. If you already have user, click on Associate plant to my account in Epoca and do not make the next step.
Fill the fields and click on REGISTER.

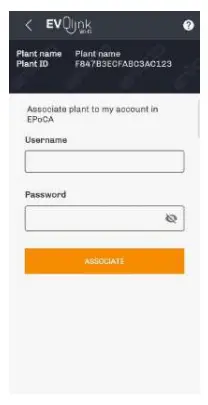
If you have user, fill the data and push ASSOCIATE.
The screen will show messages, press OK after these.
Push on
EPoCA to access your equipment.
Enter Username and Password, if needed.

System messages, it can take a few minutes.
You are in the user panel.
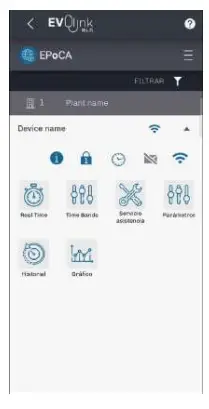
USER PANEL
Homepage
The following data and menus are shown:

| Info | |
| P1 | Equipment name |
| P2 | Installation name |
| P3 | Refresh |
| P4 | Username |
| P5 | Wi-Fi range |
| P6 | Medium temperature |
| P7 | Setting of date and time |
| P8 | Access level |
| P9 | Graphic history |
| P10 | Table history |
| P11 | Configuration parameter (installer only) |
| P12 | Installer only |
| P13 | Timer |
| P14 | Status, mode changes and ON / OFF |
Real Time Menu
The following data and menus are shown:

| Info | |
| R1 | Water temperature |
| R2 | Active defrost |
| R3 | Active antilegionella |
| R4 | Time for the next antilegionella cycle |
| R5 | Alarms |
| R6 | Operating mode: Eco, Comfort, Overboost |
| R7 | Change the operation mode |
| R8 | Set Overboost mode |
| R9 | On / Off |
| R10 | ECO setpoint temperature |
| R11 | Comfort setpoint temperature |
| R12 | Set Overboost |
| R13 | Parameters with this symbol can be modified |
Time Bands Menu
It allows programming On / Off time in two different types of days (Type A and Type B) according to demand or hourly pricing. These types could be assigned to each weekday.

| Info | |
| T1 | Set Type A / Type B from Monday to
Friday |
| T2 | Set Type A / Type B from Saturday to
Sunday |
| T3 | Set On / Off hour to Type A |
| T4 | Set On / Off hour to Type B |
History menu
You can view the equipment’s history in table format. Date, temperature, unit status, operating mode and current alarm are displayed.
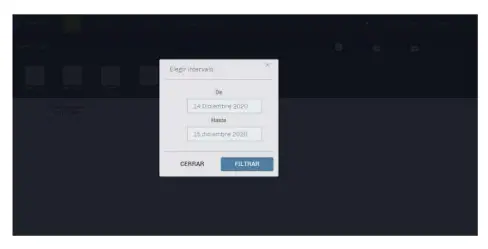
You must select the date range.
The data will be displayed in a similar table:

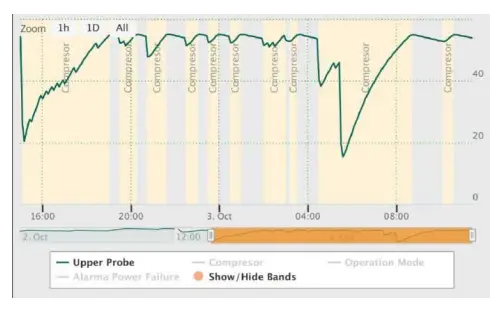
Graphic menu
You can view the equipment’s history in graphic format. Date, temperature, unit status, operating mode and current alarm are displayed.
You must select the date range.

The data will be displayed in a similar graphic:


Documents / Resources
 |
EVCO EVLink Wi-Fi Module [pdf] User Manual EVLink Wi-Fi Module, Wi-Fi Module, Module |