![]() Club Keyboard Editor User Guide
Club Keyboard Editor User Guide
Works with Club Keyboard Verion 2
Switching the keyboard from TGC to GS Pro (or others)
In order to use your keyboard for a different sim software than the version printed on the front of the keyboard, you will need to remap the keys to work with the other sim. Overlays are available to change the button labels for use with other sims. It is recommended you use an overlay when switching to a different sim. The process of switching back and forth is very easy and only takes about 15 seconds once you have downloaded the software.
Download the Club Keyboard Editor from clubkeyboard.com in the support section under Version 2. Once downloaded, proceed to the steps below.
Step 1
Open the Club Keyboard Editor by double clicking on the file you downloaded.
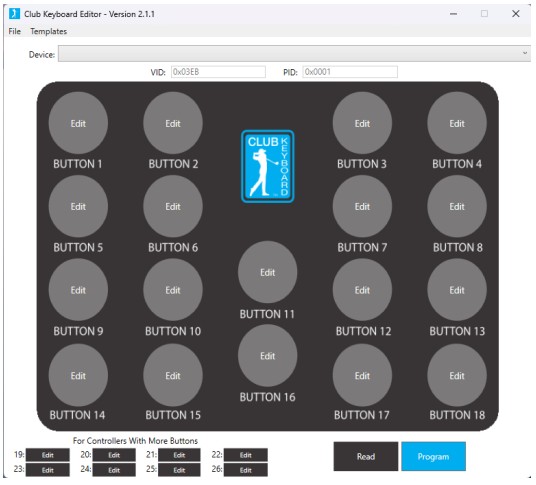
Step 2
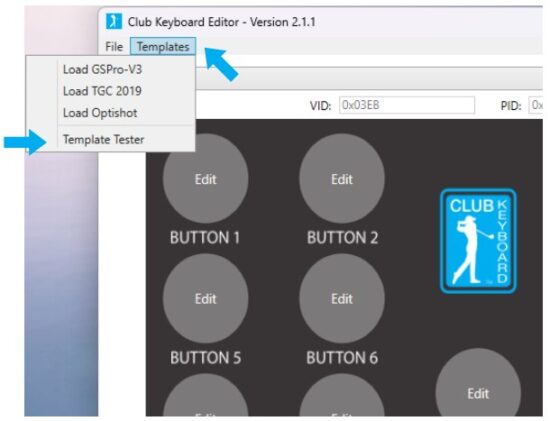
Select “template” then choose the simulator you want to control. The board will automatically update.

Step 3
Wait for the update complete window and select “Ok”

Step 4
Your keyboard is now reconfigured and ready to use!
Repeat the process to switch back and forth.
Customize the key assignments and create your own configuration files
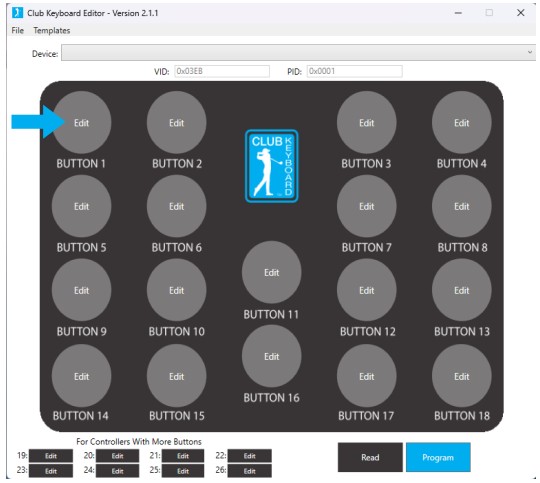
Step 1
Click Edit for the button you want to update.
Step 2
You can add up to 4 actions for each button.

Step 3
Select the actions you want from the drop down list.
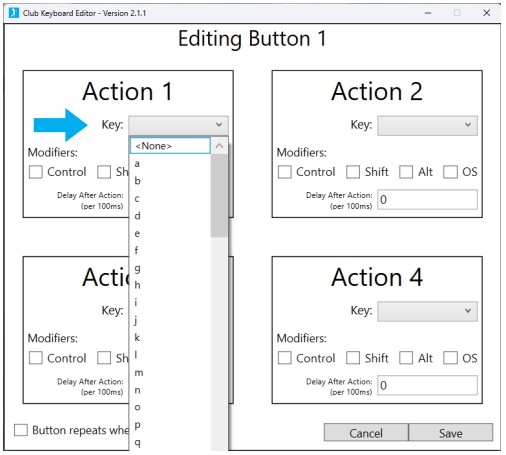
Step 4
If you need to hold the shift, control or alt while performing the action, check the coresponding box.

Step 5
When fininished select save and repeat for all buttons.

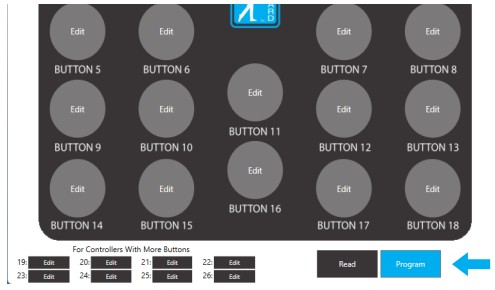
Step 6
When all actions are saved for all buttons, click program to update the keyboard.

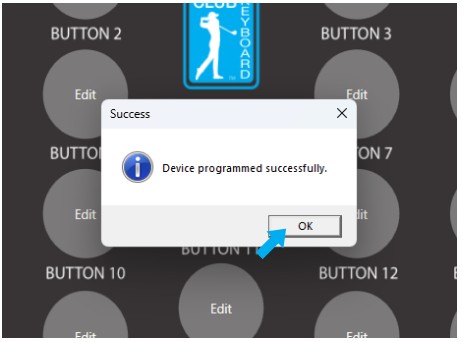
Step 7
Wait for the update complete message and click “Ok”

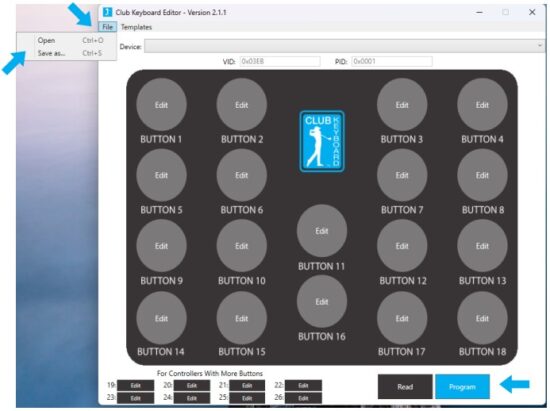
Step 8
You can save your custom configuration to a file that can be reloaded later. This allows you to have multiple setups and switch easily back and forth. Select “File” then “ Save as”. To reload, simply select “File then ”Open” and select your saved files. Then click the Program button at the bottom so update the keyboard.
Step 9
After you have opened your file, click the Program button to update the keyboard.
Step 10
Wait for the update complete message and click “Ok”
Step 1
You can use the tester tool in the editor for checking you configuration to see if it’s working as expected.
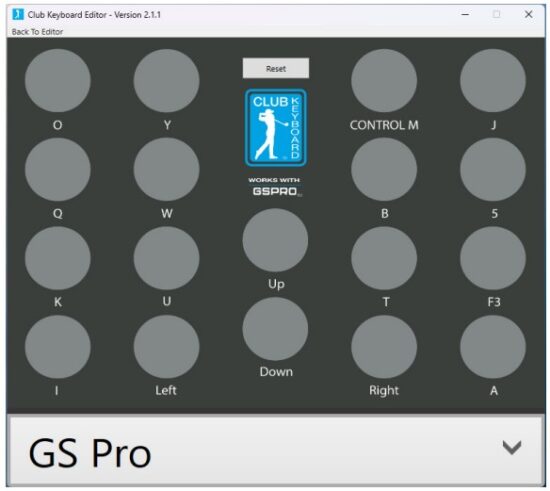
Step 2
Press the keys from top to bottom, left to right. It will show you what is being output for each button. The tester is not designed to recognize which button is being pressed, it simply works in order as described above.
Step 3
You can use the built in templates to check the standard configurations. Select from the list at the bottom.

Step 4
You can rest and start over by clicking the reset button.

Step 5
Click “Back to Editor” to retrun to the main window.

Installation Tips
Step 1
Click to download the Software at ClubKeyboard.com.
When the warning message appears, sellect the 3 dot menu drop down and then choose to “Keep” the file.

Step 2
Select “Show More”

Step 3
Select “Keep Anyway”

Step 4
Go to your downloads folder and locate the file you just downloaded. You can move it to another folder on your computer if you want to.

Step 5
Double click on the Club Keyboard Editor to launch the software.

![]()
Documents / Resources
 |
Club KEYBOARD Club Keyboard Editor [pdf] User Guide Club Keyboard Editor, Keyboard Editor |