Uvod
This manual provides comprehensive instructions for the proper setup, operation, and maintenance of your EACHINE TX526 5.8G 40CH AV Wireless FPV Transmitter. Please read this manual thoroughly before using the device to ensure safe and optimal performance.
Konec izdelkaview
Vsebina paketa
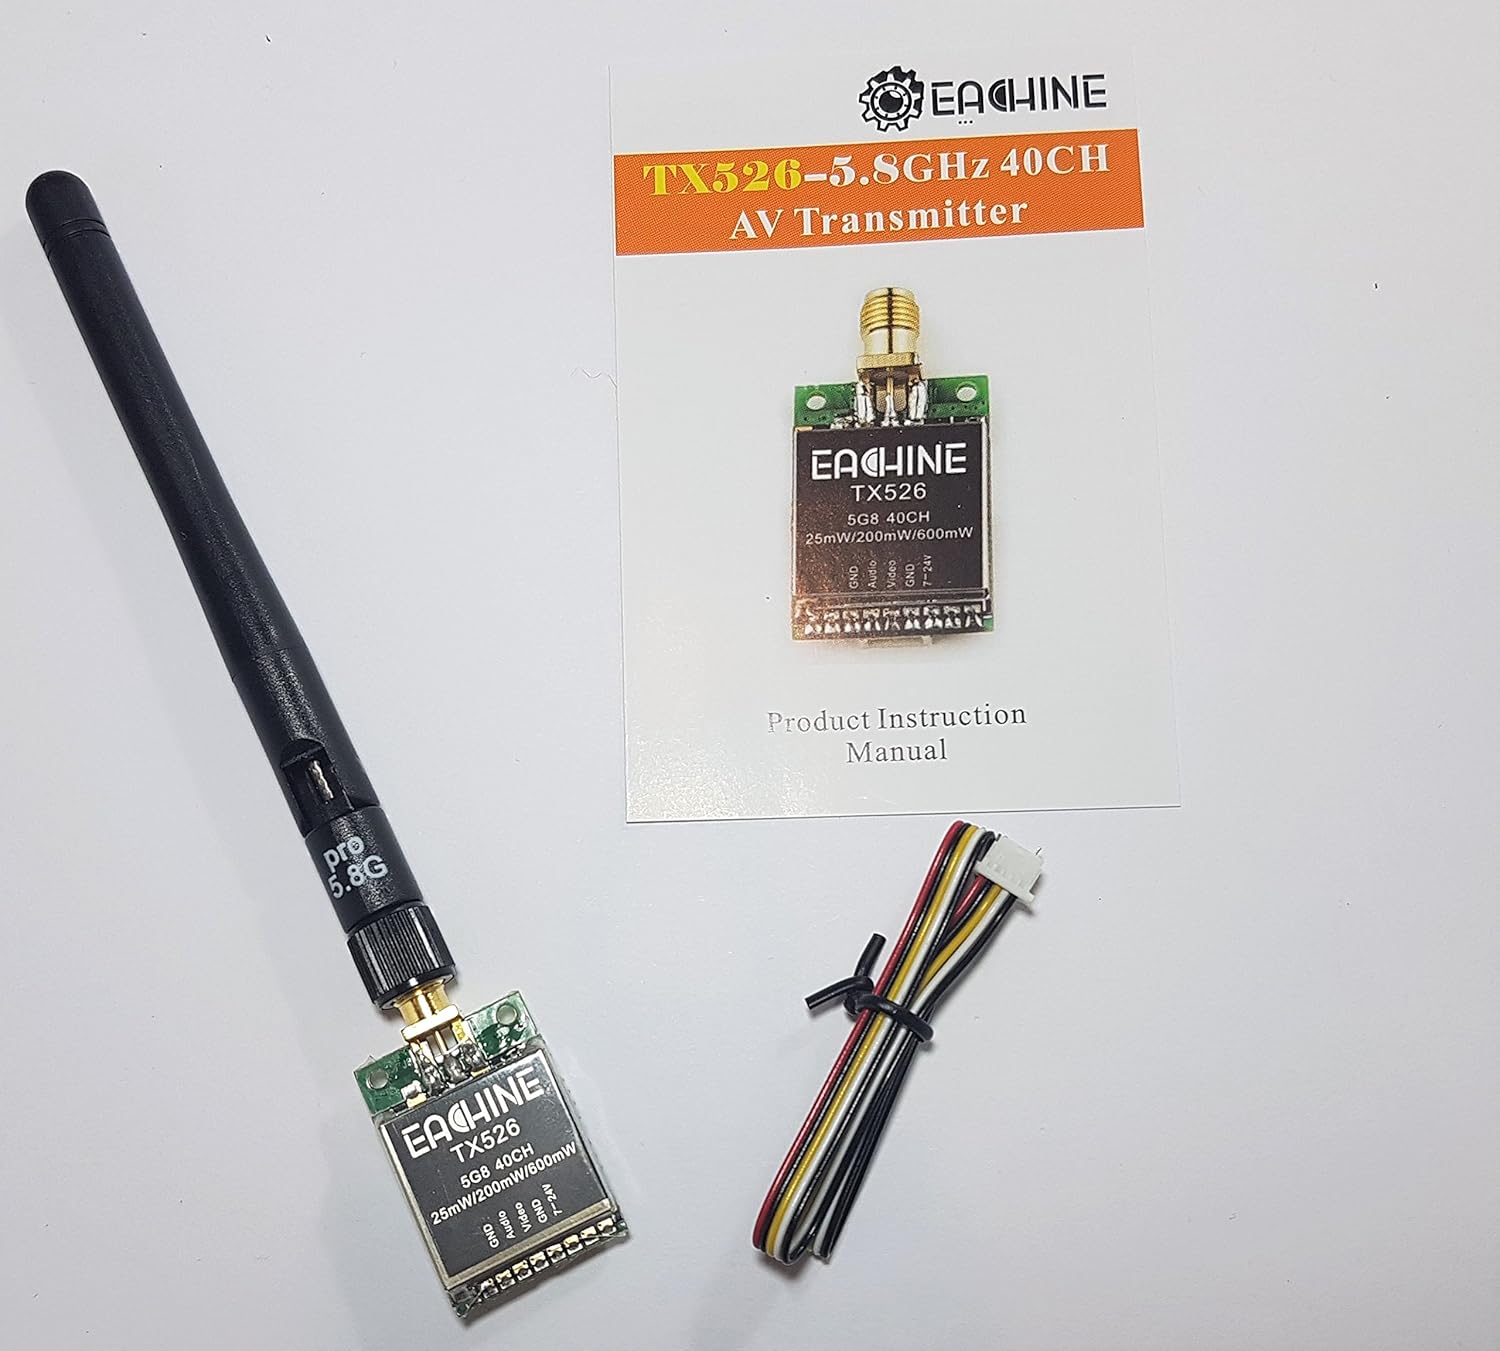
Image: The EACHINE TX526 FPV Transmitter, a detachable antenna, a multi-wire connection cable, and the product instruction manual are included in the package.
- EACHINE TX526 FPV Transmitter
- RP-SMA Female Antenna
- Multi-wire Connection Cable
- Navodila za uporabo izdelka
Ključne značilnosti

Image: The product packaging lists key features of the TX526 transmitter.
- 40CH Raceband support
- Super mini size for compact installations
- Button control for easy channel and power adjustment
- One screen display for clear status indication
- High stability for reliable video transmission
- Switchable power output: 25mW / 200mW / 600mW
Nastavitev
Identifikacija komponente

Slika: Podrobna view of the TX526 transmitter's connection pads, labeled GND, Audio, Video, GND, and 7-24V.

Image: The reverse side of the TX526 transmitter, showing the digital LED display and the control button.
Shema ožičenja
Connect the supplied multi-wire cable to the transmitter's pin header according to the following pinout:
| Pin | funkcija | Opis |
|---|---|---|
| 1 | GND | Ozemljitev |
| 2 | Avdio | Audio input from camera/microphone (if applicable) |
| 3 | Video | Video vhod iz FPV kamere |
| 4 | GND | Ozemljitev |
| 5 | 7-24V | Power input (DC 7V to 24V) |
Ensure correct polarity when connecting power. Incorrect wiring can damage the transmitter.
Antenski priključek

Image: The TX526 transmitter with its antenna securely attached and the power/signal cable connected.
Carefully screw the supplied RP-SMA antenna onto the transmitter's antenna connector. Ensure it is finger-tight to prevent signal loss. Never power on the transmitter without an antenna connected, as this can permanently damage the device.
Navodila za uporabo
Vklop
Once all connections are secure, apply power (7-24V DC) to the transmitter. The LED display will illuminate, indicating the current channel and band.
Changing Channels and Bands
The TX526 features a single button for controlling channel and band selection.
- Kratek pritisk: A short press of the button will cycle through the channels (1-8) within the current band. The LED display will update to show the new channel number.
- Long Press (2-3 seconds): A long press of the button will cycle through the available frequency bands (A, B, E, F, R). The LED display will show the band letter (e.g., 'A', 'b', 'E', 'F', 'r') for a moment before returning to the channel number.
Refer to the frequency table below for specific frequencies per channel and band.
Changing Power Output
The TX526 allows switching between 25mW, 200mW, and 600mW output power. The method for changing power output is typically a very long press or a specific button combination. (Note: Specific button sequence for power output change is not detailed in provided images. Refer to the physical manual for precise instructions.)
Higher power output provides greater range but consumes more battery and generates more heat. Always ensure adequate airflow around the transmitter, especially at higher power settings.
Vzdrževanje
- Keep the transmitter clean and free from dust and debris. Use a soft, dry cloth for cleaning.
- Avoid exposing the transmitter to extreme temperatures, humidity, or direct sunlight.
- Ensure all connections (antenna, power, video) are secure before each use.
- Regularly inspect the antenna for damage. A damaged antenna can significantly reduce performance.
- Do not attempt to open the transmitter casing, saj lahko to razveljavi garancijo in povzroči škodo.
Odpravljanje težav
Ni video signala
- Check all wiring connections, especially power and video input.
- Ensure the antenna is securely connected to the transmitter.
- Verify that your FPV receiver is on the same frequency and band as the transmitter.
- Confirm that the FPV camera is powered and functioning correctly.
- Check the power output setting; a very low setting might result in poor range.
Poor Video Quality / Static
- Prepričajte se, da med oddajnikom in sprejemnikom ni ovir.
- Check for interference from other 5.8GHz devices or strong Wi-Fi signals.
- Verify that both transmitter and receiver antennas are correctly oriented (e.g., vertical polarization).
- Razmislite o povečanjuasing the power output of the transmitter if range is an issue.
- Inspect antennas for damage or bends.
Transmitter Overheating
- Ensure adequate airflow around the transmitter, especially when operating at 600mW.
- Avoid enclosing the transmitter in tight spaces without ventilation.
- Potrdite vnos voltage is within the specified 7-24V range.
Specifikacije
| Funkcija | Podrobnost |
|---|---|
| Model | EACHINE TX526 |
| Pogostost | 5.8 GHz |
| Kanali | 40CH (Raceband compatible) |
| Izhodna moč | 25mW / 200mW / 600mW (Switchable) |
| Vhodna voltage | DC 7 V - 24 V |
| Antenna Connector | RP-SMA Ženska |
| Dimenzije | Približno 11.7 x 7.4 x 2.5 cm (dimenzije paketa) |
| Teža | Approximately 45 g (Item Weight) |
Opomba: Specifikacije se lahko spremenijo brez predhodnega obvestila.
Garancija in podpora
For warranty information, technical support, or further inquiries, please visit the official EACHINE webali se obrnite na svojega prodajalca.
Uradno Webspletno mesto: http://www.eachine.com


