1. නිෂ්පාදන අවසන්view
The Logitech Sight is an AI-powered video conferencing camera designed to enhance hybrid meeting experiences by providing a tabletop perspective. It works in conjunction with a front-of-room camera to capture interactions and nonverbals around the meeting table, making remote attendees feel more included.
Key features include 4K video resolution, a 60 frames per second frame rate, and 7 beamforming microphones for clear audio capture. The camera is designed for medium to large collaboration spaces and integrates with leading video conferencing platforms.
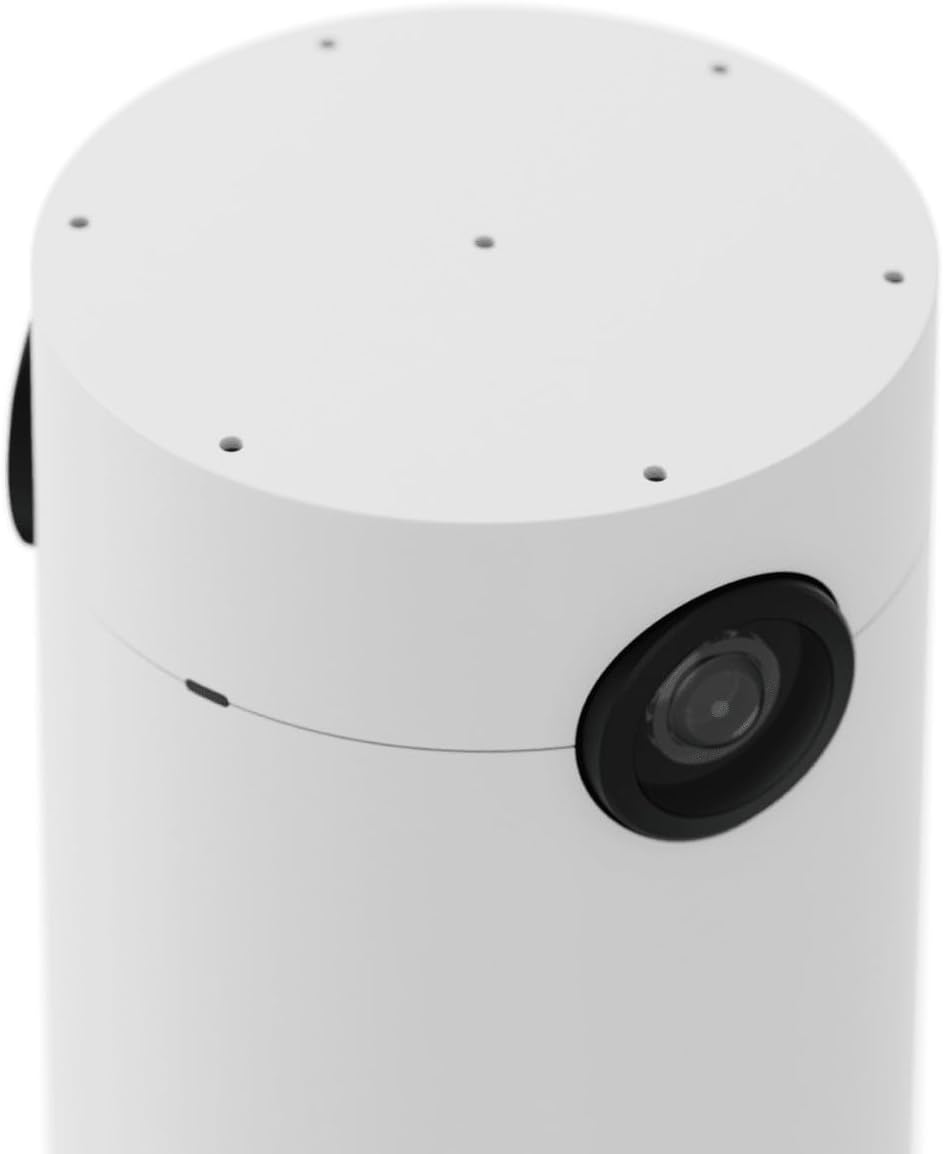
Figure 1: Logitech Sight Video Conferencing Camera. This image displays the camera's sleek cylindrical white design, highlighting the primary camera lens on its side.
2. පිහිටුවීම සහ ස්ථාපනය
Follow these steps to properly install your Logitech Sight camera:
- උපාංගය ඉවත් කරන්න: Carefully remove the camera and all accessories from the packaging.
- ස්ථානගත කිරීම තෝරන්න: Position the camera in the center of your meeting table to ensure optimal coverage of participants.
- Secure with Mounts: Utilize the included mounts to securely install the camera on the table. The design allows for integrated cable management to maintain a clean setup.

Figure 2: Installation process of the Logitech Sight camera. The image shows the camera being lowered into a table-integrated mount, with cables neatly routed through the base for a clean installation.
- කේබල් සම්බන්ධ කරන්න: Connect the necessary cables (Power, Ethernet, USB) to the ports located at the bottom of the camera. Ensure all connections are firm.

Figure 3: Underside of the Logitech Sight camera. This view displays the various connection ports, including power, Ethernet, and USB, essential for connecting the device to your conferencing system.
- බල ගැන්වීම: Once all connections are made, power on the device.
3. මෙහෙයුම් උපදෙස්
The Logitech Sight camera is designed for seamless integration with your existing video conferencing platforms.
3.1. කැමරා ක්රියාකාරිත්වය
- The camera provides a tabletop view, complementing the front-of-room camera to capture participants' expressions and gestures.
- It intelligently frames individuals, though it may encounter limitations if participants block the view of others or turn away from the camera.
3.2. ශ්රව්ය පාලන
The integrated 7 beamforming microphones capture clear audio from around the room.
- නිශ්ශබ්ද බොත්තම: The camera features a physical mute button for quick audio control. An indicator light will signal the microphone's status.

Figure 4: Close-up of the Logitech Sight camera displaying the microphone mute button. The button is accompanied by an indicator light that shows the current status of the microphone (e.g., active or muted).
3.3. Privacy Shade
For privacy, the camera includes a physical privacy shade.
- Activating Privacy: Slide the privacy shade over the camera lens when the camera is not in use or when privacy is required.

Figure 5: The Logitech Sight camera with its privacy shade in position. This accessory provides a physical cover for the camera lens, ensuring privacy when the device is not actively in use.
4. නඩත්තු කිරීම
Regular maintenance ensures optimal performance and longevity of your Logitech Sight camera.
- පිරිසිදු කිරීම: Use a soft, dry cloth to gently wipe the camera lens and exterior. Avoid abrasive cleaners or solvents.
- මෘදුකාංග යාවත්කාලීන: Periodically check for and install firmware and software updates from the official Logitech website to ensure your camera has the latest features and security enhancements.
- කේබල් කළමනාකරණය: Ensure all cables remain neatly organized and free from kinks or damage to prevent connectivity issues.
5. දෝශ නිරාකරණය
If you encounter issues with your Logitech Sight camera, consider the following troubleshooting steps:
- වීඩියෝ ප්රතිදානය නැත:
- Verify all cables (USB, Ethernet) are securely connected to both the camera and the conferencing system.
- Ensure the camera is powered on and its indicator lights are active.
- Check the settings within your video conferencing application to confirm the Logitech Sight is selected as the active camera.
- ශ්රව්ය ආදානයක් නැත:
- Confirm the microphone mute button on the camera is not active (indicator light should show it's unmuted).
- Check audio input settings in your video conferencing application to ensure Logitech Sight is selected as the microphone source.
- කැමරාවේ ස්ථිරාංග යාවත්කාලීනව පවතින බවට වග බලා ගන්න.
- දුර්වල වීඩියෝ ගුණාත්මකභාවය:
- කැමරා කාචය පිරිසිදු බවත් දූවිලි හෝ පැල්ලම් වලින් තොර බවත් සහතික කර ගන්න.
- Verify adequate lighting in the meeting room.
- Check your network connection for stability and bandwidth, as this can affect video streaming quality.
- උපාංගය හඳුනාගෙන නොමැත:
- Try restarting your computer or conferencing system.
- Disconnect and reconnect the camera's USB and Ethernet cables.
- Ensure your operating system and conferencing software are up to date.
ගැටළු දිගටම පවතින්නේ නම්, වැඩිදුර සහාය සඳහා සහාය අංශය වෙත යොමු වන්න.
6. පිරිවිතර
| විශේෂාංගය | විස්තර |
|---|---|
| ආදර්ශ අංකය | 960001503 |
| වෙළඳ නාමය | ලොජිටෙක් |
| වීඩියෝ විභේදනය | 3840 x 2160 (4K) |
| රාමු අනුපාතය | 60 fps |
| මයික්රොෆෝන | 7 Beamforming Microphones |
| මානයන් (LxWxH) | අඟල් 7.66 x 9.43 x 13.39 |
| අයිතමයේ බර | රාත්තල් 1.1 කි |
| වර්ණය | සුදු |
| දෘඪාංග වේදිකාව | PC |
| සම්බන්ධතාවය | USB, ඊතර්නෙට් |
7. වගකීම් තොරතුරු
For detailed warranty information regarding your Logitech Sight Video Conferencing Camera (Model 960001503), please refer to the official Logitech webවෙබ් අඩවිය හෝ ඔබේ නිෂ්පාදනය සමඟ ඇතුළත් වගකීම් කාඩ්පත. වගකීම් නියමයන් සහ කොන්දේසි කලාපය අනුව වෙනස් විය හැකිය.
8. සහාය
If you require further assistance, technical support, or have questions not covered in this manual, please visit the official Logitech support resources:
- Logitech සහාය Webඅඩවිය: www.logitech.com/support
- ලොජිටෙක් නිල වෙළඳසැල: Amazon හි Logitech වෙළඳසැලට පිවිසෙන්න
සහාය සම්බන්ධ කර ගැනීමේදී කරුණාකර ඔබේ නිෂ්පාදන මාදිලි අංකය (960001503) සහ අනුක්රමික අංකය සූදානම්ව තබා ගන්න.


