1 Важная информация по безопасности
Please read this manual thoroughly before operating the ABBREE AR-M7 CB Radio. Retain this manual for future reference.
- Источник питания: Используйте только указанный источник питания постоянного тока 13.8 В. Неправильное напряжение.tagЭто может привести к повреждению устройства и аннулированию гарантии.
- Антенна: Ensure the antenna is properly connected before transmitting to prevent damage to the radio's final ampпожизненнее.
- Установка: Install the radio in a secure location, away from direct sunlight, excessive heat, dust, and moisture.
- Операция: Не включайте радио во время вождения, если оно отвлекает вас от безопасного управления транспортным средством.
- Обслуживание: Do not attempt to open or repair the unit yourself. Refer all servicing to qualified technicians.
2. Содержимое упаковки
Проверьте наличие всех предметов в посылке:
- ABBREE AR-M7 CB Radio Unit
- Ручной микрофон
- Кабель питания постоянного тока
- Монтажный кронштейн
- Screw and Accessory Kit
- Руководство пользователя (этот документ)

Рисунок 2.1: Комплект поставки
If any items are missing or damaged, please contact your retailer or ABBREE customer support.
3. Продукт закончилсяview
The ABBREE AR-M7 is a compact, dual-mode AM/FM CB radio designed for reliable communication. It features a full-color LCD display and essential functions for various mobile applications.
3.1 Элементы управления и разъемы на передней панели

Рисунок 3.1: Расположение элементов на передней панели и их функции.
- Интерфейс микрофона: Connects the hand microphone.
- Кнопка питания: Нажмите, чтобы включить или выключить радио.
- MT/LOCK Button: Mute function / Keypad lock.
- ЖК-дисплей: Shows channel, frequency, mode, and other status indicators.
- SQ/M1 Button: Squelch function / Store memory channel function button.
- VOX/M2 Button: Voice Operated Exchange function / Store memory channel function button.
- ASQ/M3 Button: Automatic Squelch Control / Store memory channel function button.
- Регулятор каналов: Rotate to select channels.
- CH/M3 Button: Channel switch / Store memory channel function button.
- A/F Button: Modulation switch (AM/FM).
- TSQ/M4 Button: CTCSS/DCS function / Store memory channel function button.
- Кнопка СКАН: Scan channel function button.
- EMG Button: Emergency channel button (CH9/19).
3.2 разъемов на задней панели
- Антенный интерфейс: Connects to the external CB antenna.
- Разъем для кабеля питания: Connects the DC power cable.
- Разъем для внешнего динамика: Для подключения дополнительного внешнего динамика.
4. Настройка и установка
4.1 Монтаж радиостанции
Use the provided mounting bracket and screws to secure the radio in a suitable location within your vehicle. Ensure the location allows for proper ventilation and easy access to controls.
4.2 Подключение питания
Connect the supplied DC power cable to the radio's power port and to your vehicle's 13.8V DC power source. Ensure correct polarity (red to positive, black to negative) to prevent damage.
4.3 Подключение антенны
Connect your CB antenna to the antenna interface on the rear of the radio. Ensure the connection is secure. Never transmit without a properly connected antenna.
4.4 Подключение микрофона
Plug the hand microphone into the microphone interface on the front panel. Ensure it clicks into place securely.

Figure 4.1: Connecting the Hand Microphone
5. Основные операции
5.1 Включение/выключение питания
Нажмите и удерживайте ВЛАСТЬ button to turn the radio on or off. The LCD display will illuminate upon power-on.
5.2 Регулятор громкости
Поверните Ручка канала (when not in channel selection mode) or use the UP/DOWN buttons on the microphone to adjust the audio volume.
5.3 Выбор канала
Поверните Ручка канала to select your desired operating channel (1-40). Alternatively, use the UP/DOWN buttons on the microphone.

Рисунок 5.1: Пропускная способность 40 каналов
5.4 Регулировка шума (SQ/ASQ)
Squelch eliminates background noise when no signal is present.
- Ручное шумоподавление (SQ): Нажмите SQ/M1 button. Rotate the Channel Knob to adjust the squelch level. A higher number means stronger squelch.
- Автоматическое шумоподавление (ASQ): Нажмите ASQ/M3 button to activate or deactivate automatic squelch. This feature automatically adjusts the squelch level for optimal reception.
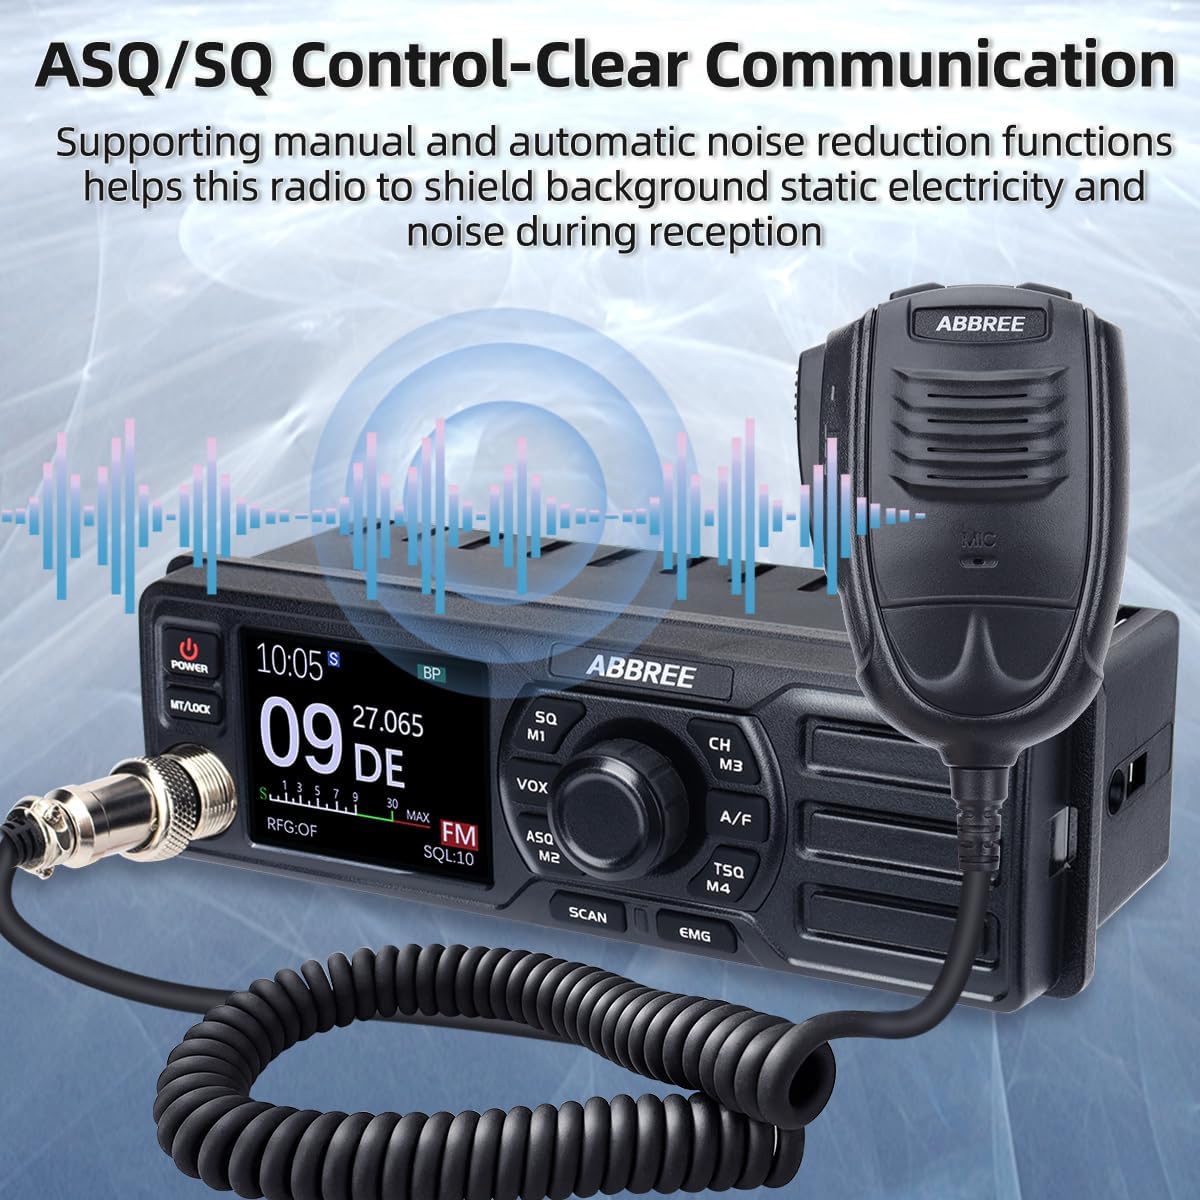
Figure 5.2: ASQ/SQ Control for Clear Communication
6. Расширенные функции
6.1 Выбор режима AM/FM
Нажмите A / F кнопка для переключения между AM (Amplitude Modulation) and FM (Frequency Modulation) modes. The selected mode will be displayed on the LCD.
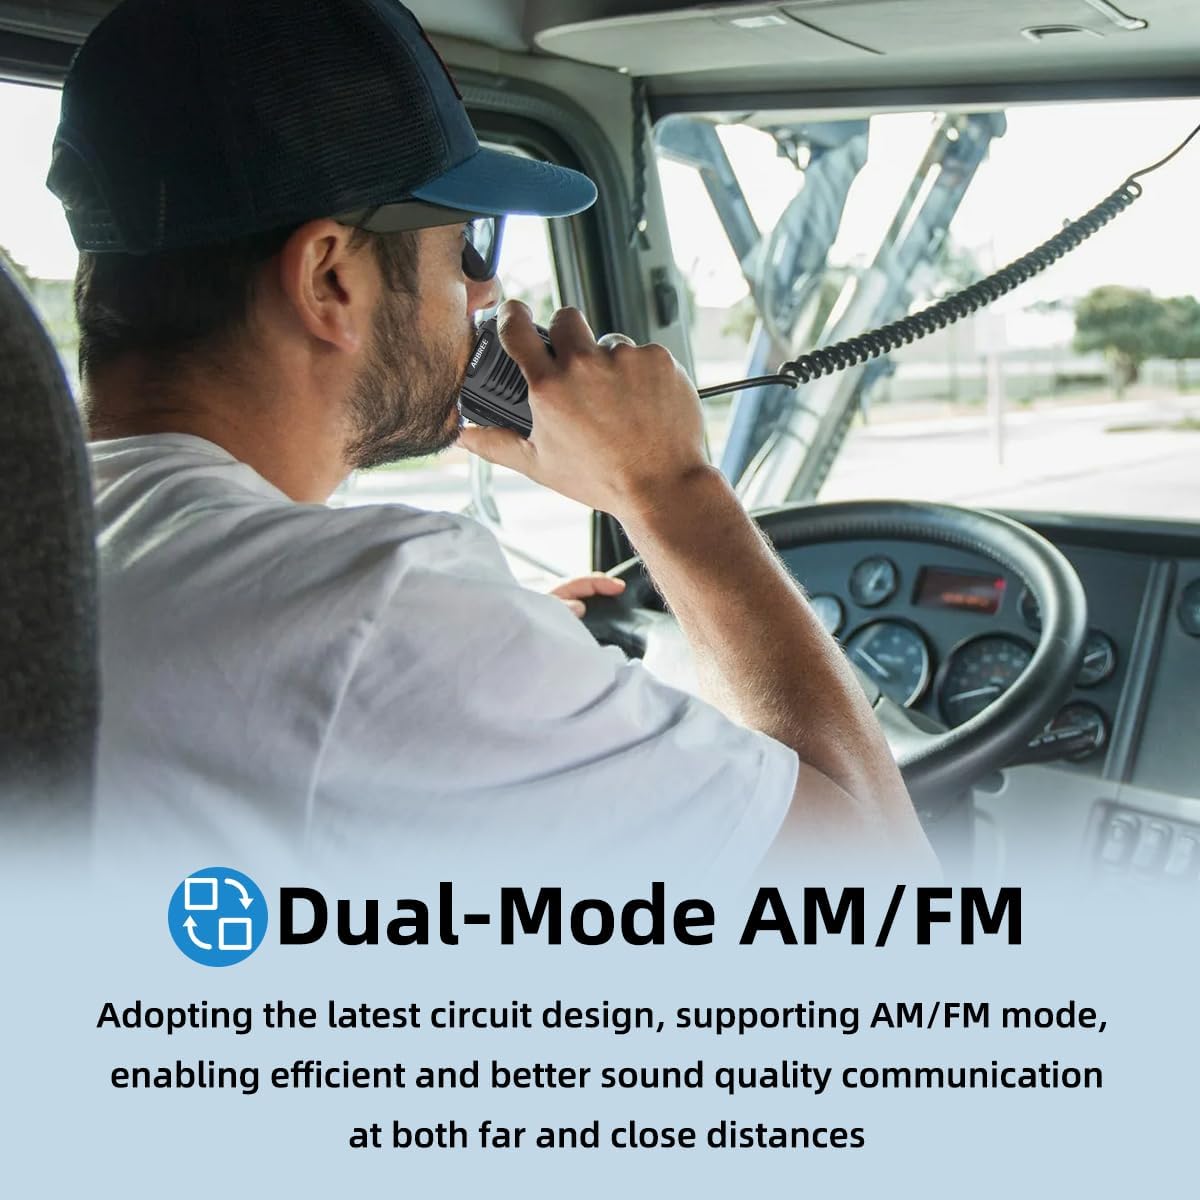
Figure 6.1: Dual-Mode AM/FM Operation
6.2 Emergency Channels (CH9/19)
Нажмите ЭМГ button for instant access to emergency channels. Channel 9 is typically used for emergency communications, and Channel 19 for truck drivers. Press again to return to the previous channel.

Figure 6.2: Instant Access to Emergency Channels
6.3 Функция VOX (голосовое управление коммутатором)
The VOX function allows hands-free transmission. When activated, the radio will transmit automatically when it detects your voice.
- Нажмите VOX/M2 button to activate or deactivate VOX.
- Adjust VOX sensitivity through the menu settings (refer to the full manual for detailed menu navigation).

Figure 6.3: Hands-Free Communication with VOX
6.4 Функция сканирования
Нажмите СКАНИРОВАНИЕ button to initiate channel scanning. The radio will scan through active channels and stop when a signal is detected. It will resume scanning after a short delay or when the signal disappears.
6.5 CTCSS/DCS (Подавление шума тона)
CTCSS (Continuous Tone-Coded Squelch System) and DCS (Digital Coded Squelch) are used to filter out unwanted conversations.
- Нажмите TSQ/M4 button to access CTCSS/DCS settings.
- Select the desired tone or code from the available options.
6.6 TOT (Тайм-аут)
The Time-Out Timer limits the duration of a single transmission to prevent accidental long transmissions and channel hogging. If the transmission exceeds the set time, the radio will stop transmitting automatically.
6.7 RFG (RF Gain)
RF Gain adjusts the sensitivity of the receiver. Lowering the RF Gain can help reduce background noise from weak signals or distant stations, improving clarity for stronger, closer signals.
7. Техническое обслуживание
Proper maintenance ensures the longevity and optimal performance of your AR-M7 CB Radio.
- Уборка: Для чистки корпуса радиоприёмника используйте мягкую сухую ткань. Не используйте абразивные чистящие средства или растворители.
- Среда: Храните радиоприемник вдали от экстремальных температур, прямых солнечных лучей и чрезмерной влажности.
- Соединения: Periodically check all cable connections (power, antenna, microphone) for security and signs of wear.
8. Поиск Неисправностей
If you experience issues with your AR-M7 CB Radio, refer to the following common problems and solutions:
| Проблема | Возможная причина | Решение |
|---|---|---|
| Радио не включается. | No power connection; incorrect voltagе; перегоревший предохранитель. | Check power cable connection; ensure 13.8V DC supply; check vehicle's fuse box. |
| Отсутствие или плохое качество связи. | Antenna not connected; squelch too high; incorrect channel/mode. | Ensure antenna is connected; adjust squelch level (SQ/ASQ); verify channel and AM/FM mode. |
| Невозможно передать. | Microphone not connected; antenna issue; TOT activated. | Check microphone connection; ensure antenna is properly connected; wait for TOT to reset or reduce transmission time. |
| Чрезмерный фоновый шум. | Squelch too low; RF Gain too high; electrical interference. | Increase squelch level; adjust RF Gain; check for nearby electrical interference sources. |
If the problem persists after attempting these solutions, please contact ABBREE customer support for assistance.
9. Технические характеристики
| Особенность | Спецификация |
|---|---|
| Модель | АР-М7 |
| Диапазон частот | 26.965-27.405МГц |
| Каналы | 40 каналов CB |
| Режим модуляции | АМ/ФМ |
| Выходная мощность | 4 Вт |
| Vol входtage | 13.8 В постоянного тока |
| Размеры (Ш x В x Г) | 7.3 x 3 x 2.2 дюйма (прибл. 185 x 76 x 56 мм) |
| Масса | прибл. 2.92 фунта (1.32 кг) |
| Международный рейтинг защиты | IP65 |

Figure 9.1: Compact Dimensions of the AR-M7
10. Гарантия и поддержка
ABBREE products are designed for reliability and performance. For warranty information, technical support, or service inquiries, please contact your authorized ABBREE dealer or visit the official ABBREE webсайт.
Please have your model number (AR-M7) and purchase information ready when contacting support.


