1. Produs terminatview
The HP OfficeJet Pro 9125e is a versatile All-in-One printer designed for office and hybrid workspace environments. This certified refurbished unit offers print, scan, copy, and fax functionalities, along with advanced features like a color touchscreen and HP Wolf Pro Security. It is engineered for professional-quality color documents and efficient operation.
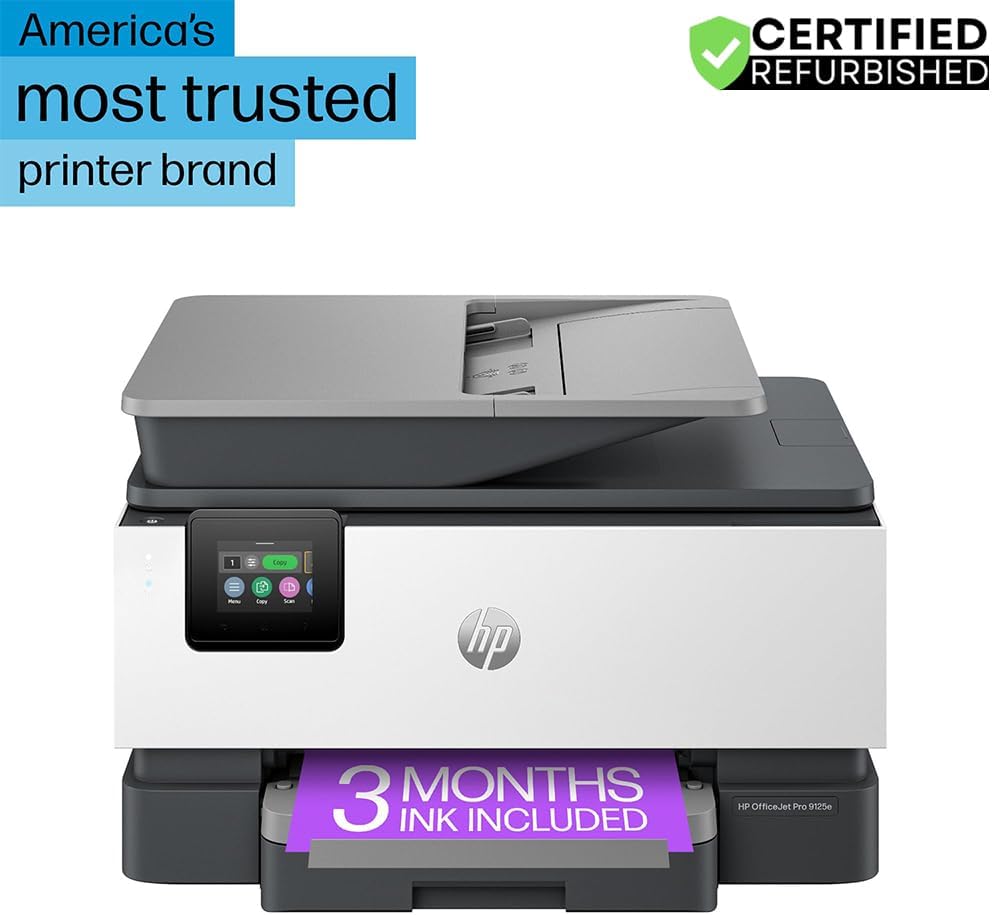
Figura 1: Față view of the HP OfficeJet Pro 9125e All-in-One Printer.
Caracteristici cheie:
- Funcționalitate All-in-One: Capacități de imprimare, copiere, scanare și fax.
- Imprimare de mare viteză: Up to 22 pages per minute (ppm) for black and 18 ppm for color.
- Conectivitate wireless: Reliable dual-band Wi-Fi with automatic connection issue resolution.
- Aplicația HP Smart: Enables printing, scanning, copying, and faxing directly from a smartphone.
- Securitate HP Wolf Pro: Integrated security tools to protect data and networks.
- Ecran tactil color de 2.7 inchi: Intuitive user interface for easy navigation.
- Alimentator automat de documente (ADF): Pentru scanare și copiere eficientă a mai multor pagini.
- Imprimare fata-verso: Automatic two-sided printing.
- Design durabil: Constructed with over 40% recycled plastic.

Figura 2: Pesteview of the HP OfficeJet Pro 9125e's primary functions and features.
2. Instrucțiuni de configurare
2.1 Despachetare și conținut
Carefully unpack the printer and ensure all components are present. The package should contain the following:
- Imprimantă multifuncțională HP OfficeJet Pro 9125e
- Cartuș de cerneală neagră HP 936 Setup
- Cartuș de cerneală cyan HP 936 Setup
- Cartuș de cerneală magenta HP 936 pentru instalare
- Cartuș de cerneală galben HP 936 pentru instalare
- Cablu de alimentare
- Flyer de reglementare
- Flyer de precauție pentru cerneală
- Poster de configurare
- Ghid de referință

Figure 3: Included items in the HP OfficeJet Pro 9125e package.
2.2 Configurarea inițială a imprimantei
- Conexiune de alimentare: Conectați cablul de alimentare la imprimantă și apoi la o priză de perete.
- Pornire: Apăsați butonul de pornire pentru a porni imprimanta.
- Instalarea cartușului de cerneală: Follow the on-screen instructions on the 2.7-inch touchscreen to install the HP 936 setup ink cartridges. Ensure each cartridge clicks into place.
- Încărcarea hârtiei: Load plain paper into the 250-sheet input tray. Adjust the paper guides to fit the paper size.
- Limbă și regiune: Select your preferred language and region on the touchscreen.
- Conexiune retea: Connect the printer to your wireless network using the touchscreen. The dual-band Wi-Fi will help ensure a stable connection.
- HP Smart App Installation: Download the HP Smart App on your smartphone or computer for guided setup and advanced features.
- HP+ Activation (Optional): If you wish to enroll in the Instant Ink delivery service and extend your warranty, activate HP+ during the setup process. This may include 3 months of Instant Ink.
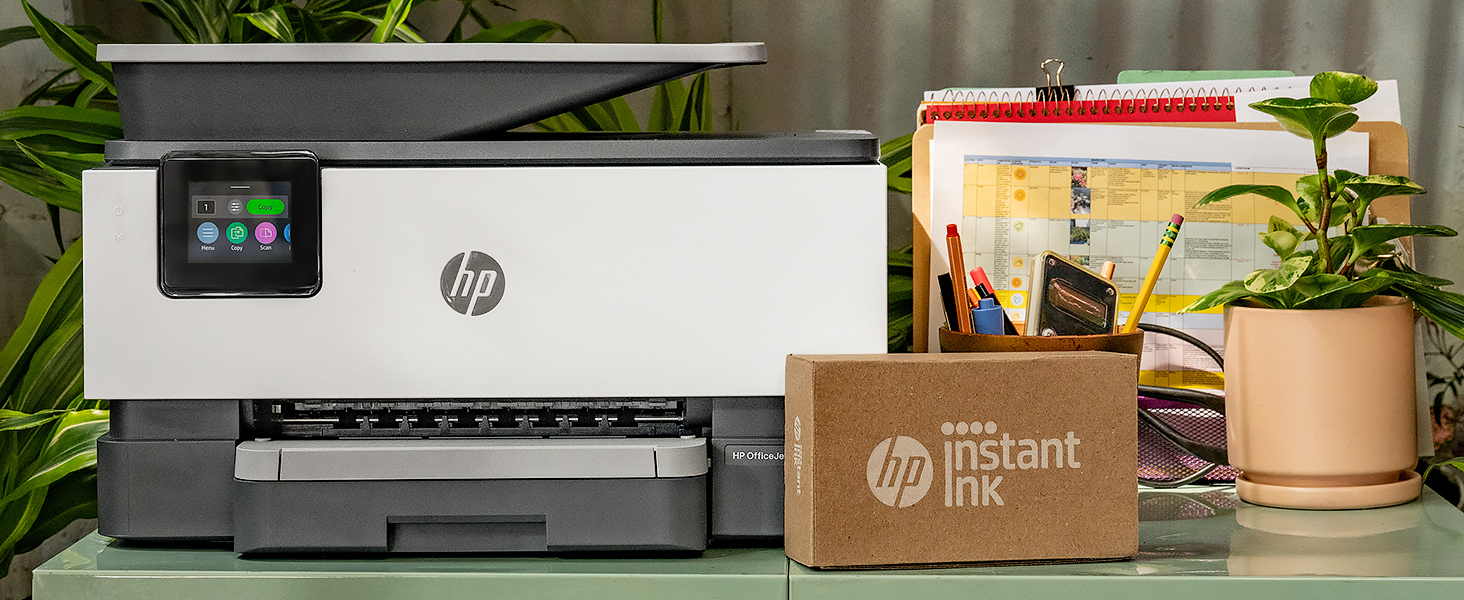
Figure 4: Printer ready for setup, showing the Instant Ink box.
3. Instrucțiuni de utilizare
3.1 Imprimarea documentelor
The HP OfficeJet Pro 9125e supports printing from various devices, including computers and smartphones.
- De pe un computer: Ensure the printer drivers are installed. Select "Print" from your application, choose the HP OfficeJet Pro 9125e, and adjust settings as needed (e.g., color, black and white, duplex printing).
- De pe un dispozitiv mobil (aplicația HP Smart): Open the HP Smart App, select "Print Documents" or "Print Photos," choose the file, and send it to the printer.
- Viteze de imprimare: Până la 22 ppm pentru alb-negru și 18 ppm pentru color.
- Imprimare fata-verso: The printer supports automatic two-sided printing. This option can be selected in your print settings.
3.2 Scanarea documentelor
Documents can be scanned using the flatbed scanner or the Automatic Document Feeder (ADF).
- Utilizarea platformei: Place a single document face down on the scanner glass. Close the lid. Select "Scan" on the printer's touchscreen or through the HP Smart App.
- Utilizarea ADF-ului: Load multiple pages face up into the ADF. The ADF supports dual-pass 2-sided scanning. Select "Scan" on the printer's touchscreen or through the HP Smart App and choose the ADF option.
- Destinații de scanare: Scanned documents can be sent to a computer, email, or cloud services via the HP Smart App.
3.3 Copierea documentelor
The printer allows for quick and efficient copying.
- Inițiază copierea: Press the "Copy" icon on the printer's touchscreen.
- Locul documentului: Așezați documentul pe scanerul cu suport plat sau în ADF.
- Ajustați setările: Select the number of copies (up to 99), color or black and white, and other options like resizing or quality.
- Începeți copierea: Apăsați butonul „Start Copy” de pe ecranul tactil.
3.4 Trimiterea documentelor prin fax
The HP OfficeJet Pro 9125e includes fax functionality.
- Încărcați documentul: Așezați documentul pe scanerul cu suport plat sau în ADF.
- Enter Number: Press the "Fax" icon on the touchscreen and enter the recipient's fax number.
- Send Fax: Confirm settings and send the fax.
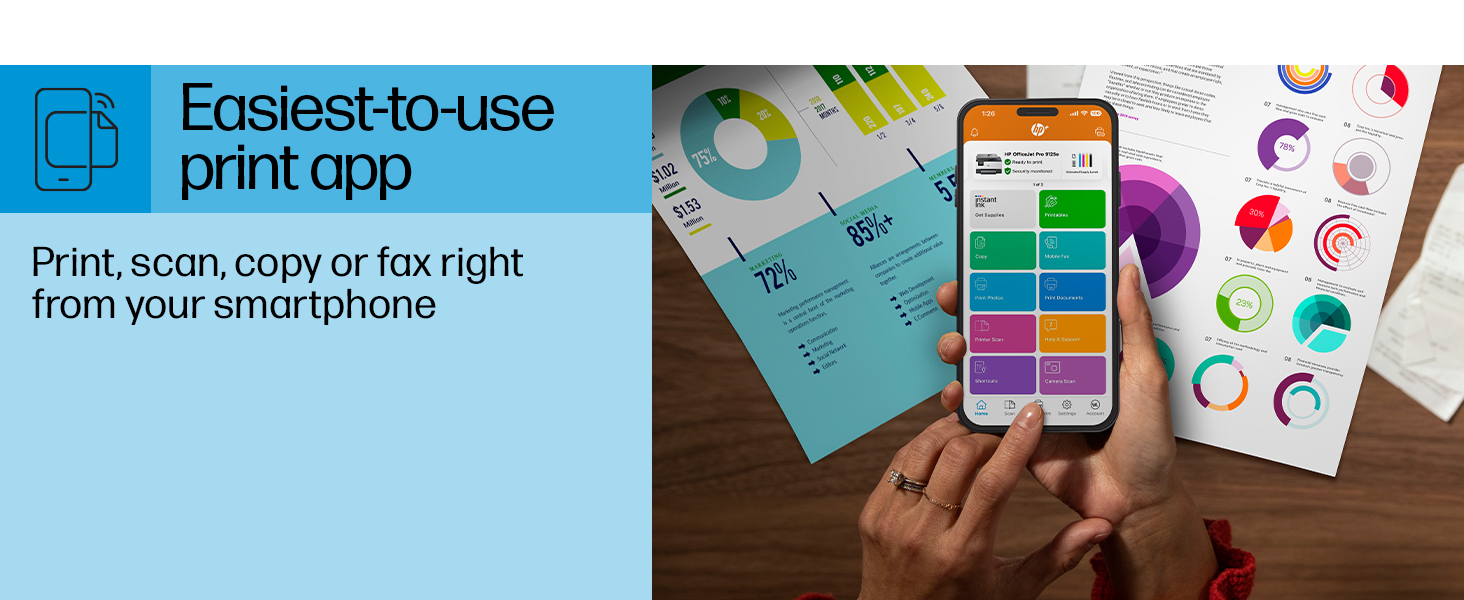
Figure 5: The HP Smart App allows control of print, scan, copy, and fax functions from a smartphone.
4. Întreținere
4.1 Înlocuirea cartușului de cerneală
The printer uses HP 936 series ink cartridges (Black, Cyan, Magenta, Yellow). The touchscreen will indicate when ink levels are low or when a cartridge needs replacement.
- Deschideți ușa de acces la cartuşul de cerneală.
- Apăsați clapeta de pe cartușul vechi pentru a-l elibera, apoi trageți-l afară.
- Unpack the new HP 936 cartridge, being careful not to touch the electrical contacts or ink nozzles.
- Introduceți noul cartuș în slotul corespunzător până când se fixează în poziție cu un clic.
- Închideți ușa de acces a cartușului de cerneală.
4.2 Manipularea hârtiei
- Tavă de intrare: The printer features a 250-sheet input tray. Ensure paper is loaded correctly and paper guides are adjusted to prevent jams.
- Tava de ieșire: The output tray has a capacity of 60 sheets.
- Media suportate: The printer supports various paper types and sizes, including plain paper, photo paper, and envelopes. Supported sizes range from 3 x 5 inches to 8.5 x 14 inches.
- Envelope Stopper: Utilize the built-in envelope stopper to prevent jams when printing envelopes.
4.3 Curățare
Curățarea regulată ajută la menținerea calității imprimării și a longevității imprimantei.
- Exterior: Ștergeți exteriorul imprimantei cu o lavetă moale șiamp, cârpă fără scame.
- Sticla scanerului: Curățați geamul scanerului cu o lavetă moale și un detergent de sticlă neabraziv.
- Role ADF: Consultați asistența HP website or the HP Smart App for instructions on cleaning ADF rollers if paper feed issues occur.
5. Depanare
This section provides solutions to common printer issues. For more detailed troubleshooting, refer to the HP support website-ul sau aplicația HP Smart.
5.1 Probleme de conectivitate
- Imprimantă offline: Ensure the printer is powered on and connected to the correct Wi-Fi network. Restarting both the printer and your router can often resolve temporary network glitches.
- Deconectare Wi-Fi: The printer's dual-band Wi-Fi is designed to automatically resolve connection issues. If problems persist, try reconnecting through the printer's touchscreen or the HP Smart App.
- USB/Ethernet Connection: If using a wired connection, ensure cables are securely plugged into both the printer and the computer/router.
5.2 Probleme de calitate a imprimării
- Imprimeuri decolorate sau cu dungi: Check ink levels and replace any low or empty cartridges. Perform a printhead cleaning cycle through the printer's maintenance menu.
- Culori incorecte: Ensure you are using genuine HP ink cartridges. Run a printhead alignment from the printer's maintenance menu.
- Blocaje de hârtie: Follow the on-screen instructions to clear any jammed paper. Ensure paper is loaded correctly and not overfilled in the input tray.
5.3 Scanning/Copying Issues
- Blank Scans/Copies: Ensure the document is placed correctly on the scanner glass or in the ADF.
- Lines on Scans/Copies: Clean the scanner glass and the ADF rollers.
6. Specificatii tehnice
| Caracteristică | Caietul de sarcini |
|---|---|
| Numele modelului | HP OfficeJet Pro 9125e |
| Funcții | Imprimare, Copiere, Scanare, Fax |
| Tehnologia de imprimare | Inkjet (Four-color inkjet cartridges) |
| Viteză maximă de imprimare (negru) | 22 ppm |
| Viteză maximă de imprimare (color) | 18 ppm |
| Rezoluție maximă de imprimare (negru) | 1200 x 1200 dpi |
| Rezoluție maximă de imprimare (color) | Până la 4800 x 1200 dpi optimizat |
| Imprimare duplex | Automat |
| Tip scaner | Easy slide-off glass, dual pass 2-sided ADF |
| Rezoluție maximă de copiere | 600 x 600 dpi (alb-negru și color) |
| Număr maxim de copii per rulare | 99 |
| Conectivitate | Ethernet, USB, Wi-Fi (Dual-band) |
| Metoda de control | Aplicație, ecran tactil |
| Dimensiunea ecranului tactil | 2.7 inci |
| Capacitatea foilor de intrare | 250 de coli |
| Capacitatea colii de ieșire | 60 de coli |
| Dimensiuni media acceptate | 3 x 5 inci până la 8.5 x 14 inci |
| Capacitate de stocare a memoriei | 512 MB |
| Dimensiuni produs (D x L x H) | 13.48 cm x 17.3 cm x 10.94 cm |
| Greutatea articolului | 20.5 lire sterline |
| Consumul de energie | 5.06 wați |

Figure 6: Physical dimensions of the HP OfficeJet Pro 9125e.
7. Garanție și asistență
7.1 Informații despre garanție
- Certified Refurbished Warranty: This unit comes with a 90-day manufacturer warranty, ensuring reliable, like-new performance.
- Extended Protection Pack: The product bundle includes a 2-year CPS Enhanced Protection Pack.
- HP+ Offer Warranty: A one-year limited hardware warranty is provided, with an option to extend to two years upon acceptance of the HP+ Offer during setup.
For specific terms and conditions regarding your warranty, please refer to the documentation included with your product or visit the official HP support website-ul.
7.2 Asistență pentru clienți
For further assistance, technical support, or to access detailed user guides and drivers, please visit the official HP support website:
You can also utilize the HP Smart App for troubleshooting and accessing support resources directly from your mobile device.