Introducere
This manual provides detailed instructions for the installation, operation, and maintenance of your GIGABYTE B860M GAMING X WIFI6E Motherboard. Please read this manual thoroughly before installing or using the product to ensure correct operation and to prevent damage.
The GIGABYTE B860M GAMING X WIFI6E Motherboard is designed to support Intel Core Ultra Series CPUs, featuring a robust power delivery system, DDR5 memory support, and advanced connectivity options including PCIe 5.0, M.2, 2.5GbE LAN, WIFI 6E, and USB 4.
Ghid de instalare
1. Despachetarea și inspecția
Carefully remove the motherboard from its packaging. Inspect for any signs of damage during transit. Ensure all accessories listed in the package contents are present.
- GIGABYTE B860M GAMING X WIFI6E Motherboard
- Cabluri SATA
- Antena Wi-Fi
- Manual de utilizare (acest document)
- CD/USB cu drivere (dacă este inclus)
2. Aspectul plăcii de bazăview
Familiarizați-vă cu componentele și conectorii cheie de pe placa de bază.
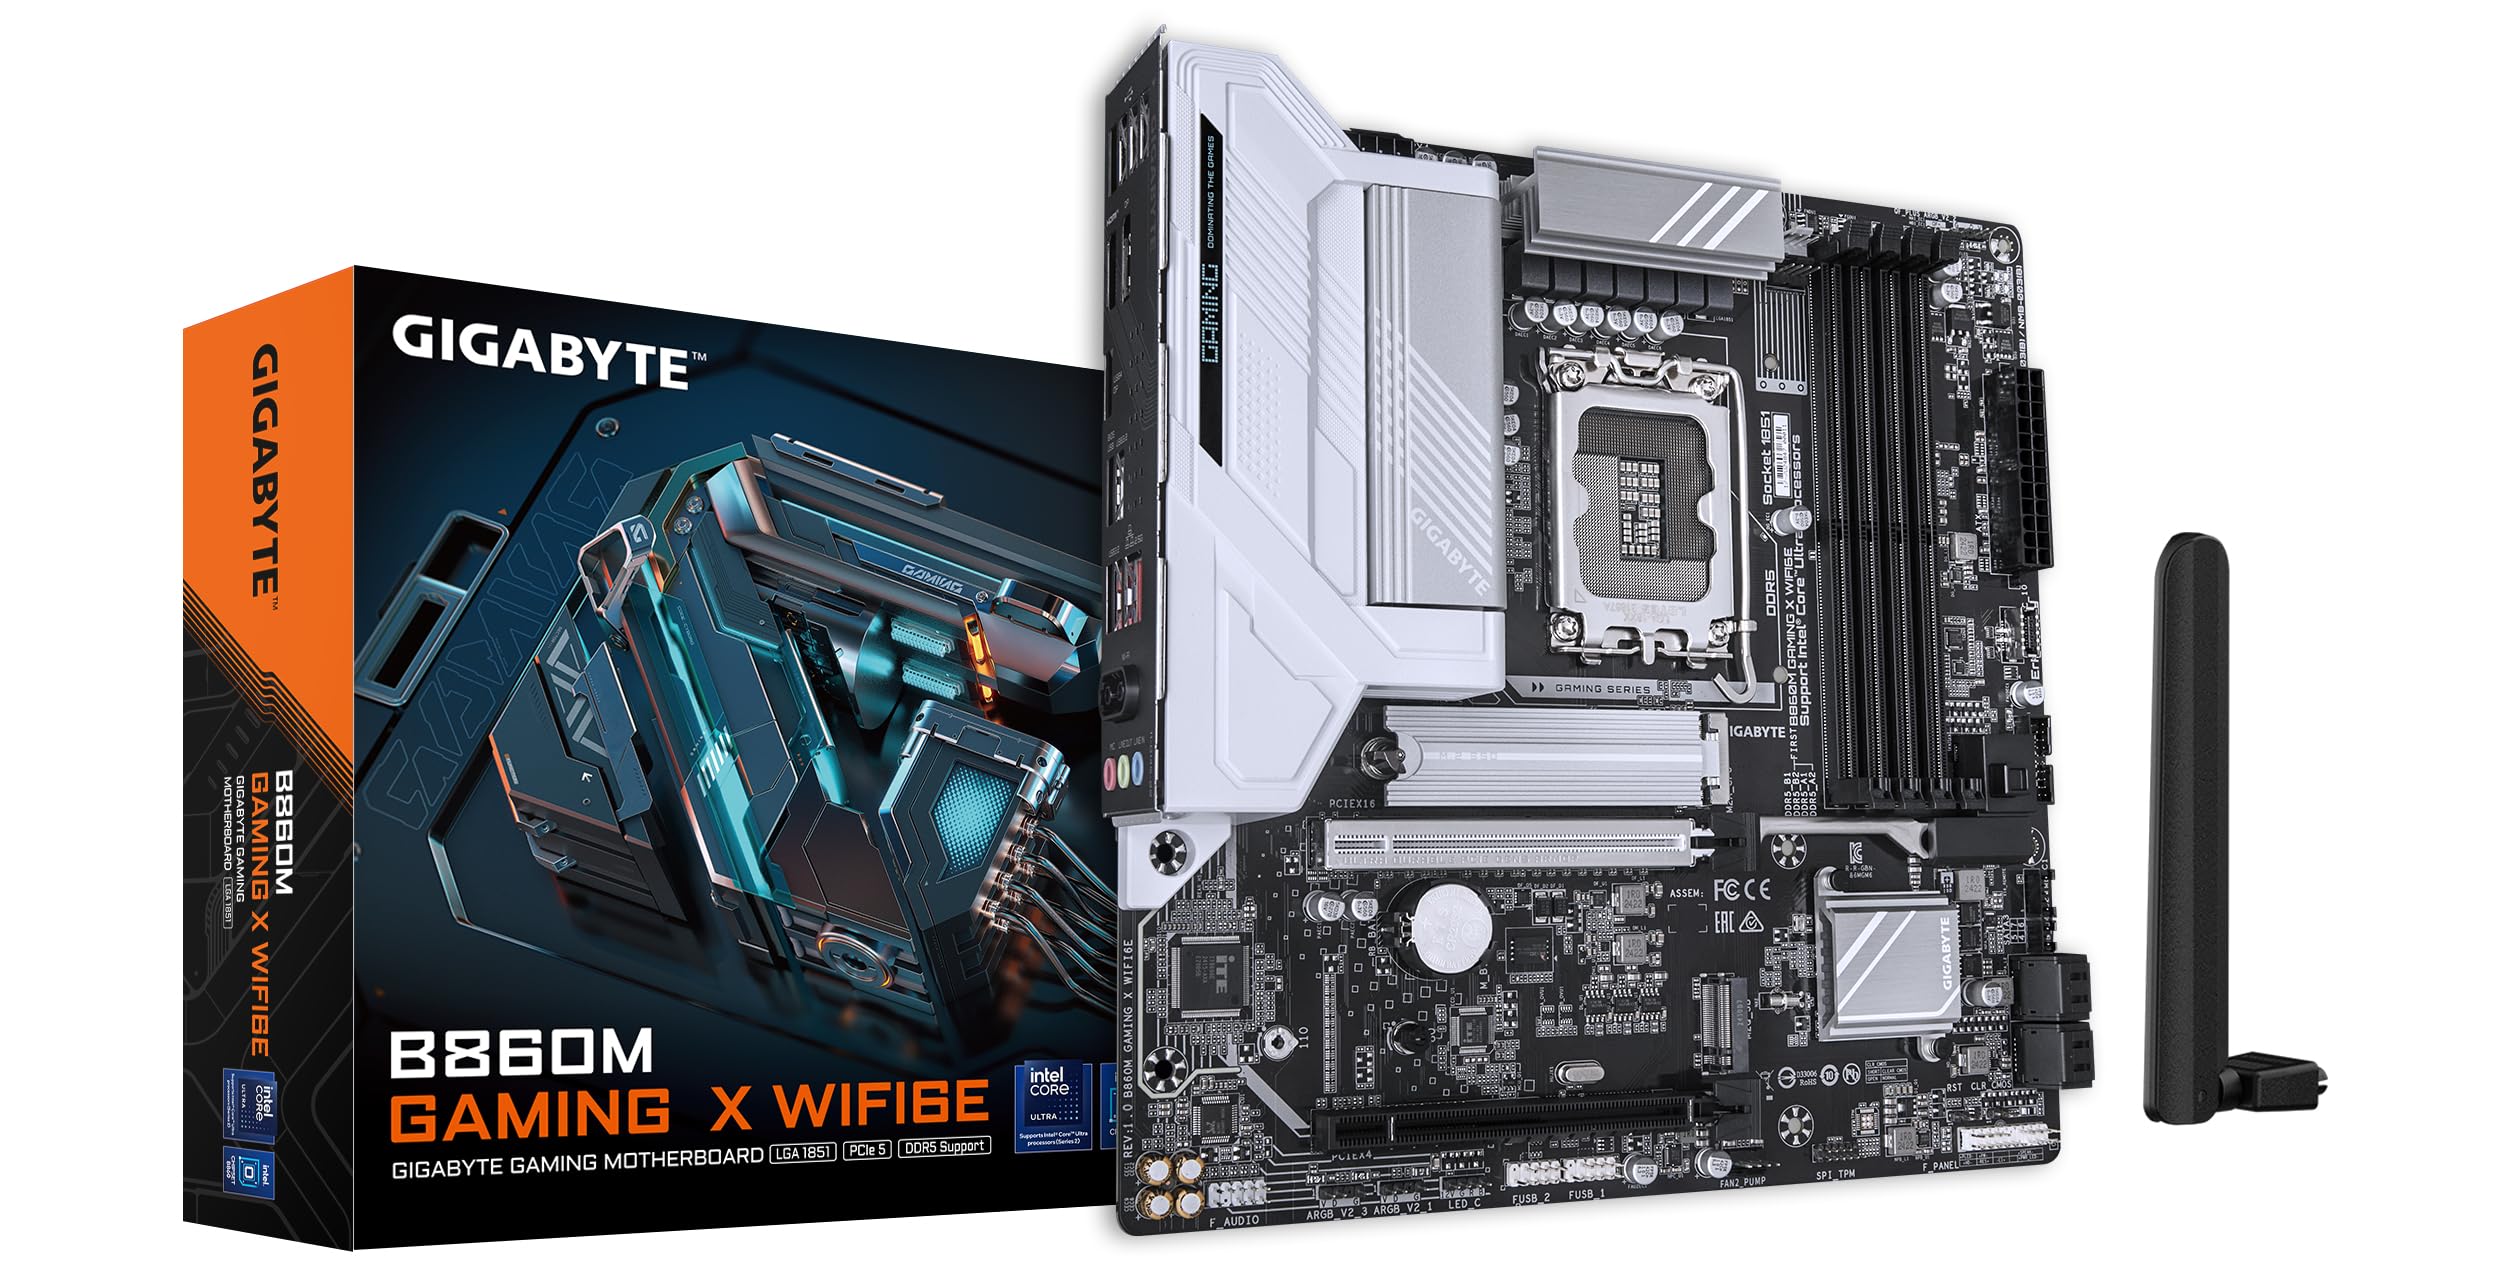
Imagine: De sus în jos view of the GIGABYTE B860M GAMING X WIFI6E Motherboard, highlighting the CPU socket, DDR5 DIMM slots, PCIe slots, and M.2 slots.

Imagine: Înclinată view of the GIGABYTE B860M GAMING X WIFI6E Motherboard, showing the heatsinks and overall board design.
3. Instalarea procesorului (LGA 1851)
- Deschideți maneta soclului procesorului.
- Aliniați procesorul cu soclul, asigurându-vă că marcajul triunghiular de pe procesor se potrivește cu marcajul de pe soclu.
- Introduceți ușor procesorul în soclu, fără a-l forța.
- Închideți maneta soclului pentru a fixa procesorul.
4. Instalarea memoriei (DDR5)
- Deschideți clemele de la ambele capete ale slotului DIMM.
- Aliniați modulul de memorie cu slotul, asigurându-vă că crestătura de pe modul se potrivește cu cheia din slot.
- Apăsați ferm pe ambele capete ale modulului de memorie până când clemele se fixează în poziție.
- For dual-channel operation, install modules in the recommended slots (refer to motherboard diagram for specific slots).
5. Storage Device Installation (M.2 SSDs)
- Localizați sloturile M.2 pe placa de bază.
- Scoateți radiatorul și șurubul distanțier de la M.2.
- Introduceți SSD-ul M.2 în slot înclinat.
- Push down the SSD and secure it with the stand-off screw.
- Reattach the M.2 heatsink for thermal protection.
6. Graphics Card (PCIe 5.0) Installation
- Deschideți zăvorul slotului PCIe 5.0 x16.
- Align your graphics card with the slot and press down firmly until it is fully seated and the latch closes.
- Fixați placa grafică pe carcasa PC-ului cu șuruburi.
7. Conectarea perifericelor și a alimentării
Connect the 24-pin ATX power connector and the 8-pin CPU power connector from your power supply to the motherboard. Connect front panel headers (power button, reset, USB, audio) according to the motherboard manual diagram. Install the Wi-Fi antenna to the rear I/O panel.

Image: Rear I/O panel of the GIGABYTE B860M GAMING X WIFI6E Motherboard, showing USB ports, HDMI, DisplayPort, 2.5GbE LAN, Wi-Fi antenna connectors, and audio jacks.
Instrucțiuni de operare
1. Prima pornire și configurarea BIOS-ului
După asamblarea sistemului, porniți-l. Apăsați butonul DEL tasta în timpul pornirii pentru a accesa utilitarul de configurare BIOS/UEFI. Aici puteți configura ordinea de pornire, ora sistemului și alte setări avansate.
2. Instalarea driverului
Once the operating system is installed, install the necessary drivers for the motherboard components (chipset, LAN, Wi-Fi, audio, etc.). These can be found on the included driver disk/USB or downloaded from the official GIGABYTE website-ul.
3. Wi-Fi 6E Connectivity
Ensure the Wi-Fi antenna is securely connected. In your operating system's network settings, select the appropriate Wi-Fi 6E network and enter the password to connect.
4. Q-Flash Plus
The Q-Flash Plus feature allows you to update the BIOS without installing a CPU, memory, or graphics card. Download the latest BIOS file de la GIGABYTE website, rename it as instructed, and save it to a USB flash drive. Insert the USB drive into the designated Q-Flash Plus USB port on the rear I/O panel and press the Q-Flash Plus button.
Întreţinere
1. Actualizări BIOS
Verificați periodic GIGABYTE website for the latest BIOS updates. BIOS updates can improve system stability, performance, and add support for new hardware. Follow the instructions provided by GIGABYTE carefully when performing a BIOS update.
2. Actualizări de drivere
Keep your motherboard drivers updated to ensure optimal performance and compatibility. Download drivers only from the official GIGABYTE support page.
3. Curatenie
Periodically clean dust from the motherboard and components using compressed air. Ensure the system is powered off and unplugged before cleaning. Avoid using liquids or abrasive materials.
Depanare
1. Sistemul nu pornește
- Verificați dacă toate conexiunile de alimentare (ATX cu 24 de pini, CPU cu 8 pini) sunt fixate corect.
- Verificați dacă sursa de alimentare funcționează corect.
- Ensure the front panel power button header is correctly connected.
2. Fără ieșire de afișare
- Confirm the graphics card is properly seated in the PCIe slot and connected to the power supply (if required).
- Check that the monitor cable is securely connected to both the graphics card and the monitor.
- If using integrated graphics, ensure the monitor is connected to the motherboard's video output (HDMI/DisplayPort).
3. Instabilitate sau blocări ale sistemului
- Verify that all components (CPU, RAM, GPU) are correctly installed.
- Check for overheating issues; ensure CPU cooler and case fans are working.
- Actualizați BIOS-ul și toate driverele la cele mai recente versiuni.
- Testați modulele de memorie individual dacă suspectați probleme cu memoria RAM.
4. Probleme de conectivitate Wi-Fi
- Asigurați-vă că antena Wi-Fi este fixată corect la panoul I/O din spate.
- Check if Wi-Fi drivers are installed correctly.
- Verify that the Wi-Fi module is enabled in the BIOS.
Specificații
| Caracteristică | Detaliu |
|---|---|
| Numele modelului | B860M GAMING X WIFI6E |
| Soclu CPU | LGA 1851 |
| Procesoare compatibile | Intel Core Ultra Series CPUs |
| Chipset | Intel B860M |
| Tehnologia memoriei RAM | DDR5, Dual Channel (4 x DIMMs) |
| Max Memory Clock Speed | Up to 6400MHz (OC) |
| Sloturi PCIe | 1x PCIe 5.0 x16, 1x PCIe 4.0 |
| M.2 Fante | Multiple M.2 slots with Thermal Protection |
| LAN | 2.5GbE LAN |
| Conectivitate wireless | Realtek 2x2 Wi-Fi 6E |
| Porturi USB | USB 4.0 Type-C, USB 3.2 Gen 2 Type-C, various USB 3.2/2.0 |
| VRM | Hybrid Digital 8+1+2+2 Phase 60A DrMOS |
| Dimensiuni | 9.61 x 9.61 x 1.38 inci |
| Greutatea articolului | 2.65 lire sterline |
Garanție și suport
GIGABYTE motherboards come with a limited warranty. Please refer to the official GIGABYTE webConsultați site-ul sau ambalajul produsului pentru termenii și condițiile specifice de garanție aplicabile în regiunea dumneavoastră.
Pentru asistență tehnică, descărcări de drivere, actualizări de BIOS și informații suplimentare despre produs, vă rugăm să vizitați pagina oficială de asistență GIGABYTE. website:
https://www.gigabyte.com/support
When contacting support, please have your motherboard model name (B860M GAMING X WIFI6E) and serial number ready.


