1. Introducere
This manual provides comprehensive instructions for the installation, operation, and maintenance of your Cisco CP-DX80-VESA VESA Adapter and Wall Mount. Please read this manual thoroughly before installation to ensure correct setup and to prevent damage to the product or connected devices. Retain this manual for future reference.
2. Informații de siguranță
Respectați următoarele măsuri de siguranță în timpul instalării și utilizării:
- Avertizare: Improper installation can result in serious personal injury or damage to equipment. Ensure all mounting hardware is securely fastened.
- Atenţie: Do not exceed the weight capacity specified for this mount. Refer to the specifications section for details.
- Ensure the wall structure can safely support the combined weight of the mount and the attached device.
- Use appropriate tools and follow all steps carefully. If unsure, consult a qualified installer.
- Păstrați piesele mici departe de copii.
3. Conținutul pachetului
Verificați dacă toate componentele sunt prezente înainte de a începe instalarea:
- Cisco CP-DX80-VESA VESA Adapter
- Suport de montare pe perete
- Kit de montare (șuruburi, ancore, șaibe)
- Manual de instructiuni
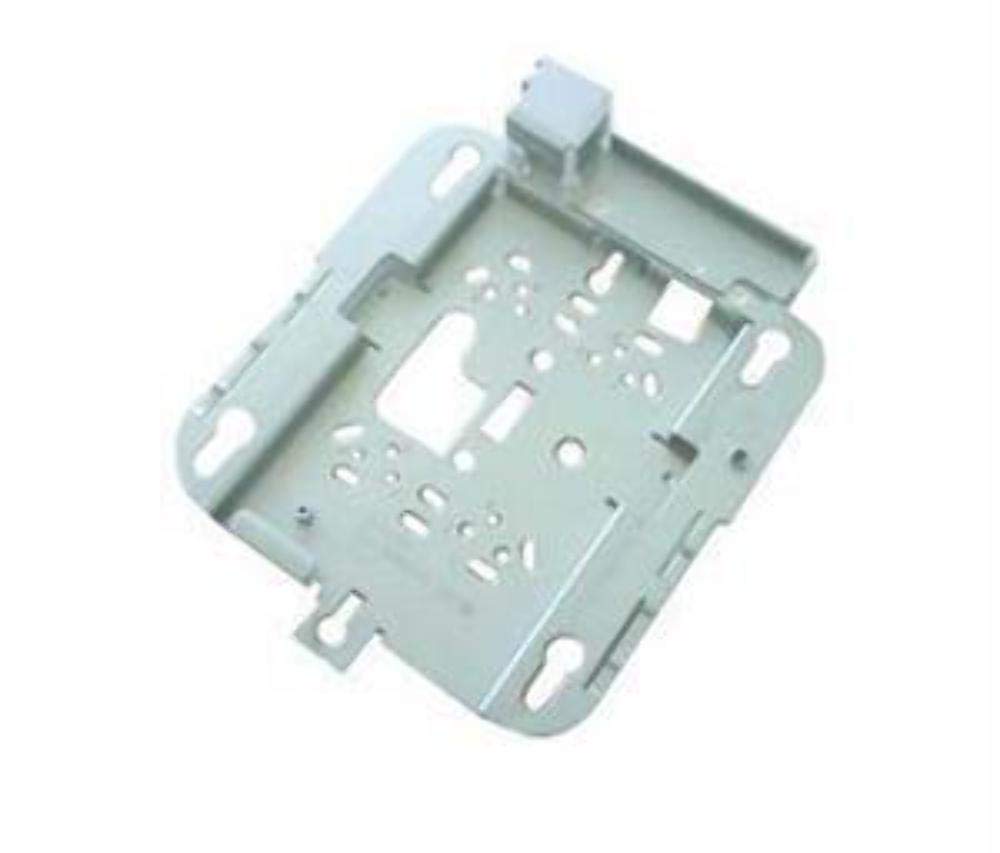
Image: The Cisco CP-DX80-VESA VESA Adapter and Wall Mount. This image displays the primary components of the product, including the adapter plate and the wall mounting bracket, designed to secure a video conferencing system to a wall.
4. Configurare și instalare
4.1 Instrumente necesare
- Burghiu
- Burghie (potrivite pentru materialul peretelui)
- Șurubelniță cu cap Phillips
- Nivel
- Creion
- Detector de grinzi (recomandat pentru instalarea gips-cartonului)
4.2 Instalare pe perete
- Selectați locația: Choose a suitable wall location, ensuring it can support the weight of the mount and the device. Avoid areas with electrical wires or plumbing.
- Marcați găurile de foraj: Hold the wall mount bracket against the wall at the desired height. Use a level to ensure it is straight. Mark the drill hole locations with a pencil.
- Găuri: Drill pilot holes at the marked locations. Use appropriate drill bits for your wall type (e.g., wood studs, concrete, drywall with anchors).
- Suport securizat: Insert wall anchors (if required) into the pilot holes. Align the wall mount bracket with the holes and secure it to the wall using the provided screws. Ensure it is firmly attached.
4.3 VESA Adapter Attachment to Device
- Identificați modelul VESA: Locate the VESA mounting holes on the back of your Cisco DX80 video conferencing system.
- Atașați adaptorul: Align the Cisco CP-DX80-VESA adapter with the VESA mounting holes on the DX80 device.
- Adaptor securizat: Use the appropriate screws from the mounting hardware kit to securely fasten the VESA adapter to the DX80 device. Do not overtighten.
4.4 Mounting the Device to the Wall Bracket
- Lift Device: Carefully lift the DX80 device with the attached VESA adapter. It is recommended to have assistance for this step.
- Engage Mount: Hook the VESA adapter onto the wall mount bracket. Ensure the adapter is fully seated and engaged with the bracket's locking mechanism.
- Dispozitiv securizat: Depending on the design, there may be additional screws or clips to secure the device to the wall bracket. Fasten these as instructed to prevent accidental dislodging.
- Verificare finală: Gently pull on the mounted device to ensure it is stable and securely attached to the wall.
5. Considerații operaționale
Once the Cisco DX80 is securely mounted using the CP-DX80-VESA adapter and wall mount, its operation remains consistent with its standard functionality. The mount provides a stable platform for the device.
- Ensure all cables (power, network, video) are properly connected and routed to avoid strain or interference.
- Periodically check the stability of the mount and the device, especially after any adjustments or movement.
6. Întreținere
The Cisco CP-DX80-VESA VESA Adapter and Wall Mount requires minimal maintenance.
- curatenie: Wipe the mount surfaces with a soft, dry cloth. Avoid abrasive cleaners or solvents that could damage the finish.
- Inspecţie: Periodically inspect all mounting screws and connections to ensure they remain tight. Over time, vibrations or environmental factors can cause screws to loosen.
- Deteriora: If any part of the mount appears damaged or worn, discontinue use and contact Cisco support for replacement parts or advice.
7. Depanare
This section addresses common issues related to the installation and stability of the mount.
| Problemă | Cauza posibila | Soluţie |
|---|---|---|
| Montura pare instabilă sau clătinoasă. | Loose mounting screws; inadequate wall support; incorrect anchors. | Tighten all screws. Verify wall structure and use appropriate anchors. Reinstall if necessary. |
| Device not attaching correctly to VESA adapter. | Incorrect screw size; misalignment. | Ensure correct VESA screws are used. Realign the adapter with the device's mounting holes. |
| Wall mount bracket not level. | Eroare de instalare. | Remove bracket, re-mark holes using a level, and reinstall. |
8. Specificații
Key technical specifications for the Cisco CP-DX80-VESA VESA Adapter and Wall Mount:
| Caracteristică | Detaliu |
|---|---|
| Numărul de model | CP-DX80-VESA |
| Dimensiunile produsului | 10.63 x 16.14 x 3.54 inci |
| Greutatea articolului | 2.2 lire sterline |
| Interfață hardware | Ethernet (for connected device) |
| Producător | Cisco Systems, Inc |
| Data primului disponibil | 21 august 2015 |
| UPC | 882658710469 |
9. Garanție și asistență
For information regarding the product warranty, please refer to the official Cisco warranty documentation provided with your original purchase or visit the Cisco website. Termenii specifici de garanție pot varia în funcție de regiune și produs.
9.1 Suport tehnic
If you encounter issues that cannot be resolved using the troubleshooting guide, or require further assistance, please contact Cisco Technical Support:
- Website: Visit the official Cisco support website for documentation, FAQs, and contact options.
- Telefon: Refer to your product's packaging or the Cisco website pentru numere de telefon de asistență regională.
When contacting support, please have your product model number (CP-DX80-VESA) and purchase information readily available.


