Introdução
Thank you for choosing the Morphy Richards 1.5-Litre Stainless Steel Tea Maker. This appliance is designed for efficient boiling of water and preparation of tea. Please read this instruction manual carefully before first use to ensure safe operation and optimal performance. Keep this manual for future reference.
Instruções importantes de segurança
- Leia todas as instruções antes de usar o aparelho.
- Não toque em superfícies quentes. Use alças ou botões.
- Para evitar incêndios, choques elétricos e ferimentos, não mergulhe o cabo, os plugues ou o aparelho em água ou qualquer outro líquido.
- É necessária supervisão rigorosa quando qualquer aparelho for usado por crianças ou perto delas.
- Desligue da tomada quando não estiver em uso e antes de limpar. Deixe esfriar antes de colocar ou retirar peças e antes de limpar o aparelho.
- Não utilize nenhum aparelho com cabo ou plugue danificado, ou após o aparelho apresentar mau funcionamento ou ter sido danificado de alguma forma. Entre em contato com o serviço de atendimento ao cliente para verificação, reparo ou ajuste.
- O uso de acessórios não recomendados pelo fabricante do aparelho pode resultar em incêndio, choque elétrico ou ferimentos às pessoas.
- Não utilize ao ar livre.
- Não deixe o cabo pendurado na borda da mesa ou do balcão, nem toque em superfícies quentes.
- Não coloque sobre ou perto de um queimador a gás ou elétrico quente, nem em um forno aquecido.
- Sempre conecte primeiro o plugue ao aparelho e, em seguida, ligue o cabo na tomada. Para desconectar, gire qualquer controle para a posição "desligado" e, em seguida, retire o plugue da tomada.
- Não utilize o aparelho para outro fim que não o pretendido.
- Deve-se ter extremo cuidado ao mover um aparelho que contenha água quente.
- Certifique-se de que a tampa esteja bem fechada antes de usar.
- This appliance is equipped with a 15-ampere plug. Ensure you have a compatible 15-ampere power outlet available.
Componentes do produto
Your Morphy Richards Tea Maker comes with the following components:
- Tea Maker Unit (Kettle)
- Base de alimentação com cabo
- Manual de Instruções (este documento)
- Customer Care List
- Cartão de Garantia
- Separate Tea Strainer
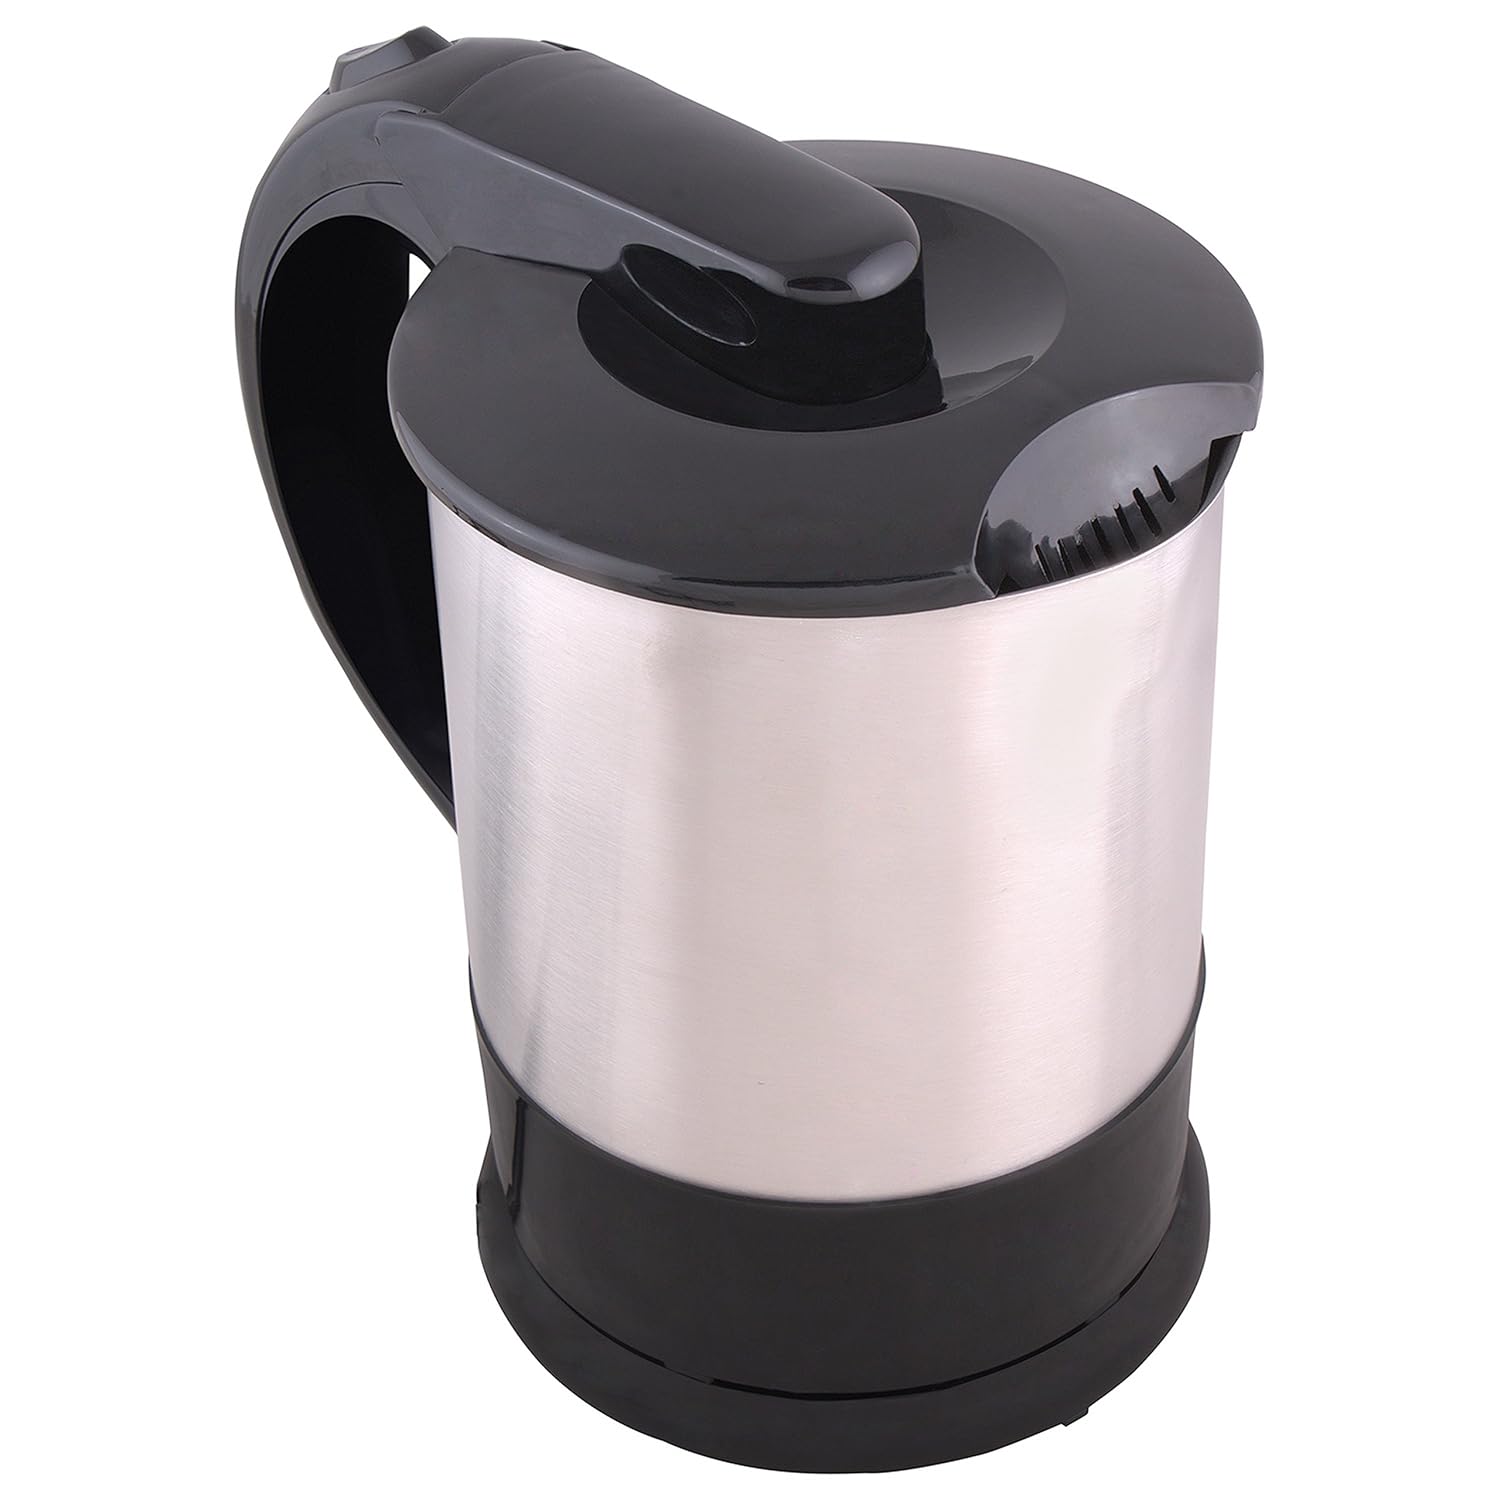
Image: The main tea maker unit, showcasing its stainless steel body and black handle/lid.

Image: The tea maker unit detached from its power base, illustrating the cordless design.

Image: The included separate tea strainer, useful for straining tea leaves.
Configurar
- Desembalagem: Carefully remove all packaging materials from the tea maker and its components.
- Limpeza Inicial: Before first use, fill the tea maker with clean water up to the maximum level. Boil the water, then discard it. Repeat this process 2-3 times to remove any manufacturing residues.
- Colocação: Coloque a base de alimentação sobre uma superfície estável, plana e resistente ao calor, longe da borda da bancada. Certifique-se de que o cabo de alimentação não esteja pendurado em um local onde possa ser puxado ou causar tropeços.
- Conexão de energia: Plug the 15-ampere power cord into a compatible 15-ampere wall outlet.
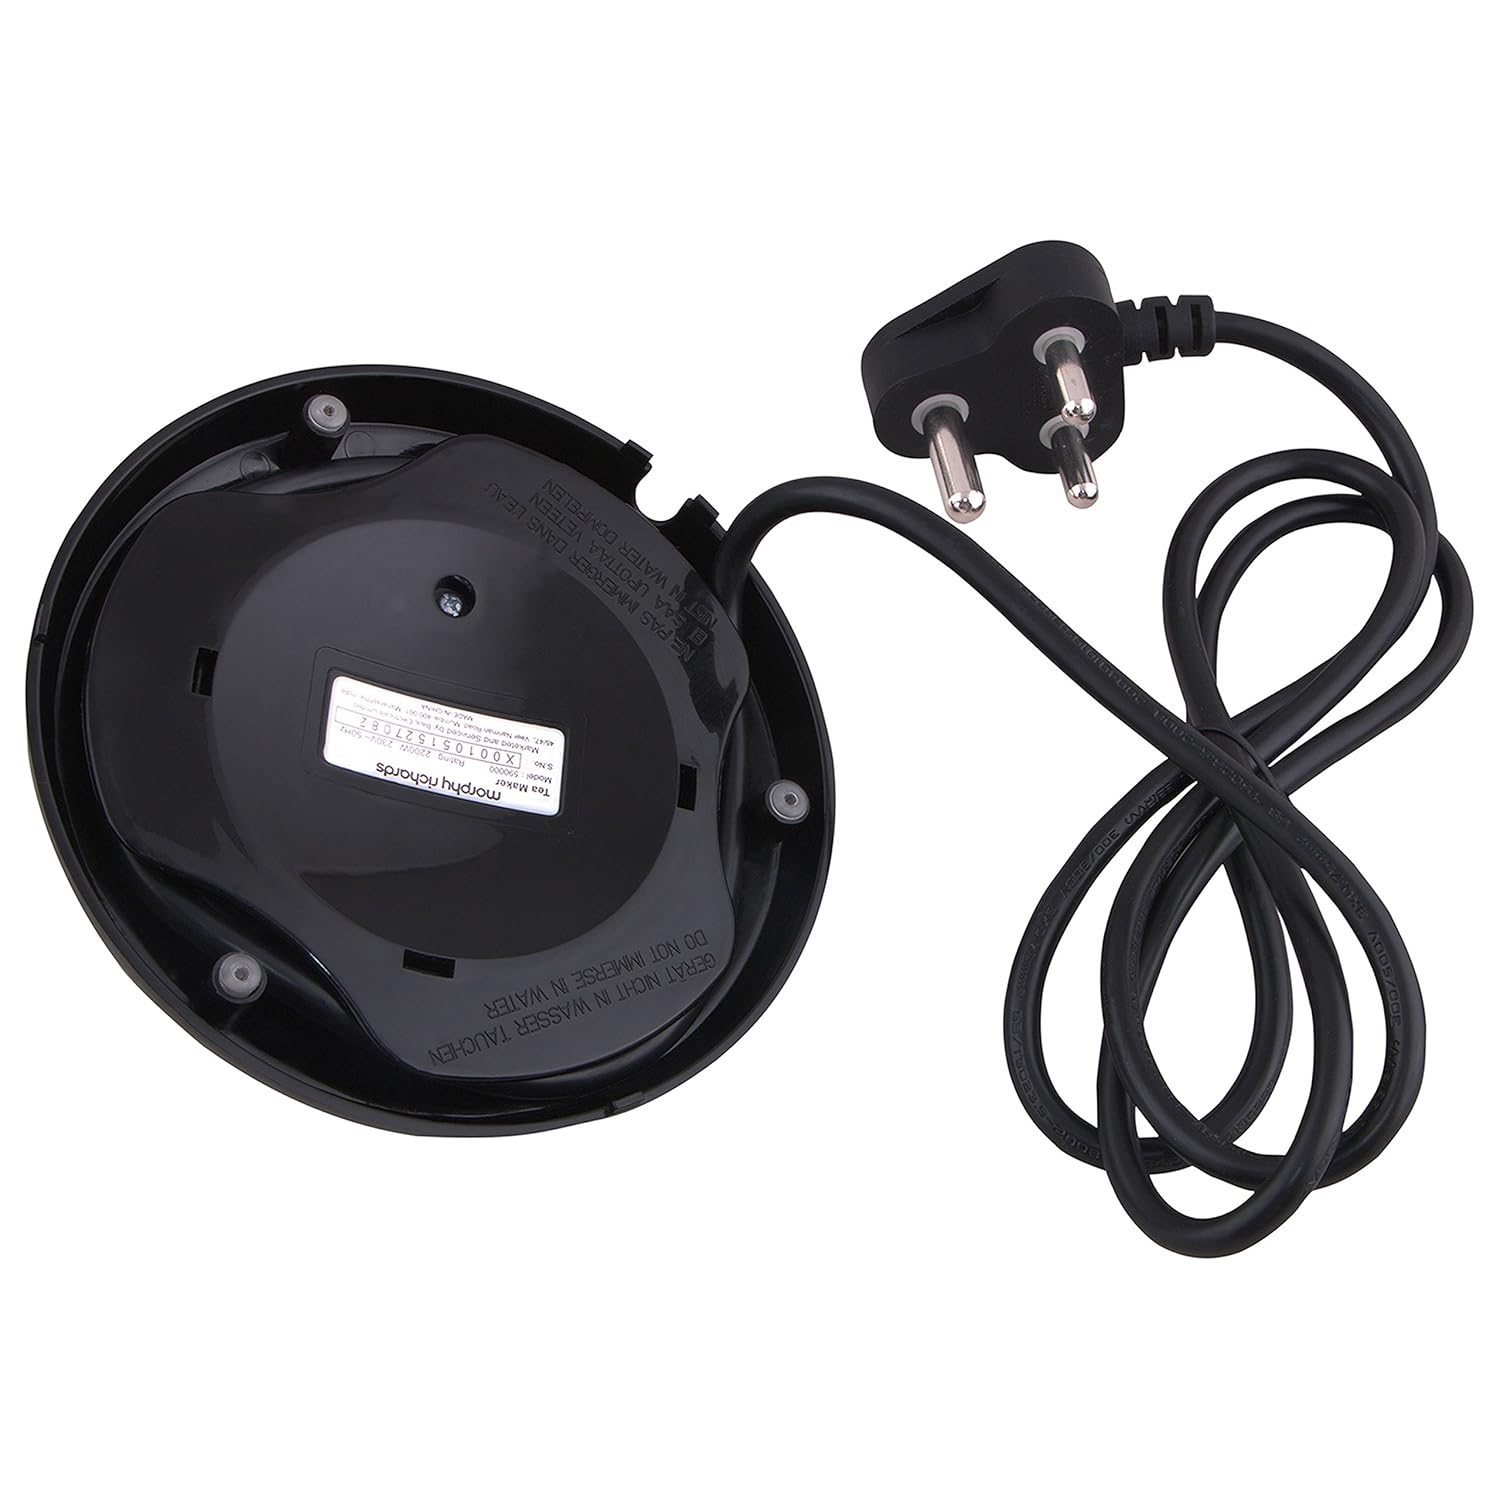
Image: The power base with its attached 15-ampere power cord.
Instruções de operação
Água fervente
- Encha a chaleira: Open the lid and fill the tea maker with the desired amount of fresh water. Do not fill below the minimum mark or above the maximum mark (1.5 litres).
- Fechar tampa: Certifique-se de que a tampa esteja bem fechada.
- Colocar na Base: Place the tea maker firmly onto its power base. The 360-degree cordless design allows placement from any angle.
- Ligar: Press the main power switch located at the bottom of the tea maker unit. A red indicator light will illuminate, signifying that the appliance is heating.
- Desligamento automático: The tea maker will automatically switch off once the water has reached boiling point. The red indicator light will turn off.
- Servir: Carefully lift the tea maker from its base and pour the hot water.

Image: The tea maker with its lid open, ready for filling with water.

Image: Close-up of the main red power switch on the tea maker unit.
Making Tea (Brew Function)
The tea maker features a dedicated brew function for preparing tea directly in the unit.
- Ferver água: Follow steps 1-5 from the "Boiling Water" section to boil the desired amount of water.
- Adicione Ingredientes: Once the water has boiled and the main switch has turned off, open the lid and add your tea leaves, milk, and sugar directly into the tea maker. You may use the internal filter basket or the separate strainer for tea leaves.
- Activate Brew Function: Close the lid. Locate the secondary brew switch (often a small blue button or switch) on the handle or lid. Press this switch to activate the brewing function. This will keep the water warm and allow the tea to steep.
- Tempo de preparo: Allow the tea to brew for your preferred duration.
- Servir: Once brewing is complete, switch off the brew function. Carefully lift the tea maker from its base and pour the prepared tea.

Imagem: View of the internal filter basket, designed to hold tea leaves during brewing.
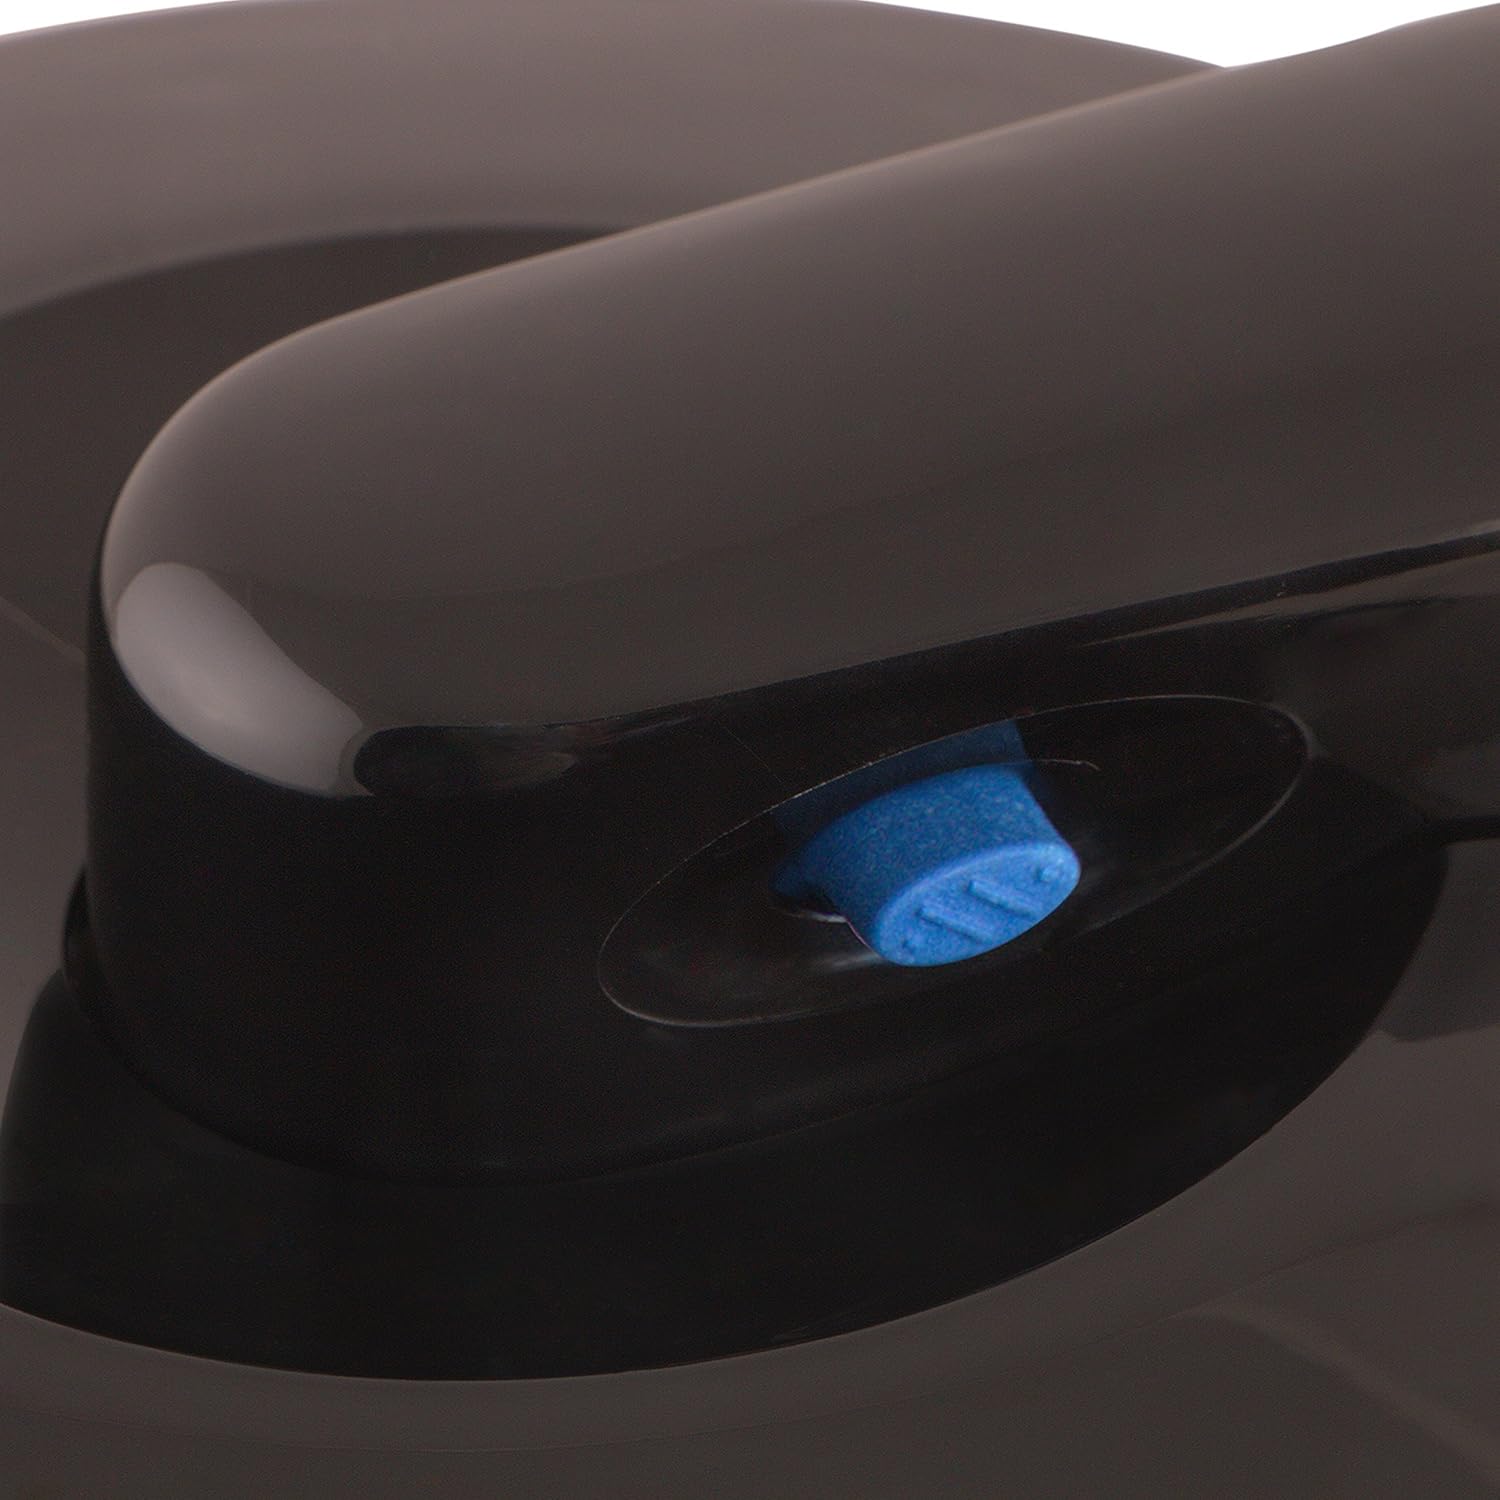
Image: Close-up of the blue brew function switch, used to maintain warmth for tea brewing.
Manutenção e Limpeza
Regular cleaning ensures the longevity and hygiene of your tea maker.
- Sempre desligue: Before cleaning, always unplug the tea maker from the power outlet and allow it to cool completely.
- Limpeza externa: Wipe the exterior of the tea maker and the power base with a damp pano. Não use produtos de limpeza abrasivos ou esfregões.
- Interior Cleaning (Hand Wash): The interior of the tea maker should be hand washed. You can use a soft brush or sponge with mild dish soap to clean the inside. Rinse thoroughly with clean water.
- Limpeza do filtro: The internal filter basket can be removed for cleaning. Rinse it under running water to remove any tea leaf residues.
- Descalcificação: Over time, mineral deposits (limescale) may build up inside the tea maker, especially in hard water areas. To descale:
- Fill the tea maker with a mixture of one part white vinegar and two parts water.
- Boil the solution and let it stand for at least 30 minutes, or longer for heavy deposits.
- Discard the solution and rinse the interior thoroughly several times with fresh water.
- Se necessário, repita o processo.
- Não mergulhe: Never immerse the tea maker unit or its power base in water or any other liquid.
Solução de problemas
If you encounter any issues with your tea maker, please refer to the following common problems and solutions:
| Problema | Possível causa | Solução |
|---|---|---|
| A chaleira elétrica não liga. | Not plugged in, power outlet faulty, main switch not pressed, kettle not properly seated on base. | Ensure the power cord is securely plugged into a working 15-ampere outlet. Press the main power switch. Ensure the tea maker is correctly placed on its power base. |
| A água não está fervendo. | Insufficient water, lid not closed, descaling needed. | Ensure water level is above the minimum mark. Close the lid securely. Perform descaling if limescale buildup is visible. |
| Tea maker switches off too quickly. | Acúmulo de calcário. | Perform descaling as per the Maintenance section. |
| Tea has an unusual taste/smell. | New appliance residue, limescale, improper cleaning. | Perform initial cleaning steps again. Descale the tea maker. Ensure thorough rinsing after cleaning. |
If the problem persists after trying these solutions, please contact Morphy Richards customer support.
Especificações
| Marca | Morphy Richards |
| Nome do modelo | 590000 |
| Capacidade | 1.5 litros |
| Material | Aço inoxidável |
| Cor | Aço inoxidável |
| Poder | 1850 Watts |
| Vol operacionaltage | 230 Volts |
| Recurso especial | Cordless, 360-degree control |
| Peso do item | 1.32 kg (1320 gramas) |
| Componentes incluídos | Tea Maker, Instructional manual, Customer care list, Guarantee card |
| Instruções de cuidados com o produto | Lavar à mão, limpar com um pano |
Garantia e Suporte
Your Morphy Richards 1.5-Litre Stainless Steel Tea Maker comes with a Garantia de 2 ano sobre o produto a partir da data da compra.
For any warranty claims, technical assistance, or customer support, please refer to the included "Customer Care List" and "Guarantee Card" for contact details and procedures.
Guarde o comprovante de compra como prova de aquisição para fins de garantia.


