Introdução
Welcome to the user manual for your Waring Pro WPM10 Professional Popcorn Maker. This appliance is designed to provide a convenient and efficient way to prepare fresh popcorn. Please read these instructions carefully before first use to ensure safe operation and optimal performance.
Salvaguardas importantes
Ao usar aparelhos elétricos, precauções básicas de segurança devem sempre ser seguidas para reduzir o risco de incêndio, choque elétrico e/ou ferimentos às pessoas, incluindo o seguinte:
- Leia todas as instruções.
- Não toque em superfícies quentes. Use alças ou botões.
- Para evitar riscos elétricos, não mergulhe o cabo, os plugues ou o aparelho em água ou outro líquido.
- É necessária supervisão rigorosa quando qualquer aparelho for usado por crianças ou perto delas.
- Desligue da tomada quando não estiver em uso e antes de limpar. Deixe esfriar antes de colocar ou retirar peças.
- Não opere nenhum aparelho com o cabo ou plugue danificado, ou após o aparelho apresentar mau funcionamento ou ter sido danificado de qualquer forma.
- O uso de acessórios não recomendados pelo fabricante do aparelho pode causar ferimentos.
- Não utilize ao ar livre.
- Não deixe o cabo pendurado na borda da mesa ou do balcão, nem toque em superfícies quentes.
- Não coloque sobre ou perto de um queimador a gás ou elétrico quente, nem em um forno aquecido.
- Deve-se ter extremo cuidado ao mover um aparelho que contenha óleo quente ou outros líquidos quentes.
- Sempre conecte primeiro o plugue ao aparelho e, em seguida, ligue o cabo na tomada. Para desconectar, gire qualquer controle para a posição "desligado" e, em seguida, retire o plugue da tomada.
- Não utilize o aparelho para outro fim que não o pretendido.
- Ensure the lid is properly secured during operation.
- Evite o contato com peças móveis.
GUARDE ESTAS INSTRUÇÕES
Produto acimaview
The Waring Pro WPM10 Professional Popcorn Maker consists of several key components designed for optimal popcorn preparation.
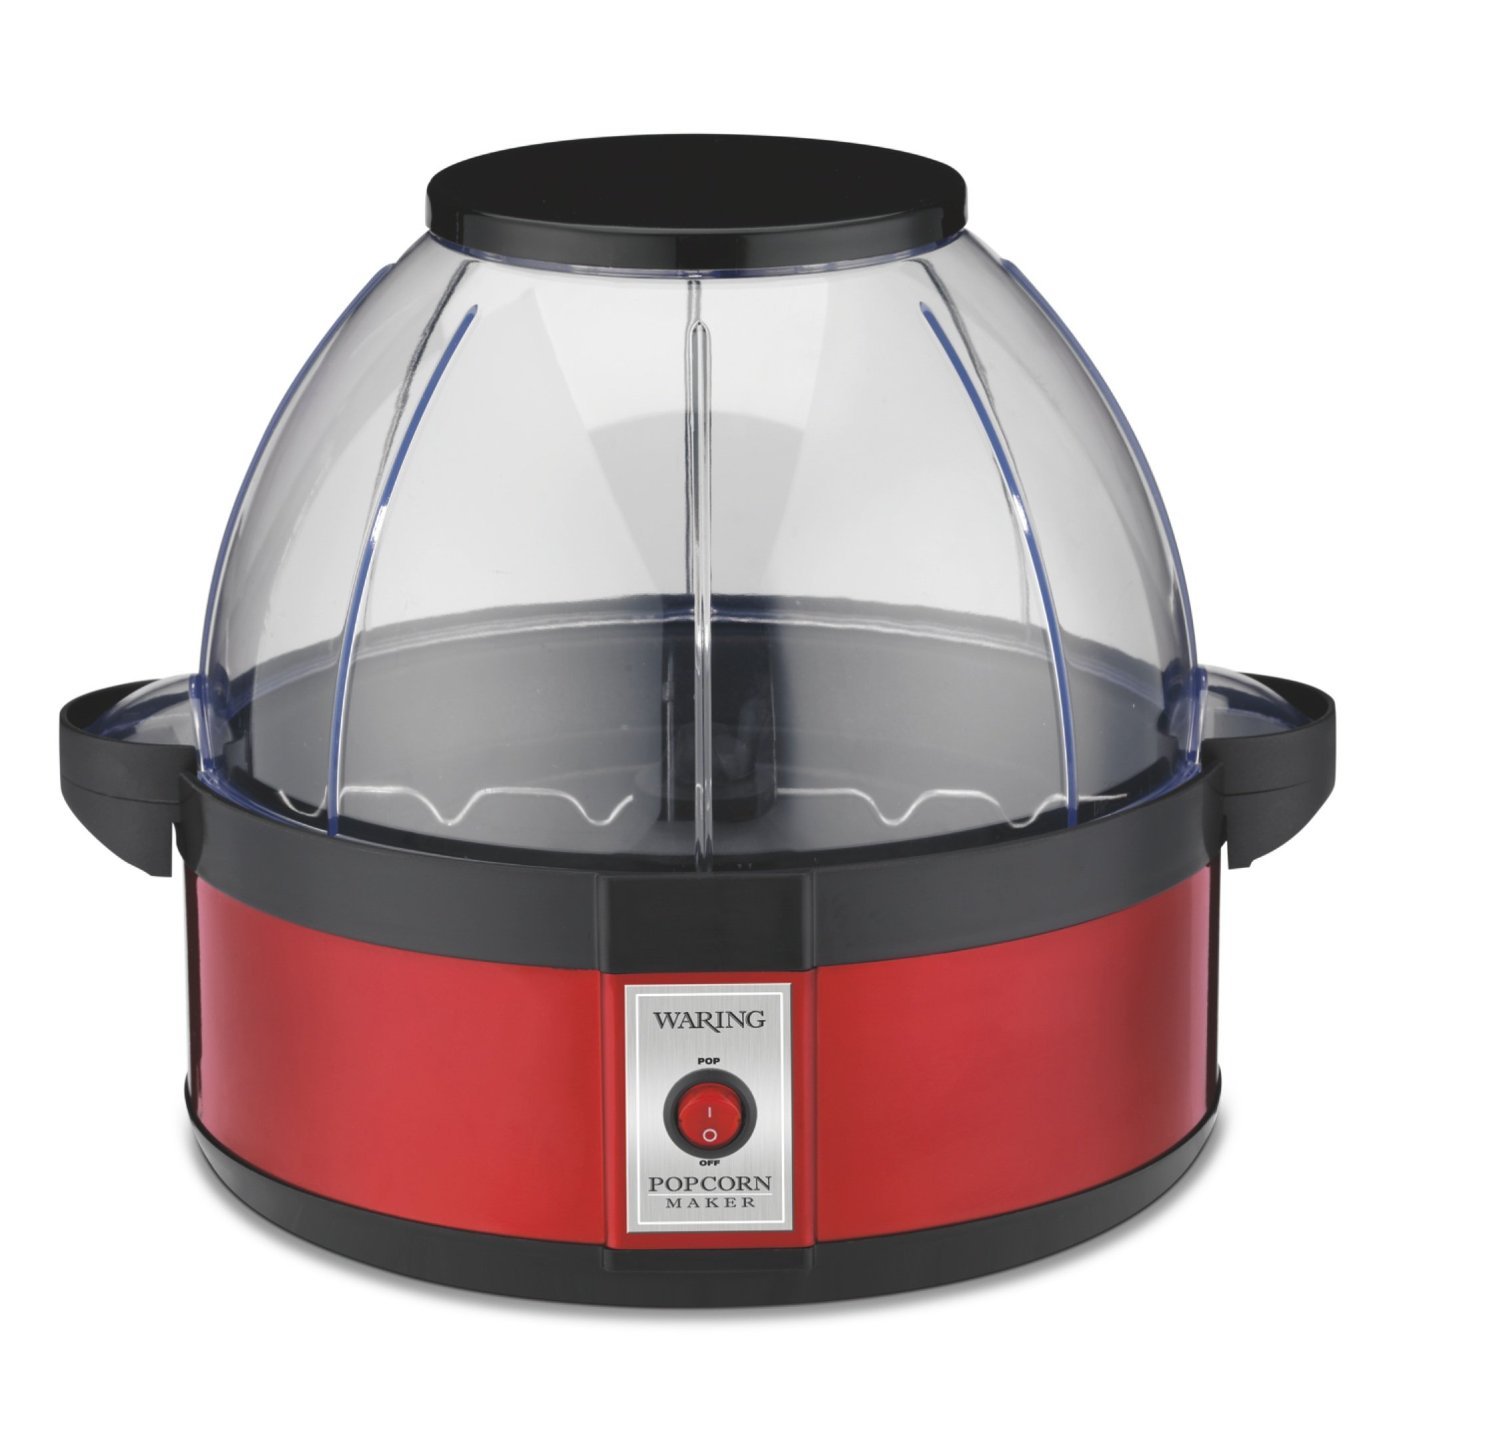
Image: The Waring Pro WPM10 Professional Popcorn Maker, showcasing its red base, clear dome lid, and stirring mechanism.
Componentes principais:
- Unidade base: Contains the heating element and motor for the stirring arm.
- Popping Plate: Non-stick surface where kernels are popped.
- Stirring Arm: Rotates to ensure even heating and efficient popping of kernels.
- Dome Lid/Serving Bowl: A clear plastic lid that covers the popping plate during operation and can be inverted to serve as a popcorn bowl.
- Ventilation Vents: Located on the lid to release steam and keep popcorn dry.
Configurar
- Descompacte: Retire cuidadosamente todos os materiais de embalagem e componentes da caixa.
- Limpar: Before first use, wipe the popping plate and stirring arm with a damp cloth. Wash the dome lid/serving bowl in warm, soapy water, then rinse and dry thoroughly.
- Montar: Place the popping plate onto the base unit, ensuring it is securely seated. Attach the stirring arm to the center post of the popping plate. Place the dome lid securely on top of the popping plate.
- Colocação: Position the popcorn maker on a stable, flat, heat-resistant surface, away from flammable materials. Ensure there is adequate ventilation around the unit.
- Conexão de energia: Conecte o cabo de alimentação a uma tomada elétrica padrão.
Instruções de operação
Follow these steps to make delicious popcorn with your Waring Pro WPM10.
- Preparar Ingredientes: Measure the desired amount of popcorn kernels (up to 20 cups capacity). For best results, use fresh, high-quality popcorn kernels.
- Adicionar óleo: Add a small amount of cooking oil (e.g., vegetable oil, coconut oil) to the popping plate. The stirring arm allows for efficient popping with less oil.
- Adicionar Kernels: Distribute the popcorn kernels evenly over the popping plate.
- Tampa segura: Place the dome lid firmly onto the popping plate.
- Comece a estourar: Plug the unit into an electrical outlet and turn the power switch ON. The halogen heater will begin to heat, and the stirring arm will rotate.
- Estalos no monitor: Popcorn will begin to pop within a few minutes. The stirring arm will continue to move the kernels for even popping.
- Finalize o processo de estourar: Once the popping slows to approximately 2-3 seconds between pops, turn the power switch OFF and unplug the unit immediately. This prevents burning.
- Servir: Carefully remove the dome lid using the handles. Invert the lid and use it as a serving bowl. Be cautious as the unit and popcorn will be hot.
- Temporada: Season popcorn to taste with salt, butter, or other desired toppings.
Cuidado: The popping plate and base unit will be hot after use. Allow the unit to cool completely before cleaning or handling.
Limpeza e Manutenção
A limpeza regular garante a longevidade e o desempenho ideal da sua pipoqueira.
- Desconecte e refresque-se: Desligue sempre o aparelho da tomada e deixe-o arrefecer completamente antes de o limpar.
- Remove Popping Plate: Detach the popping plate from the base unit.
- Clean Popping Plate and Stirring Arm: Wipe the non-stick popping plate and stirring arm with a damp cloth. For stubborn residue, use a soft sponge with warm, soapy water. Avoid abrasive cleaners or scouring pads that could damage the non-stick coating.
- Clean Dome Lid/Serving Bowl: Wash the dome lid/serving bowl in warm, soapy water. It can also be placed on the top rack of a dishwasher. Rinse thoroughly and dry.
- Limpar a unidade base: Limpe a parte externa da unidade base com o produto.amp pano. Nunca mergulhe a unidade base, o cabo ou a ficha em água ou qualquer outro líquido.
- Armazenar: Ensure all parts are clean and dry before storing. Store the popcorn maker in a cool, dry place.
Aviso: Do not use metal scouring pads or abrasive cleaners on any part of the popcorn maker, as they may scratch or damage surfaces.
Solução de problemas
| Problema | Possível causa | Solução |
|---|---|---|
| Popcorn not popping or popping poorly. | Unit not plugged in; power switch off; insufficient oil; old kernels. | Ensure unit is plugged in and power switch is ON. Use recommended amount of oil. Use fresh popcorn kernels. |
| Popcorn is burning. | Unit left on too long after popping stops. | Turn off and unplug the unit immediately once popping slows significantly (2-3 seconds between pops). |
| Stirring arm not rotating. | Stirring arm not properly attached; obstruction. | Ensure stirring arm is correctly seated on the center post. Check for any obstructions and remove them. |
| A tampa não encaixa corretamente. | A tampa não está alinhada corretamente. | Ensure the lid is properly aligned with the popping plate and seated firmly. |
| Excesso de grãos não estourados. | Old kernels; insufficient oil; too many kernels. | Use fresh kernels. Ensure proper oil amount. Do not exceed maximum kernel capacity. |
| Popcorn is soggy. | Steam trapped in the lid. | The unit has large vents for steam release. Ensure these are not blocked. Remove popcorn promptly after popping. |
| Oil leakage under the black lid. | Excessive oil used; improper cleaning. | Use only recommended amounts of oil. Clean thoroughly after each use, especially around the popping plate and base connection. |
| Bowl cracking. | Estresse ou impacto físico. | Handle the dome lid/serving bowl with care, especially where handles connect. Avoid dropping or applying excessive pressure. |
| Top raises up when 3/4 full. | Normal operation with large batches. | Gently hold down one of the tabs at the bottom of the dome if this occurs, especially during the final seconds of popping. |
Especificações
- Marca: Aviso
- Modelo: WPM10
- Cor: Vermelho
- Capacidade: Up to 20 Cups (popped popcorn)
- Material: Aluminum (popping plate), Plastic (lid/bowl)
- Dimensões: 11.75 x 11.75 x 11.5 polegadas (L x W x H)
- Peso: 4.9 libras
- Poder: Elétrico
- Recurso especial: Portable, Halogen heater with built-in stirrer system
Garantia e Suporte
For warranty information, product registration, or technical support, please refer to the official Waring webou entre em contato com o departamento de atendimento ao cliente. Guarde o comprovante de compra como prova para eventuais solicitações de garantia.
Waring Customer Service: Para obter assistência, visite Waring Commercial Products Support ou consulte as informações de contato fornecidas na embalagem do seu produto.
Registo de produto: Registering your product helps Waring provide you with the most up-to-date product information and support.


