
Introduction
The Philips HR2602/90 Mini Blender Mixer Grinder is a versatile kitchen appliance designed for efficient blending, mixing, and grinding. With a powerful 350W motor and two durable jars, it is ideal for preparing smoothies, crushing ice, and processing various ingredients. Its compact design and variable speed control offer convenience and precision for your daily culinary needs.
Key Features:
- Powerful 350W Motor: Ensures quick and efficient blending and grinding.
- Two Jars: Includes a main blending jar and a blend-and-go jar for convenience.
- Variable Speed Control: Allows for precise control over blending texture, from fine to coarse.
- Ice Crushing Capability: Designed to crush ice effectively for cold beverages.
- Detachable Blades: Facilitates easy cleaning and maintenance.
- Compact Design: Space-saving and suitable for any kitchen.
Important Safety Information
Please read this instruction manual carefully before using the appliance and save it for future reference. Failure to follow these safety instructions may result in electric shock, fire, or serious injury.
- Always unplug the appliance from the power supply before assembly, disassembly, or cleaning.
- Do not immerse the motor unit in water or any other liquid. Clean only with a damp cloth.
- Keep hands and utensils out of the jar while blending to reduce the risk of severe injury to persons or damage to the blender.
- Ensure the lid is securely locked in place before operating the appliance.
- Do not operate the appliance with a damaged cord or plug, or after the appliance malfunctions or has been dropped or damaged in any manner.
- This appliance is not intended for use by persons (including children) with reduced physical, sensory or mental capabilities, or lack of experience and knowledge, unless they have been given supervision or instruction concerning use of the appliance by a person responsible for their safety.
- Never blend hot liquids in the sealed jars as pressure buildup can cause the lid to eject and result in scalding.
What's in the Box
Upon unpacking, please ensure all components are present and in good condition:
- 1 x Motor Unit
- 1 x Blending Jar (Main)
- 1 x Blend-and-Go Jar
- 1 x Blade Assembly (for jars)
- 1 x Lid for Blending Jar
- 1 x Travel Lid for Blend-and-Go Jar
Setup and Assembly
Follow these steps to set up your Philips Mini Blender for first use:
- Unpack: Carefully remove all components from the packaging.
- Clean: Wash the jars, lids, and blade assembly in warm soapy water. Rinse thoroughly and dry. The motor unit should only be wiped with a damp cloth.
- Assemble Blade: Attach the blade assembly securely to the bottom of the desired jar by twisting it clockwise until it clicks into place.
- Place Jar: Place the assembled jar onto the motor unit, ensuring it is aligned correctly and locked into position.
- Connect Power: Plug the power cord into a suitable electrical outlet.

Image: The Philips HR2602/90 Mini Blender features a sleek, compact design that fits easily into any kitchen space.
Operating Instructions
Your Philips Mini Blender is designed for various tasks. Follow these guidelines for optimal performance:
- Prepare Ingredients: Cut fruits, vegetables, or other ingredients into small pieces (approximately 2-3 cm) before placing them into the jar. For best results, add liquids first, then soft ingredients, followed by harder ingredients and ice. Do not overfill the jar beyond the maximum fill line.
- Secure Lid: Place the lid firmly onto the jar and ensure it is properly sealed.
- Select Speed: The blender features variable speed control. Use speed '1' for softer ingredients or lighter blending, and speed '2' for harder ingredients, ice crushing, or faster blending.
- Start Blending: Press the desired speed button (1 or 2) to start the blending process. Blend in short bursts for better control and to prevent overheating, especially for thick mixtures.
- Ice Crushing: For crushing ice, use the main blending jar. Add ice cubes and select speed '2'. Blend in short pulses until the desired consistency is achieved.
- Finish: Once blending is complete, release the button and unplug the appliance. Carefully remove the jar from the motor unit.

Image: Achieve smooth blends in just 30 seconds with the powerful motor and efficient blade design.

Image: The blender is powerful enough to effectively crush ice for various beverages.

Image: Two speed settings provide custom texture and control for different blending needs.

Image: The blend-and-go jar allows for easy smoothies on the go, perfect for an active lifestyle.
Maintenance and Cleaning
Proper cleaning and maintenance will ensure the longevity and optimal performance of your blender.
- Unplug: Always unplug the appliance before cleaning.
- Detachable Blades: The blade assembly is detachable from the jars, making it easy to clean. Twist the blade assembly counter-clockwise to remove it.
- Dishwasher Safe Parts: The jars and blade assembly are dishwasher safe for convenient cleaning. Alternatively, wash them in warm soapy water, rinse, and dry thoroughly.
- Motor Unit: Wipe the motor unit with a damp cloth. Never immerse it in water or any other liquid.
- Stubborn Residue: For stubborn residue, fill the jar with warm water and a drop of dish soap, then run the blender for a few seconds. Rinse and dry.
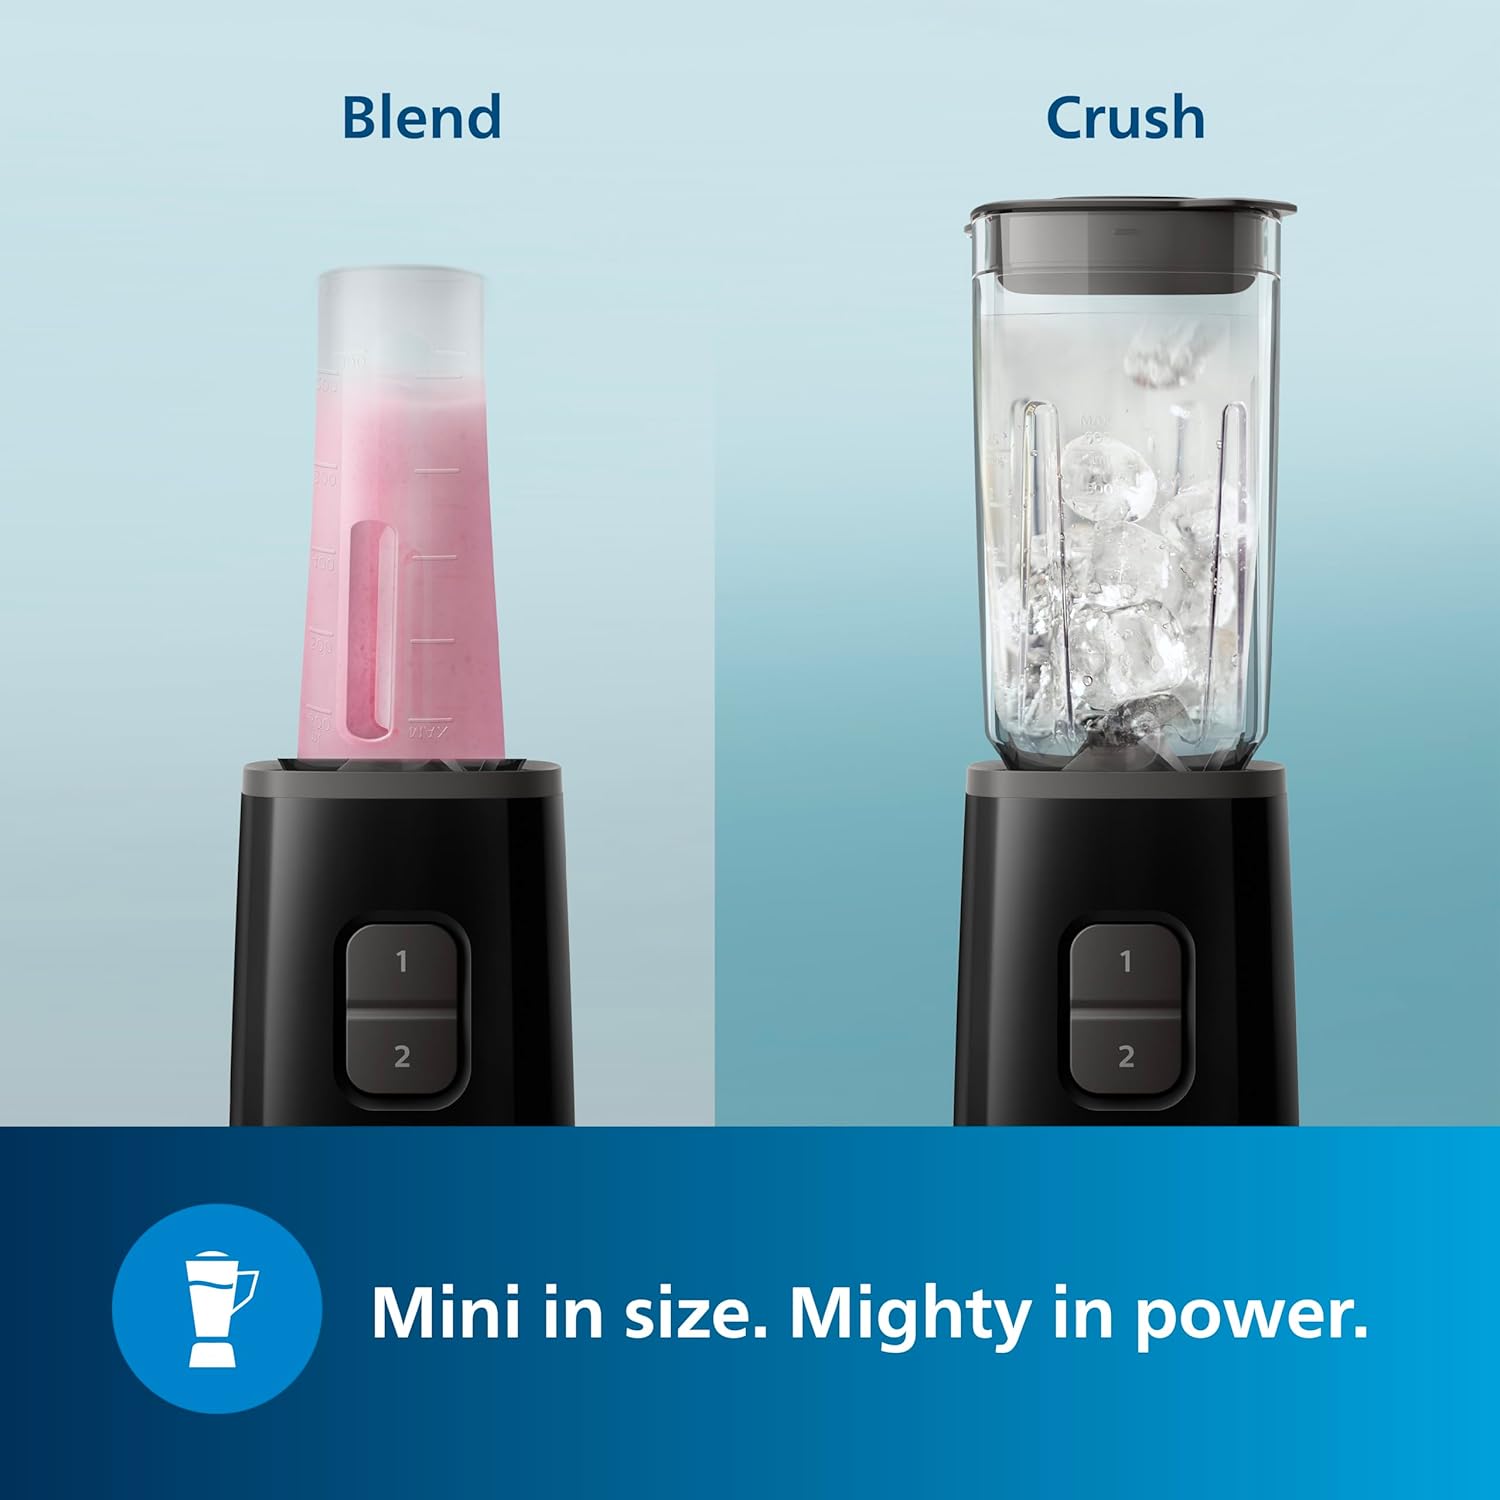
Image: All removable parts of the Philips HR2602/90 Mini Blender are dishwasher safe for easy cleanup.
Troubleshooting
If you encounter issues with your Philips Mini Blender, refer to the following common solutions:
- Appliance does not turn on: Ensure the power cord is securely plugged into a working outlet. Check if the jar is correctly assembled and locked onto the motor unit.
- Motor stops during operation: The appliance may have overheated. Unplug it and let it cool down for at least 15 minutes before attempting to use it again. Reduce the load or add more liquid if the mixture is too thick.
- Ingredients are not blending smoothly: Ensure ingredients are cut into small pieces. Add more liquid if the mixture is too thick. Blend in pulses to help circulate ingredients.
- Leakage from the jar: Check that the blade assembly is tightly secured to the jar and that the lid is properly sealed before operation. Do not overfill the jar.
If the problem persists after trying these solutions, please contact customer support.
Specifications
| Brand | PHILIPS |
| Model Number | HR2602/90 |
| Power Source | Corded Electric |
| Wattage | 350 Watts |
| Voltage | 220V |
| Number of Speeds | 2 (Variable Control) |
| Material | Plastic (Body), Stainless Steel (Blades) |
| Product Dimensions | 14.5D x 33.5W x 26H Centimeters |
| Item Weight | 1320 Grams |
| Included Components | 2 Jars, 1 Blender Motor Unit |
| Dishwasher Safe Parts | Yes (Jars and Blades) |
Warranty and Support
Your Philips HR2602/90 Mini Blender Mixer Grinder comes with a 2-year manufacturer's limited warranty from the date of purchase. This warranty covers manufacturing defects under normal use conditions.
For warranty claims, technical support, or service inquiries, please contact Philips Domestic Appliances customer service:
- Manufacturer: Philips Domestic Appliances, Philips India Ltd
- Contact Number: 1800 102 2929
- Address: PO - Manpura, Tehsil, Nalagarh, Distt- Solan (HP)-174101, India
Please retain your purchase receipt as proof of purchase for any warranty claims.


