1. محصول ختم شوview
The Teltonika RUT240 is an industrial 4G LTE Wi-Fi router designed for reliable cellular communication in various environments. This manual provides essential information for its proper installation, configuration, and use.
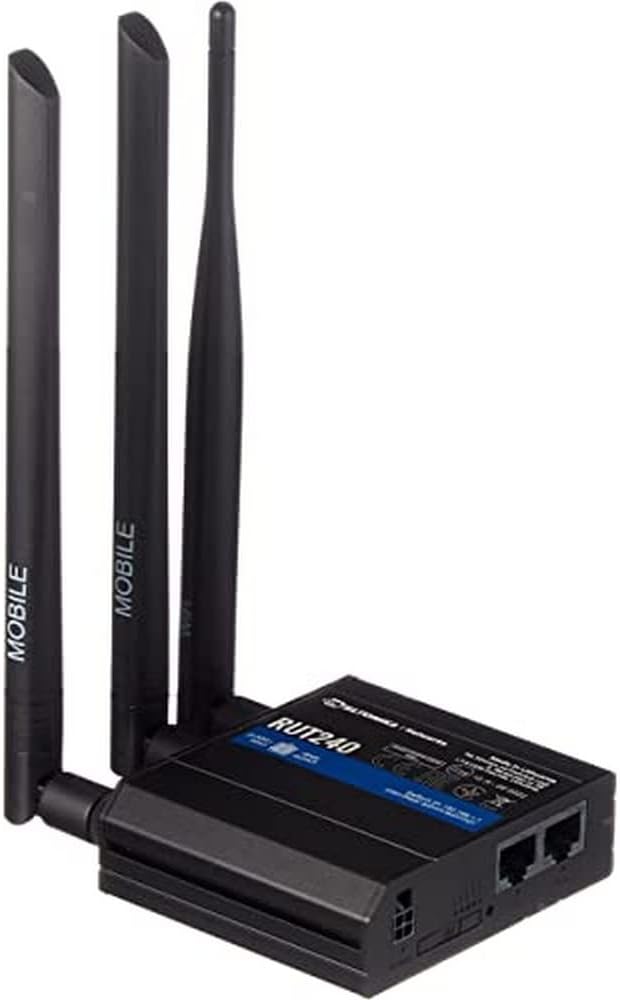
شکل 1: مخکی view of the Teltonika RUT240 LTE Router with its three attached antennas, illustrating its compact design.
2. د بسته محتويات
Before proceeding with installation, verify that all items are present in the package:
- ټیلټونیکا RUT240 LTE روټر
- د بریښنا اډاپټر
- ایترنیټ کیبل
- Two LTE Antennas (magnetic mount, SMA male)
- One Wi-Fi Antenna (magnetic mount, RP-SMA male)
- د چټک پیل لارښود

شکل 2: The Teltonika RUT240 router displayed with its standard accessories, including the power adapter and an Ethernet cable.
3. ترتیب کول
3.1 د هارډویر نصب کول
- سیم کارت داخل کړئ: Locate the SIM card slot on the side of the router. Insert your activated Mini-SIM card into the slot until it clicks into place. Ensure the SIM card is correctly oriented as indicated on the device.
- انتن ضمیمه کړئ: Screw the two LTE antennas onto the SMA connectors labeled "MOBILE" and the Wi-Fi antenna onto the RP-SMA connector labeled "WLAN" on the router. Ensure they are securely tightened.
- بریښنا وصل کړئ: Connect the power adapter to the power socket on the router and then plug the adapter into a power outlet. The router will begin to power on.
- اختیاري: د ایترنیټ اتصال: For initial configuration or wired network access, connect one end of the Ethernet cable to the LAN port on the router and the other end to your computer's Ethernet port.

شکل 3: اړخ view of the Teltonika RUT240, highlighting the SIM card slot and the antenna connection points for mobile and Wi-Fi signals.

شکل 4: شاته view of the Teltonika RUT240, showing the power input, SIM card slot, and the LAN/WAN Ethernet ports.
3.2 ابتدايي ترتیب
- لاسرسی Web انٹرفیس: خلاص a web browser on your connected computer and navigate to http://192.168.1.1.
- ننوتل: Enter the default username "admin" and the password found on the device label or packaging. You will be prompted to change the password for security.
- د چټک تنظیم کولو وزرډ: Follow the on-screen Quick Setup Wizard to configure basic settings such as mobile data connection (APN settings), Wi-Fi network name (SSID), and password.
4. عملیاتي لارښوونې
4.1 د LED شاخصونه
The RUT240 features several LED indicators to provide status information:
- د بریښنا LED: د بریښنا حالت ښیي. کله چې بریښنا فعاله شي نو سخت شنه رنګ لري.
- Mobile Signal Strength LEDs: Multiple LEDs indicate the strength of the cellular signal. More illuminated LEDs mean stronger signal.
- Network Type LEDs: Indicate the active cellular network type (e.g., 2G, 3G, 4G/LTE).
- وای فای LED: د وای فای ماډل حالت په ګوته کوي.
- LAN/WAN LEDs: Indicate activity on the respective Ethernet ports.
4.2 د وای فای سره نښلول
- په خپل وسیله (سمارټ فون، لیپ ټاپ) کې، د شته وای فای شبکو لټون وکړئ.
- Select the network name (SSID) configured during the initial setup.
- Enter the Wi-Fi password (WPA2 key) when prompted.
- Once connected, your device should have internet access via the RUT240.
4.3 پرمختللی ترتیب
د روټر web interface (RutOS) offers extensive configuration options for advanced users, including VPN, firewall rules, SMS utilities, and more. Refer to the official Teltonika documentation for detailed guides on advanced features.
5. ساتنه
- د فرم ویئر تازه معلومات: Regularly check for and install firmware updates from the official Teltonika website to ensure optimal performance, security, and access to new features. This can typically be done via the router's web انٹرفیس
- پاکول: روټر پاک او له دوړو څخه پاک وساتئ. نرم او وچ ټوکر وکاروئ. د مایع پاکوونکو څخه کار مه اخلئ.
- د چاپیریال شرایط: Ensure the router is operated within its specified temperature and humidity ranges to prevent damage. Avoid direct sunlight and excessive heat.
- خوندي پاسورډونه: Periodically change your router's login password and Wi-Fi password to maintain network security.
6. ستونزه حل کول
| ستونزه | احتمالي لامل | د حل لاره |
|---|---|---|
| انټرنیټ ته لاسرسی نشته |
|
|
| لاسرسی نشم کولی Web انٹرفیس |
|
|
| Wi-Fi Not Visible or Connectable |
|
|
6.1 د فابریکې ری سیٹ
که تاسو دوامداره ستونزې سره مخ شئ، د فابریکې بیا تنظیم کول ممکن هغه حل کړي. د فابریکې بیا تنظیم کولو لپاره:
- ډاډ ترلاسه کړئ چې روټر فعال دی.
- Locate the reset button (often recessed) on the router.
- د یوې نرۍ شی (د مثال په توګه، د کاغذ کلپ) په کارولو سره د ری سیٹ تڼۍ شاوخوا 10 ثانیو لپاره فشار ورکړئ او ونیسئ.
- Release the button when the LEDs indicate a reset (e.g., all LEDs flash). The router will reboot with factory default settings.
7. مشخصات
| فیچر | تفصیل |
|---|---|
| د ماډل نوم | ټیلټونیکا RUT240 |
| د توکي ماډل شمیره | RUT24006B000 |
| د محصول ابعاد | 2.91 x 3.27 x 0.98 انچه |
| د توکي وزن | ۱ ملی ګرامه |
| عملیاتي سیسټم | RutOS |
| د ارتباط ټیکنالوژي | LAN، Wi-Fi |
| د بې سیمه مواصلاتو معیار | 802.11n |
| د فریکونسی بانډ ټولګی | څلور اړخیزه |
| ځانګړی ځانګړنه | WPS |
| مطابقت لرونکې وسیلې | شخصي کمپیوټر |
| وړاندیز شوي استعمالونه | څارنه |
| جوړونکی | JSC Teltonika |
8. تضمین او ملاتړ
For detailed warranty information, please refer to the official Teltonika website or the warranty card included with your product. Technical support is available through Teltonika's official support channels, including their website and dedicated support portal.
آنلاین سرچینې:
- Teltonika RUT240 Wiki (for comprehensive documentation and guides)
- Teltonika Networks Support


