POW TECHNOLOGY Metron5 IIoT Sensor Gateway
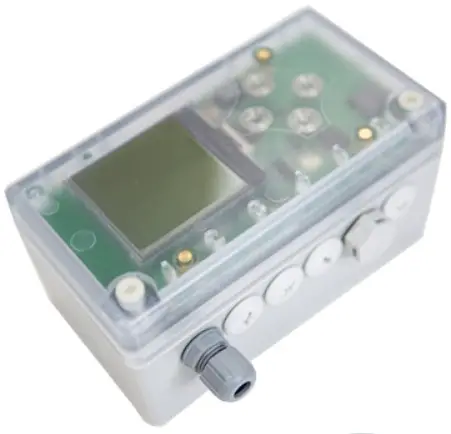
Unpack & Open Up the Metron5
Place unit on a flat surface and loosen the 2 nylon screws in bottom corners to open.
Allen key required.

Mount the Metron5
Use the 2 mounting holes to screw the Metron5 down onto a flat surface.
Avoid mounting inside metal cabinets or underground (could reduce signal).
Ensure blanking plugs are fitted over empty glands.

Connect the Sensor(s) & Power
Run the sensor cable(s) through the gland.
Unplug the green connector(s) and wire in.
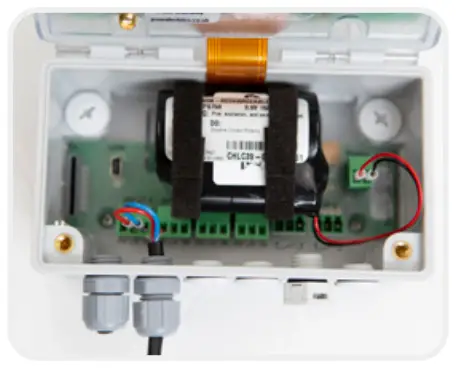
(RED = +V, BLUE = IN)
Plug the connector(s) back into the correct input channel and tighten the gland. Ensure cable is through the gland.
Plug in the power source.

Press any button to wake the Metron5. Press left for immediate reading (config. dependent) or enter PIN (1234) and press right after 4th digit to enter homepage.
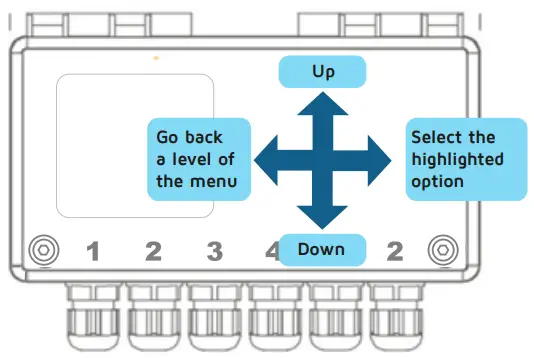
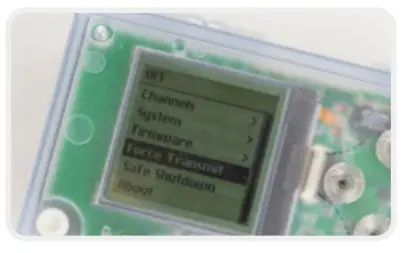
Move down to Force Transmit and right to select.
Watch the progress bar and wait for the unit to transmit. Once complete, data can be viewed on Metron View. The unit will countdown for 45 seconds, then enter Run Mode. Screen will turn off.
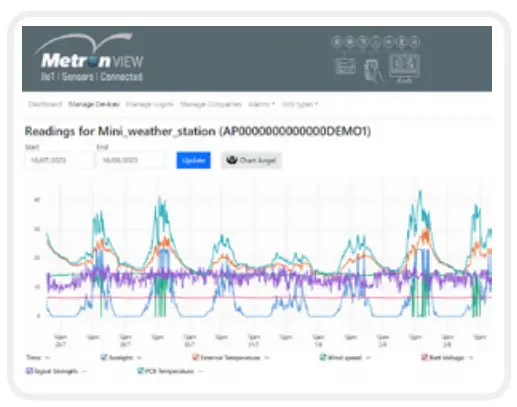
View Data
Visit: 2020.metronview.com
Login credentials will have been sent by email.
Once logged in, a summary of the units will be visible. Click view to the left of the device’s name to see the historical data.
Programming
Units can be remotely programmed from Metron View. It is possible to change how often readings are taken & sent and alarm thresholds for each of the input channels. To make changes, contact Pow Technology support.
CUSTOMER SUPPORT
Phone: +44 (0) 1827 310666
Email: support@powtechnology.com


Documents / Resources
 |
POW TECHNOLOGY Metron5 IIoT Sensor Gateway [pdf] User Guide Metron5, Metron5 IIoT Sensor Gateway, IIoT Sensor Gateway, Sensor Gateway, Gateway |


