1. Wprowadzenie
This manual provides essential instructions for the safe assembly, operation, and maintenance of your VEVOR 60LB Walk Behind Spreader, Model TC2135. Please read this manual thoroughly before first use to ensure proper function and longevity of the product. This spreader is designed for precise application of various granular materials such as seeds, fertilizers, and ice melt on lawns and gardens.
2. Informacje dotyczące bezpieczeństwa
- Always wear appropriate personal protective equipment, including gloves and eye protection, when handling materials and operating the spreader.
- Podczas pracy należy trzymać dzieci i zwierzęta domowe z dala od miejsca pracy.
- Do not overload the hopper beyond its 60LB capacity.
- Przed każdym użyciem należy upewnić się, że wszystkie elementy mocujące są mocno dokręcone.
- Operate the spreader on level ground whenever possible. Exercise caution on slopes.
- Dokładnie wyczyść rozsiewacz po każdym użyciu, aby zapobiec korozji i gromadzeniu się materiału.
- Notatka: This spreader is not recommended for use with rock salt due to potential clogging and damage.
3. Zawartość opakowania
Po rozpakowaniu sprawdź, czy wszystkie elementy są obecne i nieuszkodzone. Jeśli brakuje którejkolwiek części lub jest ona uszkodzona, skontaktuj się z obsługą klienta VEVOR.
- Main Spreader Body (pre-assembled)
- Montaż uchwytu
- Korbowód
- Ruszt lejowy
- Przezroczysta pokrywa
- Pakiet sprzętu
- Instrukcja obsługi
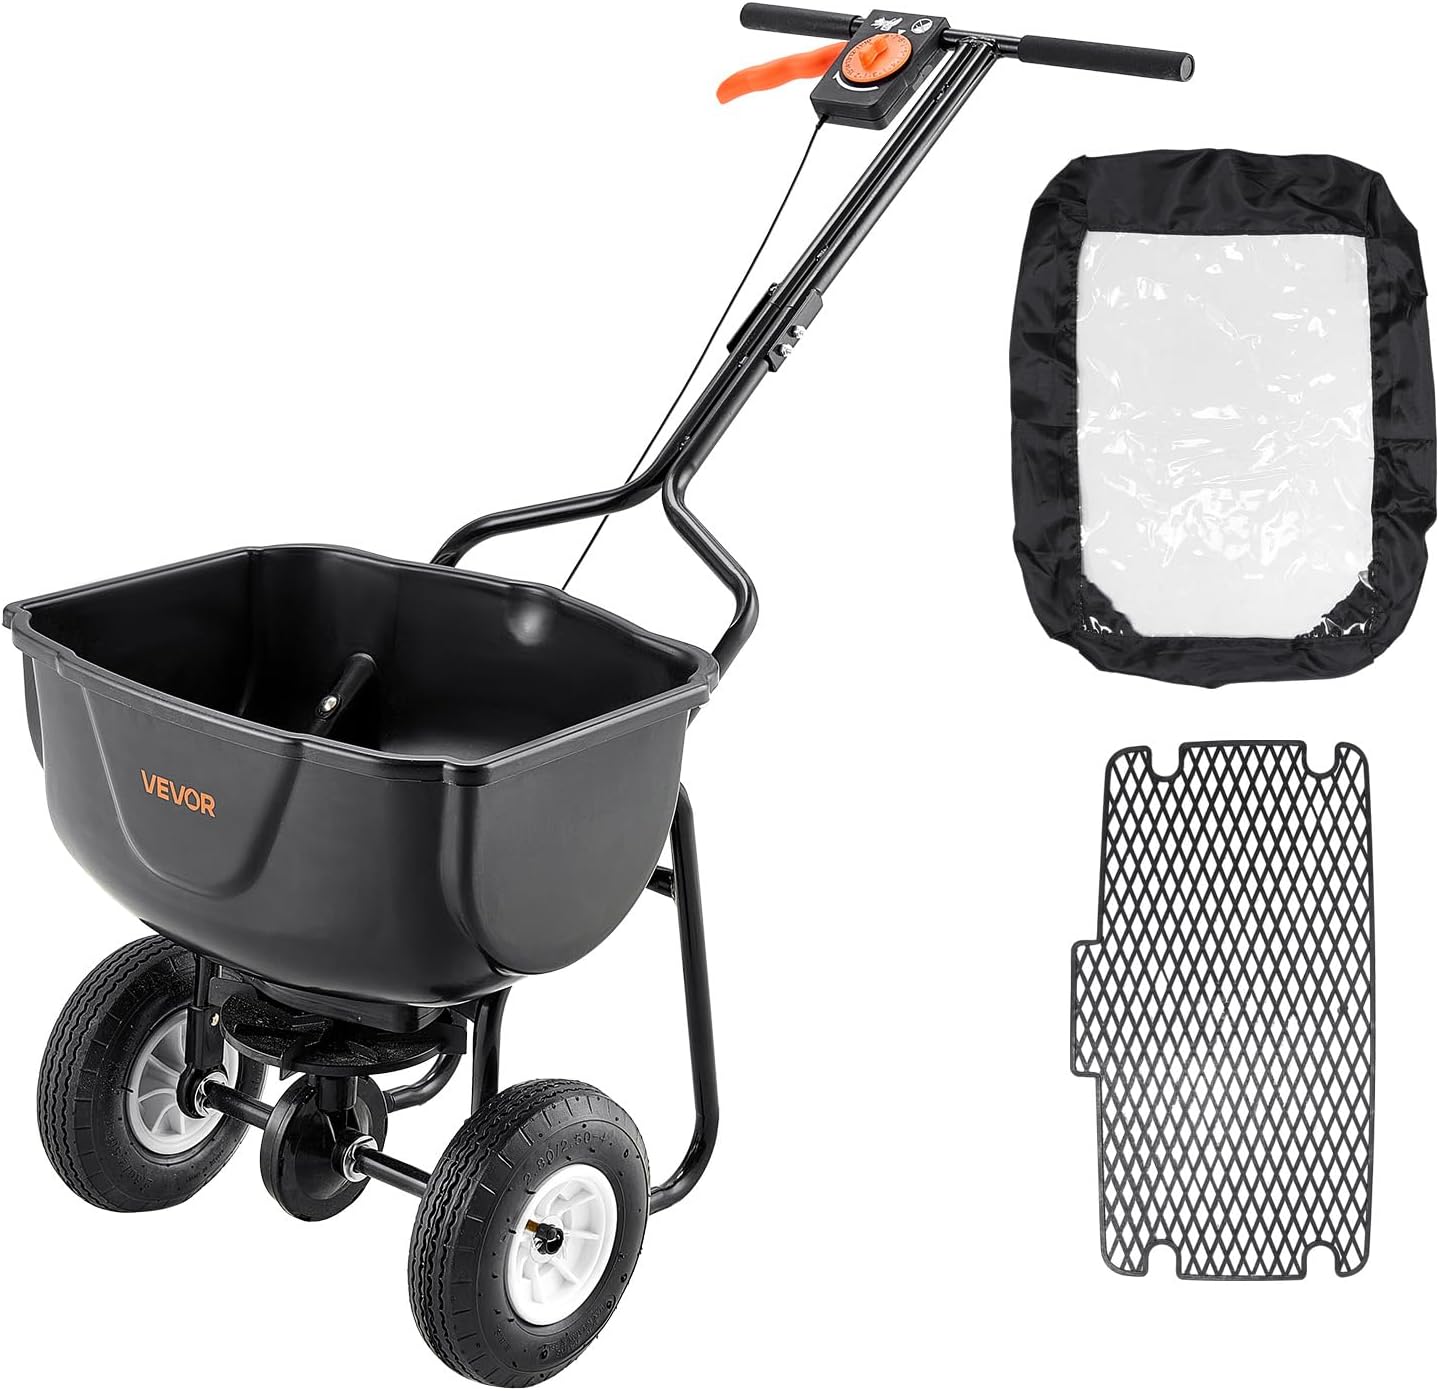
Rysunek 3.1: VEVOR 60LB Walk Behind Spreader with its transparent cover and hopper grate.
4. Instrukcja montażu
The VEVOR 60LB Walk Behind Spreader features a pre-assembled main body for quick setup. Assembly typically takes 10-30 minutes.
- Step 1: Install the Bracket. Attach the bracket onto the main body of the spreader.
- Step 2: Attach Handle and Connecting Rod. Connect the handle assembly and the connecting rod to the main body. Ensure all connections are secure.
- Step 3: Install Transparent Cover. Place the transparent cover onto the spreader hopper.
- Step 4: Complete Assembly. Verify all parts are correctly installed and tightened.

Rysunek 4.1: Visual guide for the 4-step assembly process.
5. Instrukcja obsługi
5.1 Napełnianie zasobnika
Ensure the spreader's flow control is closed before filling. Carefully pour your desired material (seed, fertilizer, ice melt) into the hopper. The hopper has a 60LB capacity, reducing the need for frequent refills.

Rysunek 5.1: Filling the hopper with material.
5.2 Adjusting Spreading Settings
The spreader features a disk regulator with 18 adjustable settings to control the flow rate and spreading width (0-9.8 ft). Adjust the setting based on the material type and desired coverage. A higher setting typically means a wider spread and faster material release.

Rysunek 5.2: Adjusting the disk regulator for precise spreading.
5.3 Spreading Operation
Begin walking at a consistent pace before opening the flow control. This ensures an even start to the spread. Close the flow control before stopping or turning to prevent over-application in one area. The rear baffle helps prevent material from spilling onto your feet, and the triangular nylon agitator ensures consistent material flow and even distribution.

Rysunek 5.3: Operating the spreader for even coverage.
The 8-inch pneumatic tires are designed for all-terrain use, providing smooth maneuverability across grass, gravel, and snow.

Rysunek 5.4: All-terrain pneumatic tires for easy maneuvering.
6. Konserwacja
- Czyszczenie: After each use, empty any remaining material from the hopper. Rinse the hopper and spreading mechanism thoroughly with water. Allow all parts to dry completely before storage to prevent corrosion and material caking.
- Smarowanie: Periodically check and lubricate moving parts, such as the axle and gear mechanisms, with a suitable lubricant to ensure smooth operation.
- Składowanie: Store the spreader in a dry, covered area to protect it from weather elements. The powder-coated steel frame and explosion-proof plastic hopper are designed for durability and resistance to UV and impact.
- Ciśnienie w oponach: Maintain proper air pressure in the pneumatic tires for optimal performance and longevity.

Rysunek 6.1: Durable construction features for long-term use.
7. Rozwiązywanie Problemów
| Problem | Możliwa przyczyna | Rozwiązanie |
|---|---|---|
| Uneven spreading or no material flow |
|
|
| Spreader difficult to push |
|
|
| Material spilling onto feet |
|
|
8. Specyfikacje
| Funkcja | Szczegół |
|---|---|
| Numer modelu przedmiotu | TC2135 |
| Nośność | 60 funta (27.2 kg) |
| Ustawienia regulowane | 18 pozycji |
| Zakres rozrzutu | 0-9.8 stopy (0-3 m) |
| Opony | 8" pneumatic wheels |
| Schemat kolorów | White hubs + black components |
| Przybory | Q195 steel + PP plastic |
| Waga produktu | 13.23 funta (6.2 kg) |
| Wymiary produktu (dł. × szer. × wys.) | 31.50 x 17.72 x 29.53 cala (800 x 450 x 750 mm) |
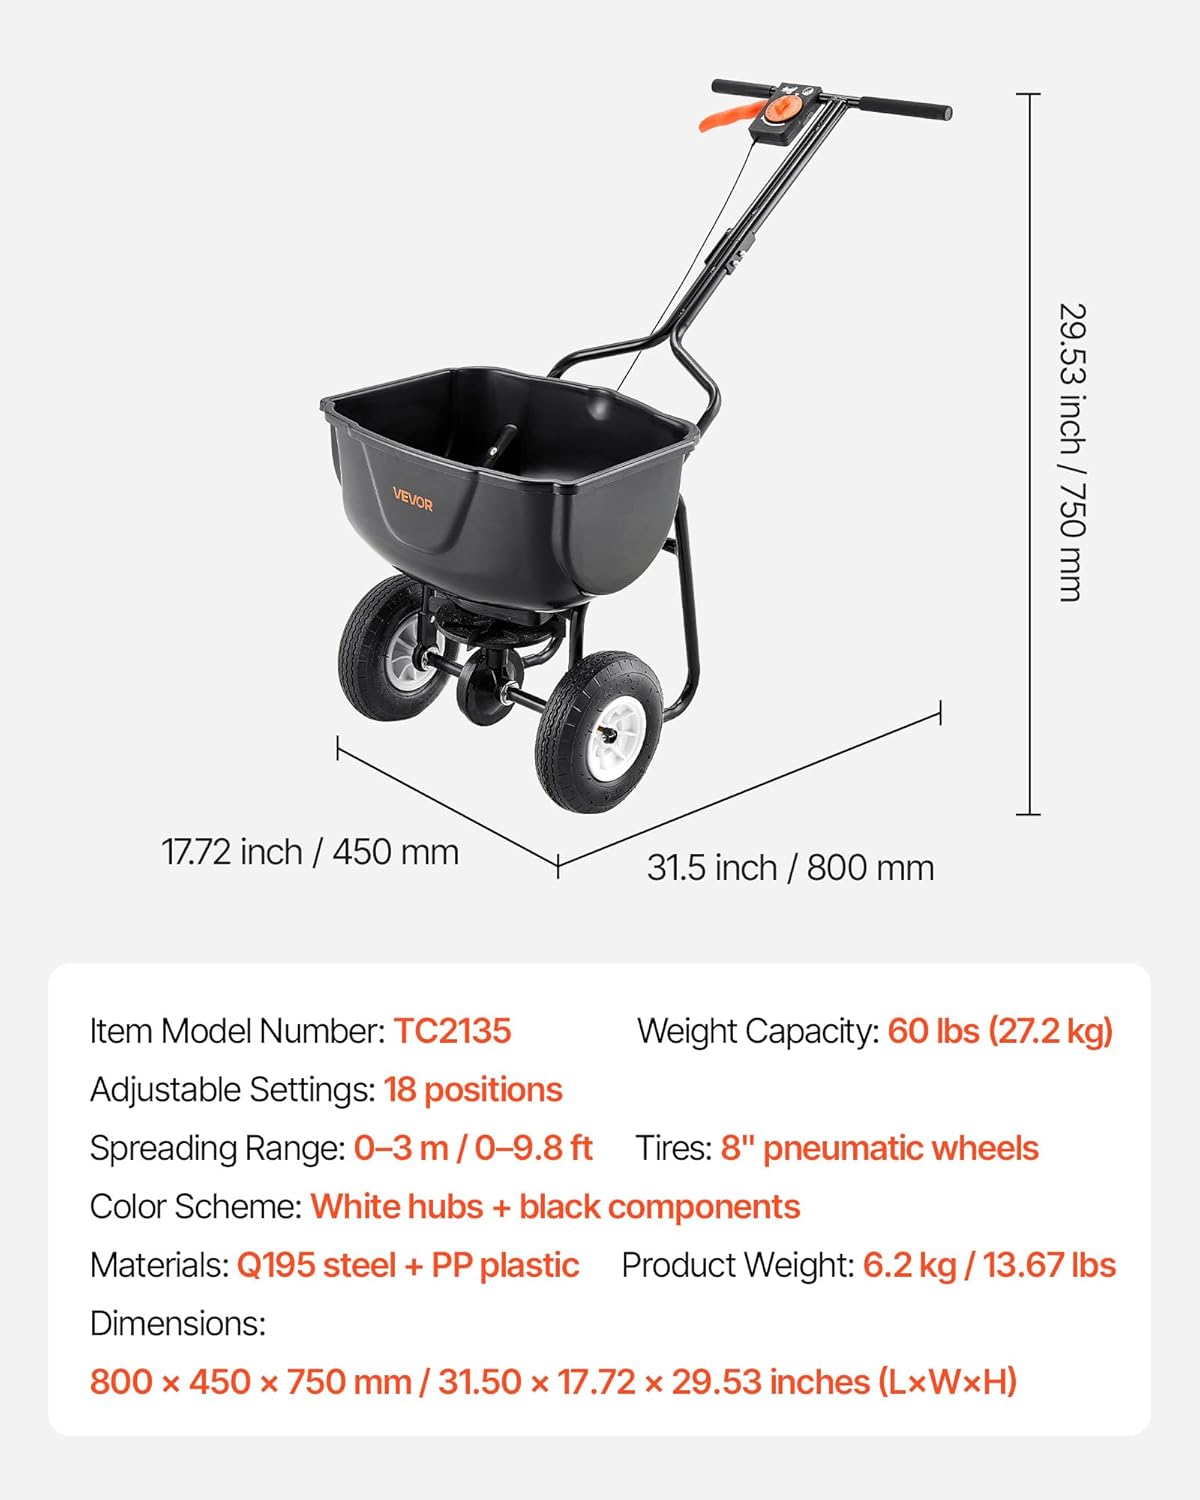
Rysunek 8.1: Szczegółowe wymiary i specyfikacje produktu.
9. Gwarancja i wsparcie
VEVOR products are designed for durability and performance. For warranty information, product support, or to inquire about replacement parts, please refer to the official VEVOR website or contact their customer service directly. A 30-day return policy is typically offered for new products.
VEVOR Oficjalny Webstrona: www.vevor.com