1. Wprowadzenie
This manual provides essential instructions for the setup, operation, and maintenance of your CAPOXO Capoxo-SQ-21-Charger-NV 4K Full HD Wired Security Camera. This device is designed for indoor surveillance, offering continuous recording, motion detection, and night vision capabilities. Please read this manual thoroughly before using the product to ensure proper functionality and safety.

Image 1.1: The CAPOXO Capoxo-SQ-21-Charger-NV wired security camera, designed to resemble a standard USB wall charger.
2. Koniec produktuview
2.1 Zawartość opakowania
Sprawdź, czy w przesyłce znajdują się wszystkie elementy:
- CAPOXO Security Camera
- Kabel USB
- Czytnik kart
- Instrukcja obsługi
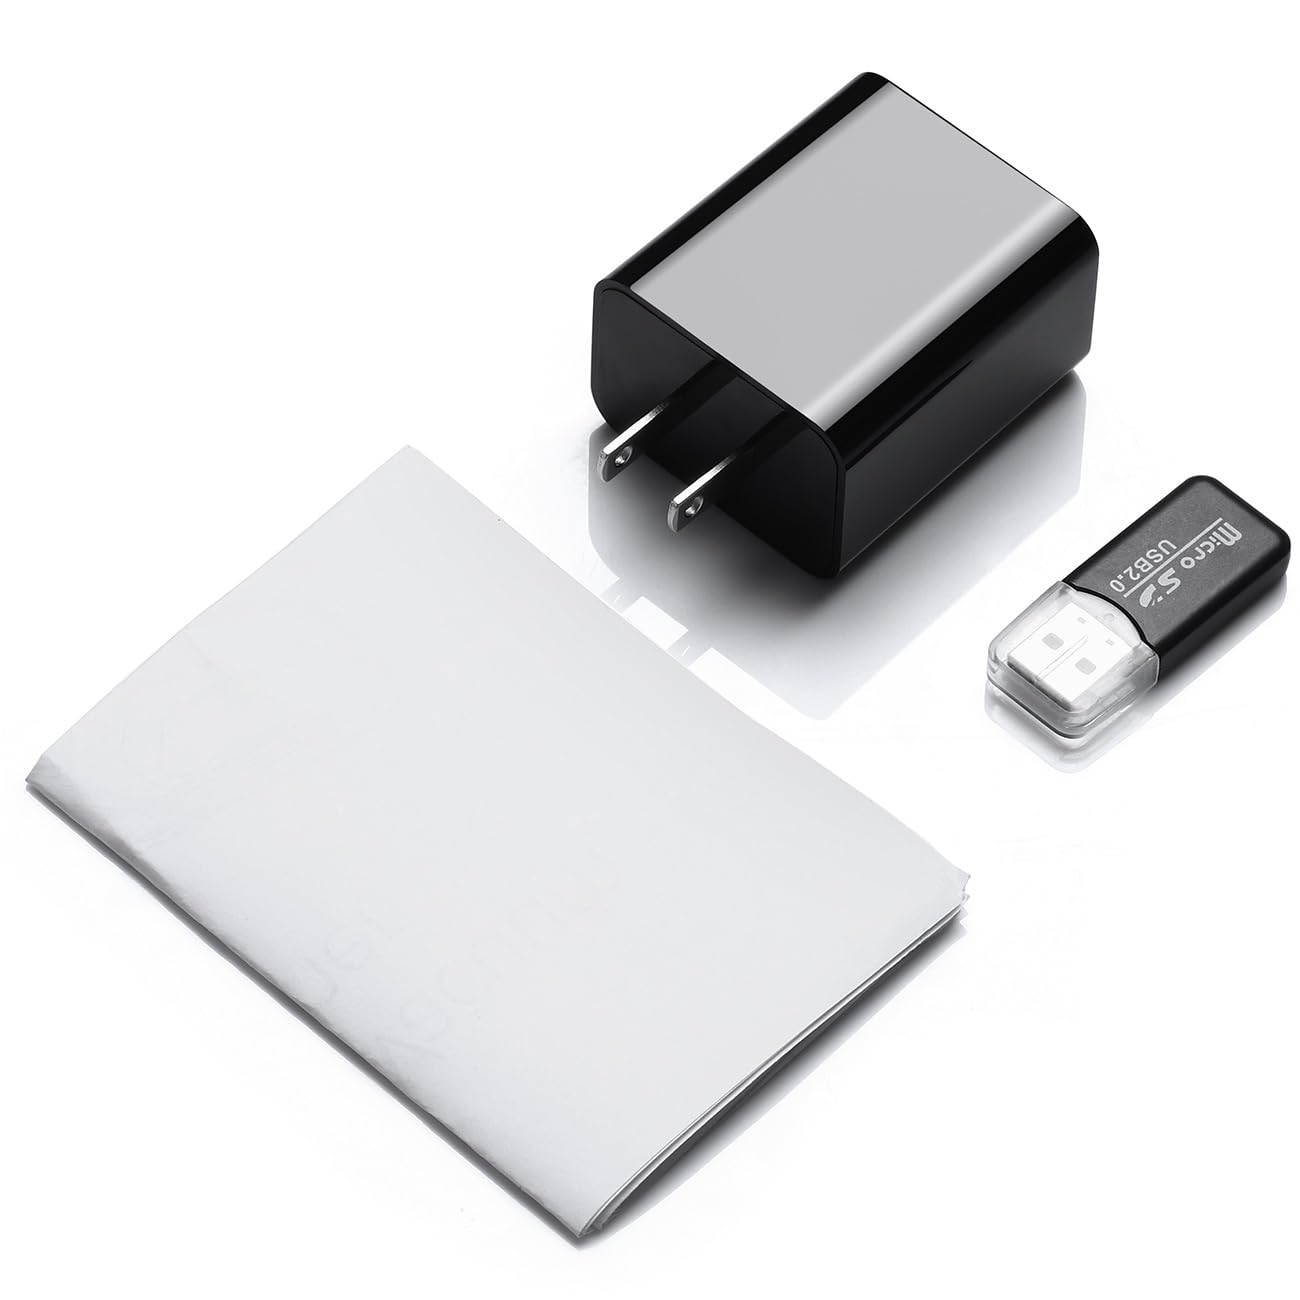
Image 2.1: Contents of the CAPOXO security camera package, including the camera, USB cable, card reader, and user manual.
2.2 Komponenty kamery
Zapoznaj się z najważniejszymi elementami aparatu:

Image 2.2: Detailed diagram showing the camera's components, including the HD Lens, Card Slot, USB port, Mode Switch, IR LEDs, and Front Cover.
- Obiektyw HD: Przechwytuje wideo footage.
- Gniazdo na kartę: For inserting a Micro SD card (up to 128GB, not included).
- Port USB: Functions as a standard USB charging port and for power supply to the camera.
- Zmiana trybu: Toggles between recording modes (M: Motion-activated, C: Loop recording).
- Diody IR: Infrared emitters for night vision.
- Okładka przednia: A removable cover to access the card slot and mode switch.
2.3 Główne cechy
- Rozdzielczość Full HD 1080p: Records video at 1920x1080 for clear footage.
- Ciągłe nagrywanie w pętli: Automatycznie nadpisuje starsze footage to ensure uninterrupted surveillance.
- Możliwość widzenia w nocy: Equipped with infrared LEDs for clear recording in low-light conditions up to 5 meters.
- Technologia wykrywania ruchu: Automatically initiates recording when movement is detected.
- Możliwość rozbudowy pamięci masowej: Obsługuje karty Micro SD do 128 GB (brak w zestawie).
3. Konfiguracja
3.1 Wkładanie karty Micro SD
- Gently remove the front cover of the camera to expose the card slot.
- Insert a formatted Micro SD card (Class 10 or higher, up to 128GB) into the card slot with the gold contacts facing down until it clicks into place.
- Załóż ponownie przednią pokrywę.
Notatka: The Micro SD card is not included and must be purchased separately. Ensure the card is formatted before first use for optimal performance.
3.2 Włączanie kamery
- Plug the camera directly into a standard 220V AC wall outlet.
- The camera will automatically power on and begin operation according to the selected mode.

Image 3.1: The CAPOXO security camera plugged into a wall outlet, ready for operation.
4. Instrukcja obsługi
4.1 Selecting Recording Mode
The camera features a mode switch located under the front cover:
- 'C' Position (Loop Recording): The camera will continuously record video. When the SD card is full, the oldest filezostaną automatycznie nadpisane przez nowe nagrania.
- 'M' Position (Motion Detection): The camera will only record when it detects movement within its field of view. This conserves storage space and highlights important events.
4.2 Widzenie nocne
The camera automatically activates its infrared (IR) LEDs in low-light conditions to provide clear night vision footage up to 5 meters. These LEDs are designed to be discreet.

Image 4.1: Demonstration of the camera's night vision capability, showing clear visibility in a dark room.
4.3 Accessing Recordings
- Unplug the camera from the power outlet.
- Remove the front cover and carefully eject the Micro SD card.
- Insert the Micro SD card into the provided card reader.
- Connect the card reader to a computer's USB port.
- Access the recorded video filena Twoim komputerze.
5. Konserwacja
- Czyszczenie: Do czyszczenia obiektywu i korpusu aparatu używaj miękkiej, suchej ściereczki. Unikaj stosowania płynnych środków czyszczących i materiałów ściernych.
- Zarządzanie kartami SD: Regularly back up important recordings. Periodically format the Micro SD card to maintain optimal performance and prevent data corruption.
- Umieszczenie: Upewnij się, że kamera jest umieszczona w stabilnym pomieszczeniu, z dala od bezpośredniego światła słonecznego, ekstremalnych temperatur i wysokiej wilgotności.
6. Rozwiązywanie Problemów
- Camera is not recording:
- Upewnij się, że kamera jest prawidłowo podłączona do gniazdka elektrycznego.
- Check if the Micro SD card is inserted correctly and is not full.
- Try formatting the Micro SD card.
- Verify the mode switch is set to 'C' for continuous recording or 'M' for motion detection.
- Słaba jakość wideo:
- Oczyść obiektyw aparatu miękką szmatką.
- Ensure adequate lighting in the recording area, especially for optimal daytime footage.
- Check if the camera is within its effective night vision range during low-light conditions.
- Motion detection is not working:
- Ensure the mode switch is set to 'M' (Motion Detection).
- Sprawdź, czy pole widzenia kamery view jest przejrzysty i niezakłócony.
- Test the motion detection by moving in front of the camera.
- Nie można uzyskać dostępu filena komputerze:
- Ensure the Micro SD card is properly inserted into the card reader.
- Try connecting the card reader to a different USB port or computer.
- Check if the Micro SD card is damaged or corrupted.
7. Specyfikacje
| Nazwa modelu | Capoxo-SQ-21-Charger-NV |
| Rezolucja | Full HD 1080p (1920x1080) |
| Wsparcie magazynowania | Karta Micro SD do 128 GB (brak w zestawie) |
| Tryby nagrywania | Loop Recording, Motion Detection |
| Zakres noktowizora | Up to 5 meters (via IR LEDs) |
| Źródło zasilania | AC (220 V) |
| Łączność | USB 2.0 |
| Zastosowanie wewnątrz/na zewnątrz | Wnętrz |
| Wymiary produktu | Wymiary 5.3 x 4.6 x 3.2 cm |
| Waga przedmiotu | 250 gramów |
| Zawarte komponenty | Camera, USB Cable, Card Reader |
8. Gwarancja i wsparcie
For any product-related inquiries, technical support, or warranty claims, please contact CAPOXO customer service through your purchase platform or the official CAPOXO website. Please have your model number (Capoxo-SQ-21-Charger-NV) and proof of purchase ready when contacting support.
Please refer to the terms and conditions of your purchase for specific warranty details.


