Wstęp
This manual provides essential information for the proper installation, operation, and maintenance of your OUKANING 10" Rear Wheel Rim Tire Assembly. Please read this manual thoroughly before installation and use to ensure safe and optimal performance.
This rear wheel assembly is designed for various 50cc-110cc Dirt Pit Bikes, including models like CRF50, DRZ70, and PW50. It features a durable construction with a 12mm axle hole diameter and a 2.50-10 tire size.
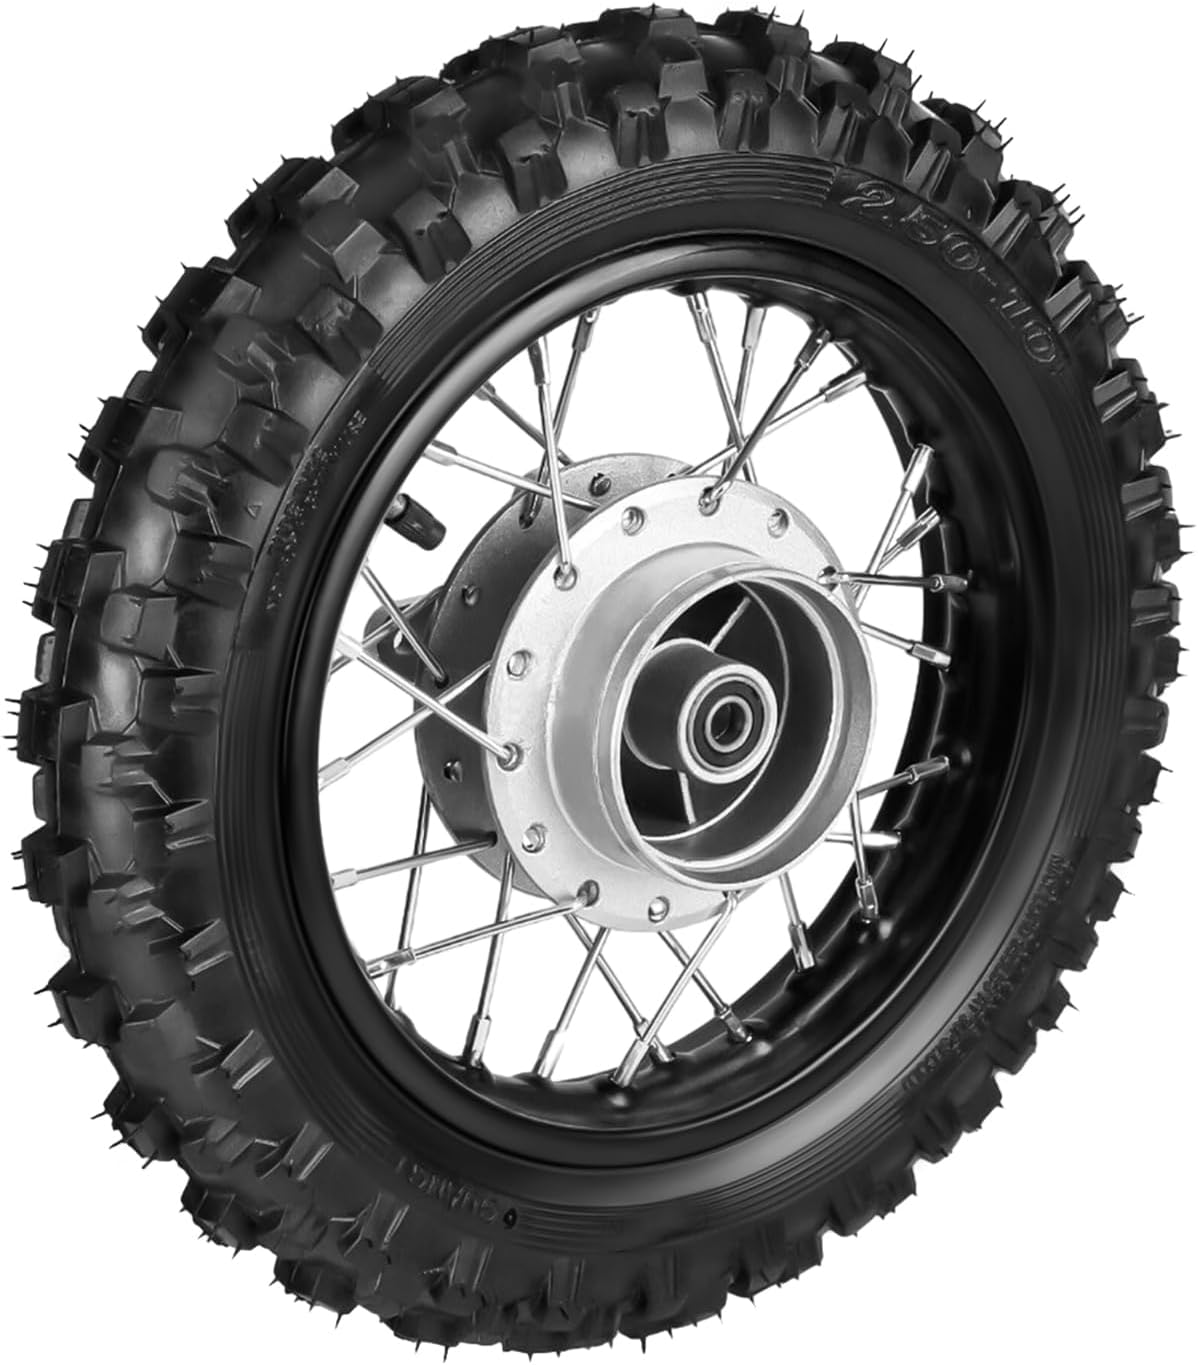
Figure 1: OUKANING 10" Rear Wheel Rim Tire Assembly.
Specyfikacja produktu
| Specyfikacja | Wartość |
|---|---|
| Typ | Zespół tylnej opony |
| Axle Hole Diameter | 12mm |
| Rozmiar tylnej opony | 2.50-10 |
| Średnica obręczy | 10 cali |
| Rozmiar obręczy | 1.4x10 |
| Szerokość opony | 65 mm (2.55 cali) |
| Tire Height | 400 mm (15.74 cali) |
| Maksymalna ładowność | 255 funtów |
| Tworzywo | Rubber (tire), Aluminum + Steel (rim/hub) |
| Zgodność | Most Chinese 50cc-110cc Dirt Bikes (e.g., SUNL, ROKETA, JOWAYNSTCoolster, Supermach), some Japanese models (e.g., CRF50, DRZ70, PW50, TTR50). |

Figure 2: Key dimensions of the OUKANING 10" Rear Wheel Rim Tire Assembly.
Zawartość opakowania
Po otwarciu opakowania należy sprawdzić, czy wszystkie elementy są obecne i nieuszkodzone:
- 1 x Wheel Rim Tyre Assembly
Note: Installation manual is not included. Professional installation is highly recommended.
Konfiguracja i instalacja
The OUKANING 10" Rear Wheel Rim Tire Assembly is designed for direct replacement. While professional installation is recommended, the following general steps outline the process:
- Przygotowanie: Ensure your dirt bike is securely supported on a stand. Gather necessary tools, including wrenches, sockets, and a torque wrench.
- Usuń stare koło: Loosen and remove the axle nut and any other fasteners securing the existing rear wheel. Carefully slide the axle out and remove the old wheel assembly.
- Sprawdź komponenty: Before installing the new wheel, inspect the swingarm, chain, and brake components for any wear or damage. Ensure the brake drum and hub are compatible with the new assembly.
- Zamontuj nowe koło: Carefully align the new OUKANING wheel assembly with the swingarm and brake components. Insert the axle through the wheel hub and swingarm.
- Bezpieczne elementy złączne: Reinstall the axle nut and any other fasteners. Tighten all nuts and bolts to the manufacturer's specified torque settings for your dirt bike model. Nie dokręcaj zbyt mocno.
- Check Alignment and Chain Tension: Verify that the wheel is properly aligned and the chain tension is correct. Adjust as needed.
- Kontrola hamulców: Test the rear brake function to ensure it operates correctly and safely.
Ważny: Tire sizes vary by ride. Please check your current tire and wheel sizes before placing an order to ensure compatibility. The axle hole diameter for this assembly is 12mm.

Rysunek 3: Example of a wheel assembly installed on a dirt bike.
Rozważania operacyjne
This OUKANING rear wheel assembly is designed for off-road use on dirt bikes. It is not intended for highway use.
- Przyczepność opon: The tire features thickened and deepened blocks for excellent grip across various road conditions, including wet roads, muddy roads, and harsh terrains.
- Nośność: The assembly has a maximum load capacity of 255 lbs, providing stable and reliable performance during riding.
- Trwałość: Constructed from durable rubber for the tire and a combination of aluminum and steel for the rim and hub, ensuring longevity and reliability.
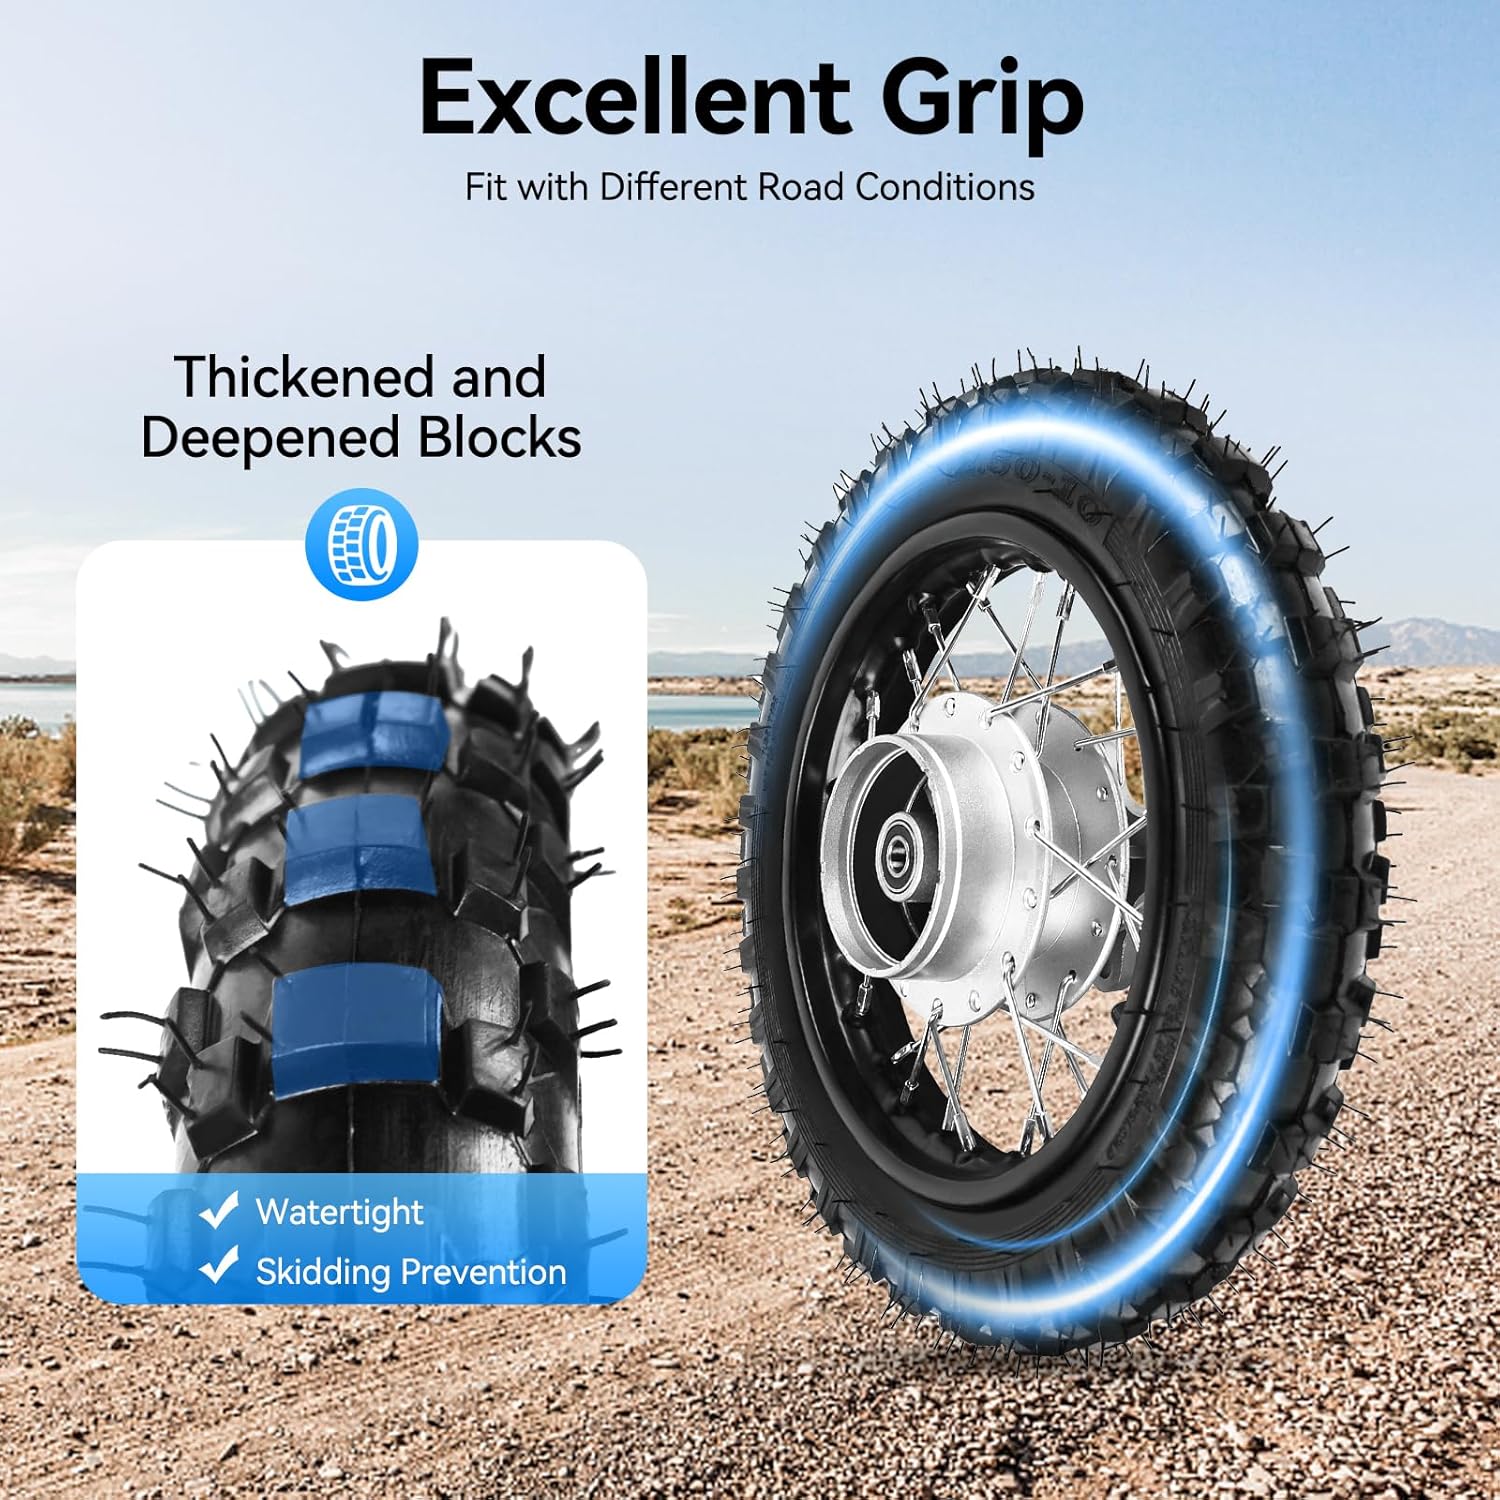
Figure 4: Excellent grip provided by thickened and deepened tire blocks, suitable for various terrains.

Figure 5: The wheel assembly is designed to handle a strong load capacity of up to 255 lbs.

Figure 6: Durable and reliable construction using high-quality rubber for the tire and aluminum/steel for the rim.
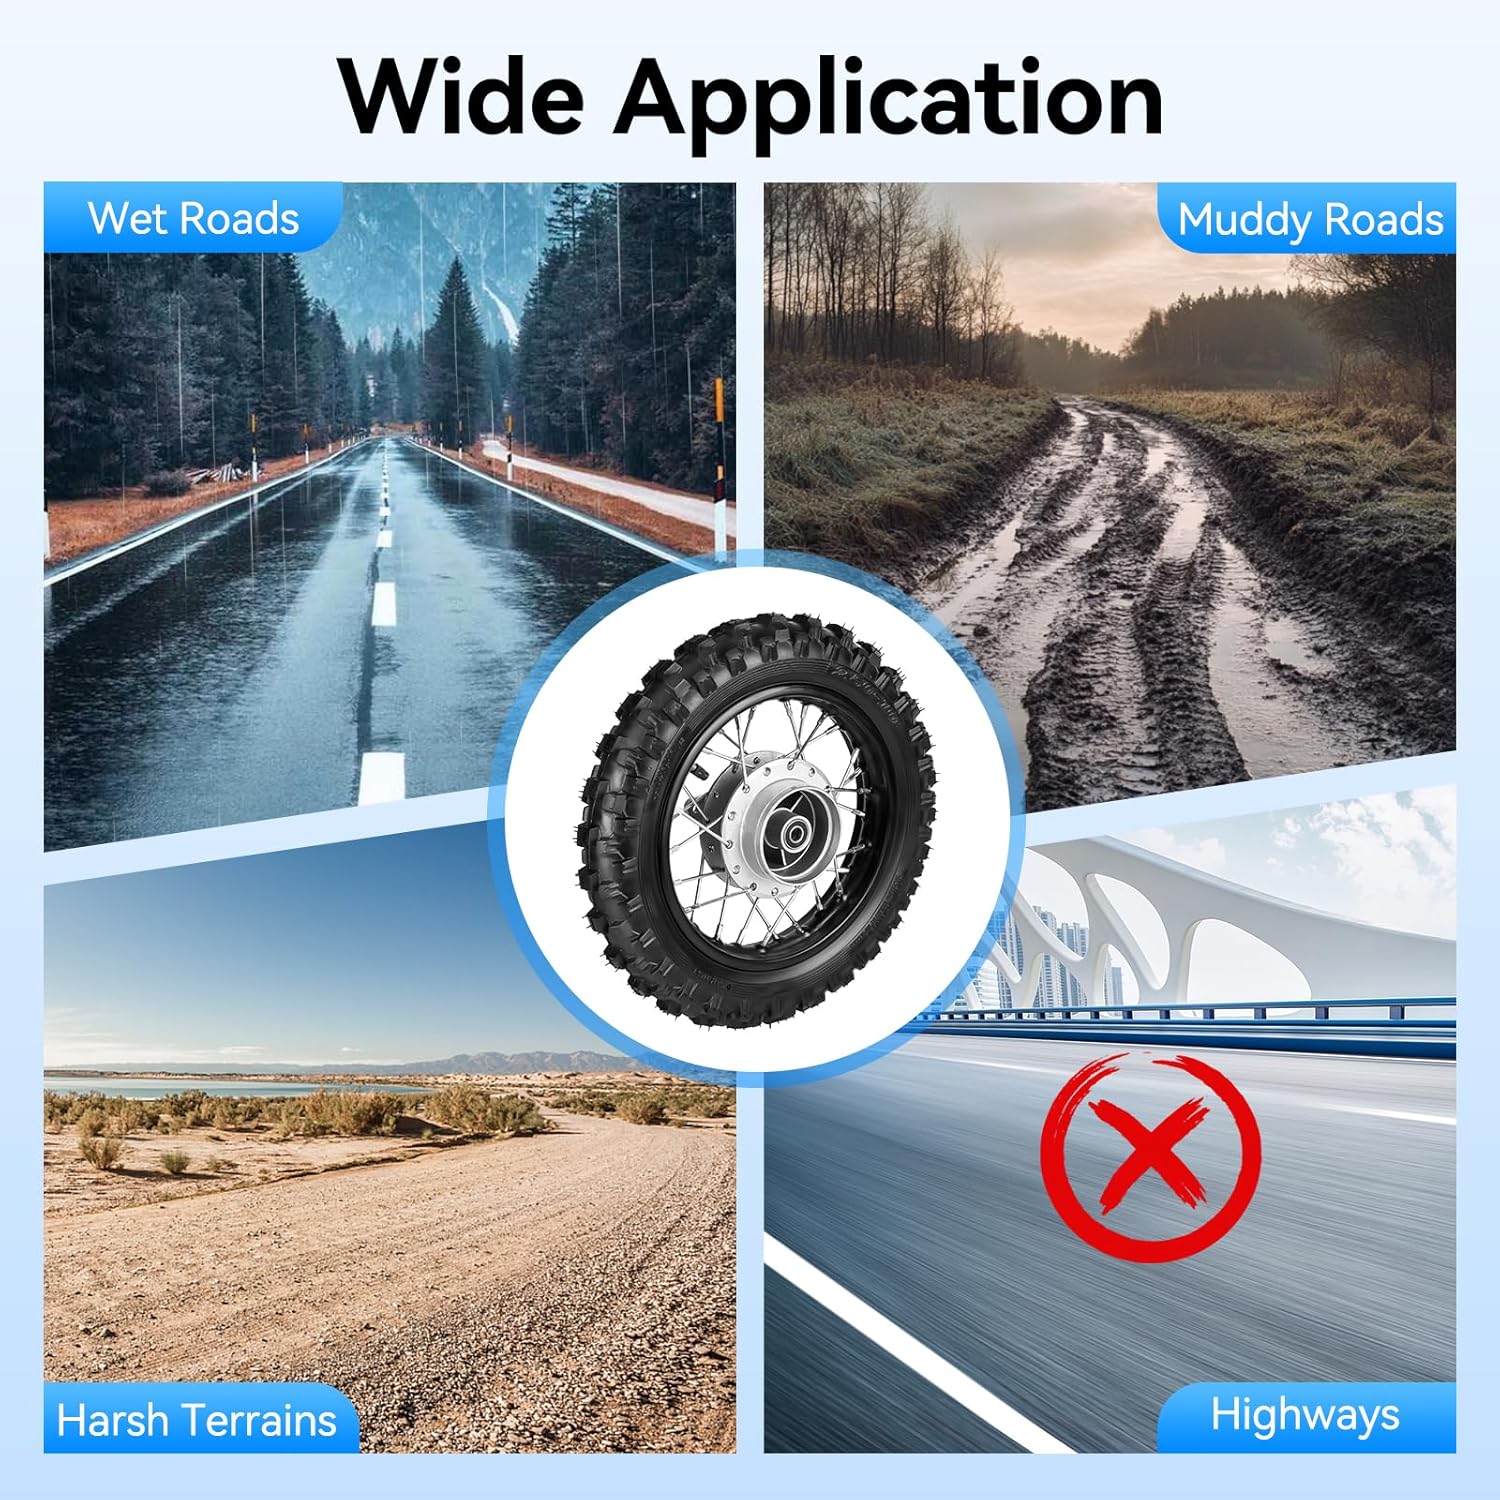
Figure 7: The tire is suitable for wet, muddy, and harsh terrains, but not for highway use.
Konserwacja
Regular maintenance is crucial for the longevity and safe operation of your OUKANING rear wheel assembly:
- Ciśnienie w oponach: Regularly check and maintain the recommended tire pressure for your specific dirt bike model and riding conditions. Incorrect pressure can affect performance and tire life.
- Zużycie opon: Inspect the tire tread for signs of excessive wear, cuts, or punctures. Replace the tire if the tread depth is insufficient or if there is significant damage.
- Rim and Spokes: Periodically check the rim for dents or cracks and ensure all spokes are tight and properly tensioned. Loose spokes can lead to wheel instability.
- Namiar: Inspect the wheel bearings for smooth rotation and any signs of play. Worn bearings should be replaced promptly to prevent further damage and ensure safe operation.
- Nakrętka zaworu: Ensure the valve cap is always securely in place to effectively protect the interior from contamination.

Figure 8: Details of the tire's rubber strips and the protective valve cup.
Rozwiązywanie problemów
This section addresses common issues you might encounter with your rear wheel assembly:
| Problem | Możliwa przyczyna | Rozwiązanie |
|---|---|---|
| Wheel Wobble/Instability | Loose spokes, worn wheel bearings, bent rim, improper installation. | Check and tighten spokes. Inspect and replace worn bearings. Inspect rim for damage. Re-install wheel ensuring proper alignment and torque. |
| Tire Losing Air | Puncture, faulty valve stem, loose valve core, damaged inner tube. | Inspect tire for punctures and repair/replace. Check valve stem and core. Replace inner tube if damaged. |
| Poor Grip/Traction | Incorrect tire pressure, worn tread, unsuitable terrain. | Adjust tire pressure to recommended levels. Replace tire if tread is worn. Ensure use on appropriate off-road terrains. |
| Trudności z instalacją | Incorrect axle hole diameter, incompatible bike model. | Verify the axle hole diameter (12mm for this product) and compatibility with your bike model before purchase. Consult a professional if unsure. |
Gwarancja i wsparcie
For information regarding warranty coverage or technical support for your OUKANING 10" Rear Wheel Rim Tire Assembly, please refer to the original purchase documentation or contact your retailer. As this product is a direct replacement part, specific warranty details may vary based on the seller's policy.
For general inquiries or assistance, you may visit the official OUKANING Store on Amazon: OUKANING Store


