1. Wprowadzenie
This manual provides detailed instructions for the safe installation, operation, and maintenance of your Crystorama Libby Langdon Sylvan 4 Light Black Forged Lantern Chandelier. Please read all instructions carefully before beginning installation and retain this manual for future reference. Proper installation by a qualified electrician is recommended.
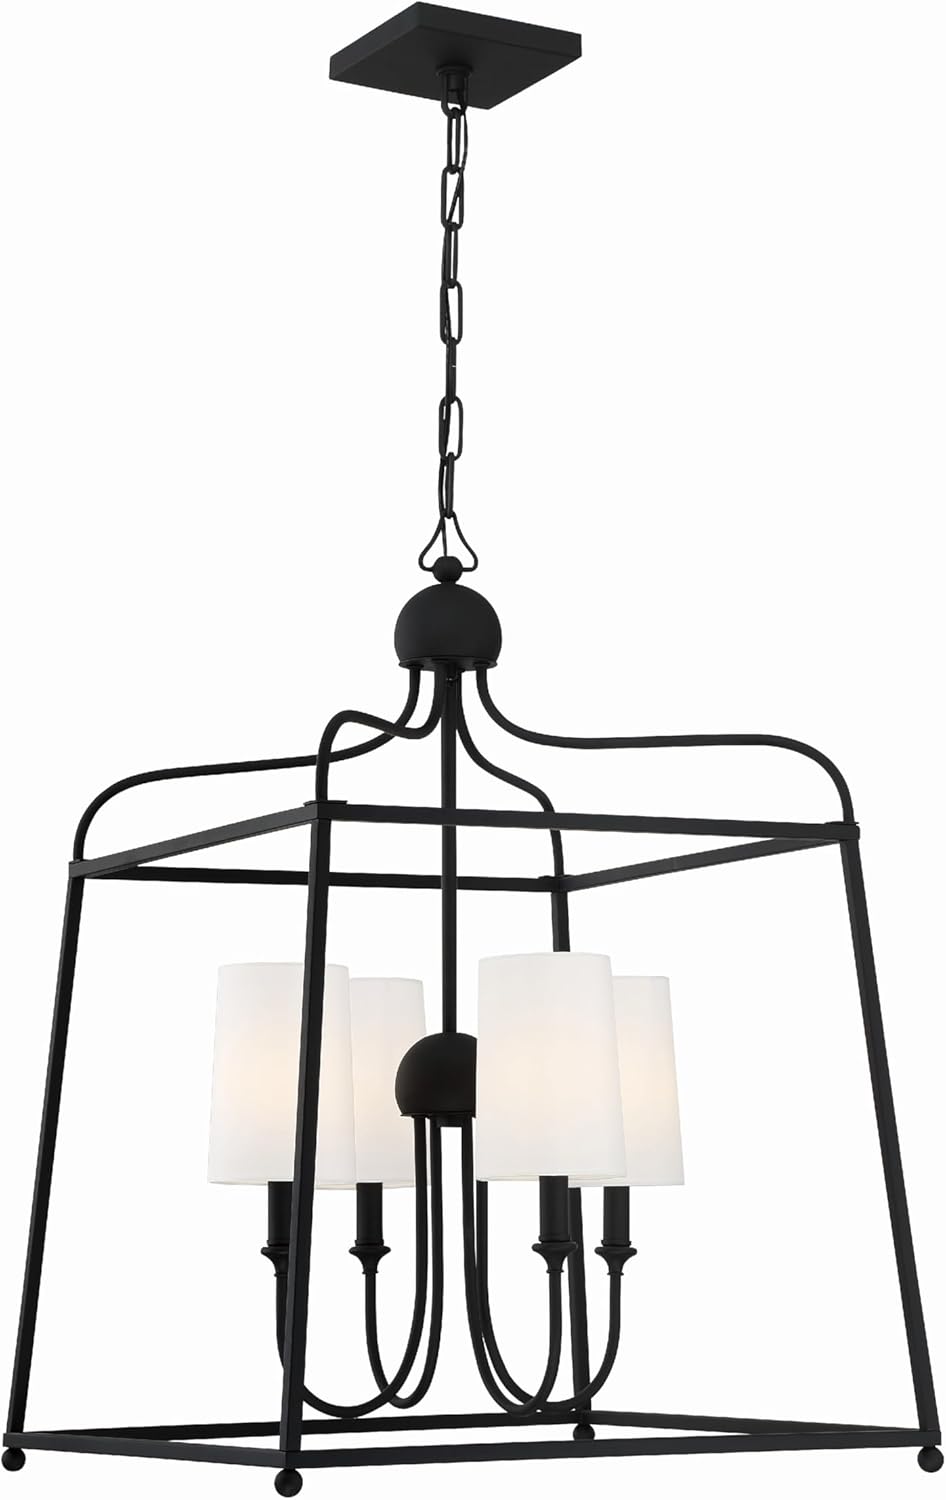
Obraz 1.1: Przód view of the Crystorama Libby Langdon Sylvan 4 Light Black Forged Lantern Chandelier with shades.
2. Ważne informacje dotyczące bezpieczeństwa
Aby zmniejszyć ryzyko pożaru, porażenia prądem elektrycznym lub obrażeń ciała, zawsze należy przestrzegać poniższych podstawowych środków ostrożności:
- Odłącz zasilanie: Always turn off the electrical supply at the main fuse or circuit breaker box before beginning installation or performing any maintenance.
- Elektryk z kwalifikacjami: Installation should be performed by a qualified, licensed electrician.
- Grunt: Aby uniknąć potencjalnego porażenia prądem, należy upewnić się, że urządzenie jest prawidłowo uziemione.
- Okablowanie: Wszystkie połączenia elektryczne muszą być wykonane zgodnie z lokalnymi i krajowymi przepisami elektrycznymi.
- Żarówkatage: Nie przekraczać maksymalnej mocytage specified for the bulbs. This fixture is designed for E12 base bulbs, up to 60 watts each.
- Obsługiwanie: Handle the fixture and glass components with care to prevent breakage or injury.
- Na liście UL: Produkt ten posiada certyfikat UL, co gwarantuje spełnienie określonych norm bezpieczeństwa.
3. Specyfikacje produktu
| Funkcja | Specyfikacja |
|---|---|
| Marka | Krystorama |
| Nazwa modelu | 2244-BF |
| Kolor | Czarny kuty |
| Tworzywo | Alloy Steel (Frame), Glass (Shade) |
| Formularz oprawy oświetleniowej | Żyrandol |
| Typ pokoju | Living Room (General Purpose) |
| Wymiary produktu | 21.5" dł. x 21.5" szer. x 29.75" wys. |
| Waga przedmiotu | 6 funtów |
| Zastosowanie wewnątrz/na zewnątrz | Wnętrz |
| Źródło zasilania | Podłączony na stałe |
| Typ instalacji | Montaż półpłaski |
| Typ źródła światła | LED Compatible (Bulbs not included) |
| Liczba źródeł światła | 4 |
| Tomtage | 120 wolty |
| Cotage (Max per bulb) | 60 watów |
| Podstawa żarówki | E12 |
| Wymagany montaż | Tak |
| Specyfikacja Met | UL |
| UPC | 633779048180 |

Image 3.1: Dimensional drawing of the chandelier, showing 21.5" width, 29.75" height, and 72" chain length.
4. Zawartość opakowania
Carefully unpack your new chandelier and lay out all parts on a clean, soft surface. Ensure all components are present before discarding packaging materials.
- Chandelier Frame (Black Forged)
- 4 Glass Shades (White Enclosed)
- Mounting Hardware Kit (Canopy, Mounting Plate, Screws, Wire Nuts)
- Chain and Wiring (Pre-attached or separate for assembly)
- Instrukcja obsługi
Notatka: Bulbs are not included with this fixture. Four (4) E12 base bulbs, up to 60 watts each, are required.

Obraz 4.1: Zbliżenie view of the four E12 bulb sockets and white enclosed glass shades.
5. Konfiguracja i instalacja
This chandelier is designed for semi-flush mount installation. Professional installation by a licensed electrician is strongly recommended.
Potrzebne narzędzia i materiały (nie dołączone):
- Śrubokręt krzyżakowy
- Wkrętak płaski
- Ściągacze izolacji
- Szczypce
- Taśma izolacyjna
- Okulary ochronne
- Drabina
- E12 Base Bulbs (4, max 60W each)
Kroki instalacji:
- Wyłącz zasilanie: Locate the circuit breaker that supplies power to the installation location and turn it off. Verify power is off using a voltagtester.
- Przygotowanie montażu: Przymocuj płytę montażową do puszki przyłączeniowej w suficie za pomocą dołączonych śrub. Upewnij się, że jest solidnie zamocowana.
- Adjust Chain Length (if applicable): If your fixture includes a chain, determine the desired hanging height and adjust the chain length by removing links as needed. Feed the electrical wires through the chain and canopy.
- Wykonaj połączenia elektryczne: Connect the fixture's wires to the house wiring.
- Connect the bare copper (ground) wire from the fixture to the green or bare copper ground wire from the junction box.
- Podłącz czarny (pod napięciem) przewód z oprawy do czarnego (pod napięciem) przewodu z puszki przyłączeniowej.
- Podłącz biały (neutralny) przewód z oprawy do białego (neutralnego) przewodu z puszki przyłączeniowej.
- Bezpieczny daszek: Carefully push the canopy up to the ceiling, covering the junction box, and secure it with the provided screws or nuts.
- Zainstaluj żarówki: Screw four (4) E12 base bulbs (not included) into the sockets. Do not exceed 60 watts per bulb.
- Zamontuj rolety: Carefully place the white enclosed glass shades over each bulb socket.
- Przywróć zasilanie: Włącz ponownie zasilanie za pomocą wyłącznika obwodu.

Obraz 5.1: Pod kątem view of the chandelier, showcasing its black forged frame and white shades.
6. Instrukcja obsługi
Once installed, your Crystorama Libby Langdon Sylvan Chandelier operates via a standard wall switch connected to the fixture's electrical circuit. Simply toggle the wall switch to turn the chandelier on or off.
This fixture is compatible with dimmable E12 LED bulbs if connected to a compatible dimmer switch (sold separately).
7. Pielęgnacja i konserwacja
Regular cleaning and proper care will help maintain the appearance and functionality of your chandelier.
Czyszczenie:
- Zawsze odłączaj zasilanie: Before cleaning, ensure the power supply to the fixture is turned off at the circuit breaker.
- Rama: Wipe the black forged metal frame with a soft, dry, or slightly damp szmatką. Unikaj środków czyszczących o działaniu ściernym, rozpuszczalników i środków polerujących, ponieważ mogą one uszkodzić wykończenie.
- Klosze szklane: The white enclosed glass shades can be gently wiped with a soft, damp cloth. For stubborn marks, a mild glass cleaner can be used sparingly on the cloth, not directly on the glass. Ensure shades are completely dry before restoring power.
Wymiana żarówki:
- Wyłącz zasilanie: Always turn off the power at the circuit breaker before replacing bulbs.
- Pozwól na chłodzenie: Przed dotknięciem żarówek należy odczekać, aż całkowicie ostygną.
- Zastępować: Unscrew the old bulb and screw in a new E12 base bulb. Ensure the replacement bulb does not exceed 60 watts.
8. Rozwiązywanie Problemów
Jeśli masz problemy z żyrandolem, zapoznaj się z poniższymi typowymi problemami i rozwiązaniami:
| Problem | Możliwa przyczyna | Rozwiązanie |
|---|---|---|
| Światło się nie włącza | Brak zasilania urządzenia Luźne połączenie przewodów Uszkodzona żarówka | Sprawdź wyłącznik obwodu i przełącznik ścienny Verify all wire connections are secure (with power off) Wymień żarówkę na nową |
| Migotanie światła | Luźna żarówka Incorrect bulb type for dimmer Luźne połączenie przewodów | Dokręć żarówkę Ensure dimmable bulbs are used with a compatible dimmer Check wire connections (with power off) |
| Brzęczący hałas | Niekompatybilny przełącznik ściemniacza Luźne elementy | Replace dimmer with an LED-compatible model Upewnij się, że wszystkie części są bezpiecznie zamocowane |
If the issue persists after attempting these solutions, please contact Crystorama customer support or a qualified electrician.
9. Gwarancja i wsparcie
This Crystorama Libby Langdon Sylvan Chandelier is covered by a manufacturer's warranty. For specific warranty details, claims, or technical support, please refer to the warranty card included with your purchase or visit the official Crystorama webstrona.
For additional assistance, you may contact Crystorama customer service directly.


