Wstęp
Thank you for choosing the HOMCOM 2720W Oil Radiator. This manual provides essential information for the safe and efficient operation of your new appliance. Please read it thoroughly before use and retain it for future reference.

Image: The HOMCOM 2720W Oil Radiator, a white unit with a black digital display, positioned in a modern living room.
Ważne instrukcje bezpieczeństwa
Aby zmniejszyć ryzyko pożaru, porażenia prądem i obrażeń, należy zawsze przestrzegać podstawowych zasad bezpieczeństwa podczas korzystania z urządzeń elektrycznych.
- Przeczytaj wszystkie instrukcje before using this radiator.
- Nie zakrywać the radiator. Covering it can lead to overheating and fire.
- Keep flammable materials at least 1 meter (3 feet) away from the radiator.
- Nie używaj in bathrooms, laundry areas, or similar wet locations.
- Wyjąć wtyczkę the radiator when not in use.
- Nadzoruj dzieci and individuals with reduced physical, sensory, or mental capabilities when the appliance is in use.
- Automatyczne wyłączanie: This radiator is equipped with an automatic shut-off feature for overheating and accidental tip-overs. If the unit overheats or tips, it will power off automatically.

Image: A visual representation highlighting the radiator's automatic shut-off for overheating and anti-tip protection, showing the unit tilting and a thermometer icon with 'OFF'.
Zawartość opakowania
Carefully unpack your HOMCOM Oil Radiator and check that all items are present and undamaged. If any parts are missing or damaged, contact customer support immediately.
- 1 x Oil Radiator Unit (with 11 heating elements)
- 4 x koła obrotowe
- 1 x LED Display Control Panel (integrated)
Cechy produktu
Your HOMCOM Oil Radiator is designed for efficient and comfortable heating with several user-friendly features:
- Wydajne ogrzewanie: 2290-2720W power suitable for rooms 12-20 m².
- Wiele trybów ogrzewania: High, Medium, Low, and ECO mode for energy saving.
- Regulowana temperatura: Set desired temperature between 15-35 °C.
- Timer 24-godzinny: Zaprogramuj grzejnik tak, aby włączał się i wyłączał automatycznie.
- Cicha praca: Provides consistent heat without noise, ideal for bedrooms.
- Ruchliwość: Equipped with 4 swivel wheels and a handle for easy movement.
- Funkcje bezpieczeństwa: Overheating protection, anti-tip shut-off, and anti-freeze setting.
- Wyświetlacz LED: Intuitive control panel for easy adjustments.

Obraz: szczegółowy view of the LED display panel, illustrating icons for power, heating modes (High/Medium/Low), ECO mode, 24-hour timer, temperature adjustment (15-35°C), and anti-freeze system.
Organizować coś
- Rozpakować: Remove the radiator and all accessories from the packaging. Keep packaging materials for storage if needed.
- Dołącz koła: Turn the radiator upside down. Insert the U-shaped bolts into the holes between the outer fins. Secure the wheel assemblies to the U-bolts using the provided wing nuts. Ensure all four wheels are firmly attached.
- Pozycjonowanie: Place the radiator on a firm, level surface. Ensure it is at least 1 meter (3 feet) away from walls, furniture, curtains, and other flammable materials. Do not place it directly under a power socket.
- Podłączenie zasilania: Podłącz przewód zasilający do odpowiedniego uziemionego gniazdka elektrycznego (240 V).
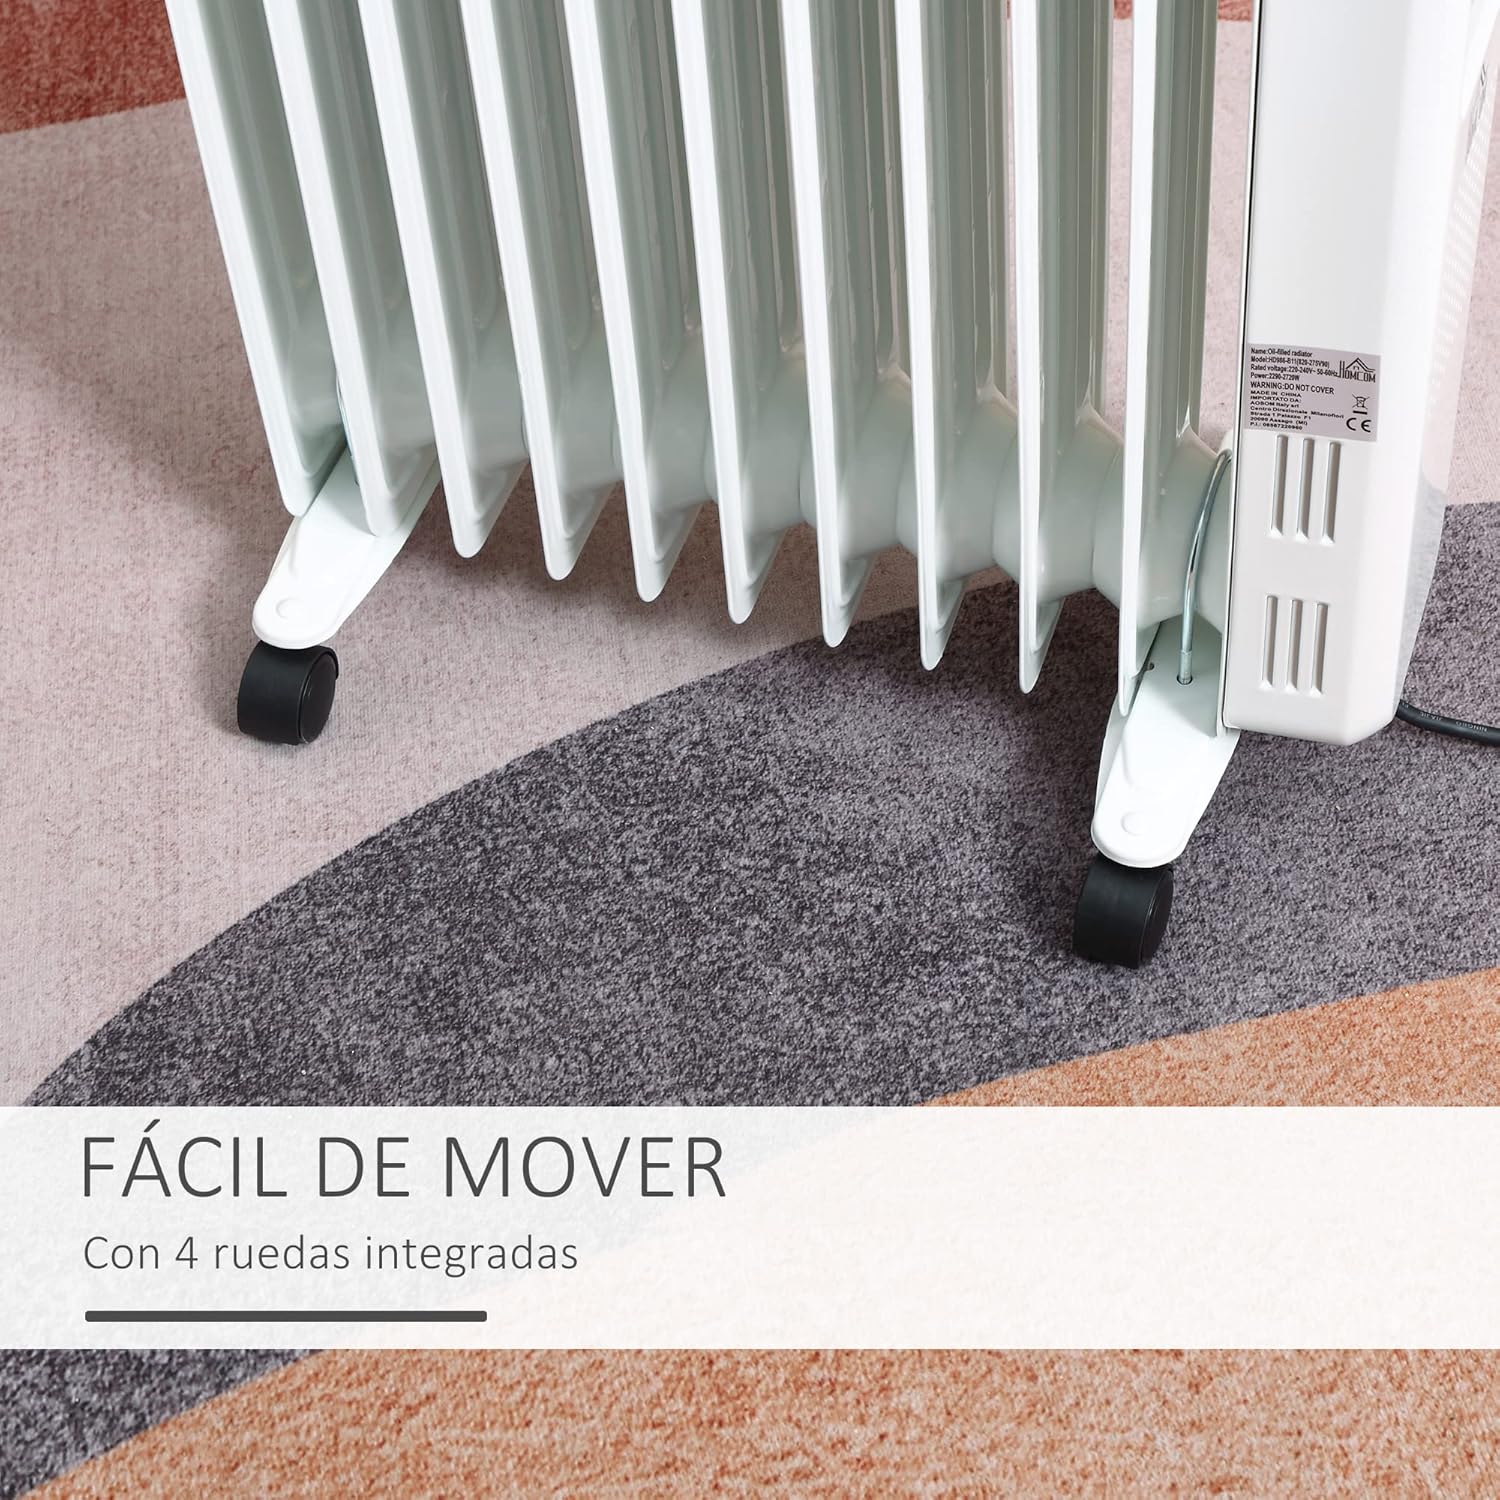
Image: A close-up of the radiator's base, showing the four integrated swivel wheels, emphasizing its easy mobility.
Instrukcja obsługi
Familiarize yourself with the control panel for optimal use.
- Włączanie/wyłączanie: Press the power button on the LED display or use the main power switch located on the side of the unit. The LED display will illuminate.
- Ustaw temperaturę: Use the 'Up' and 'Down' arrow buttons on the control panel to adjust the desired room temperature between 15°C and 35°C. The radiator will cycle on and off to maintain this temperature.
- Wybierz tryb ogrzewania: Press the 'Mode' button to cycle through the available heating modes: High, Medium, Low, and ECO. The selected mode will be indicated on the display.
- Korzystanie z timera: Press the 'Timer' button to activate the 24-hour timer function. Use the 'Up' and 'Down' arrows to set the desired operating duration (in hours). The radiator will automatically turn off after the set time.
- Anti-freeze Setting: The radiator includes an anti-freeze function to prevent pipes from freezing in cold environments. This setting automatically activates if the room temperature drops below a certain threshold.
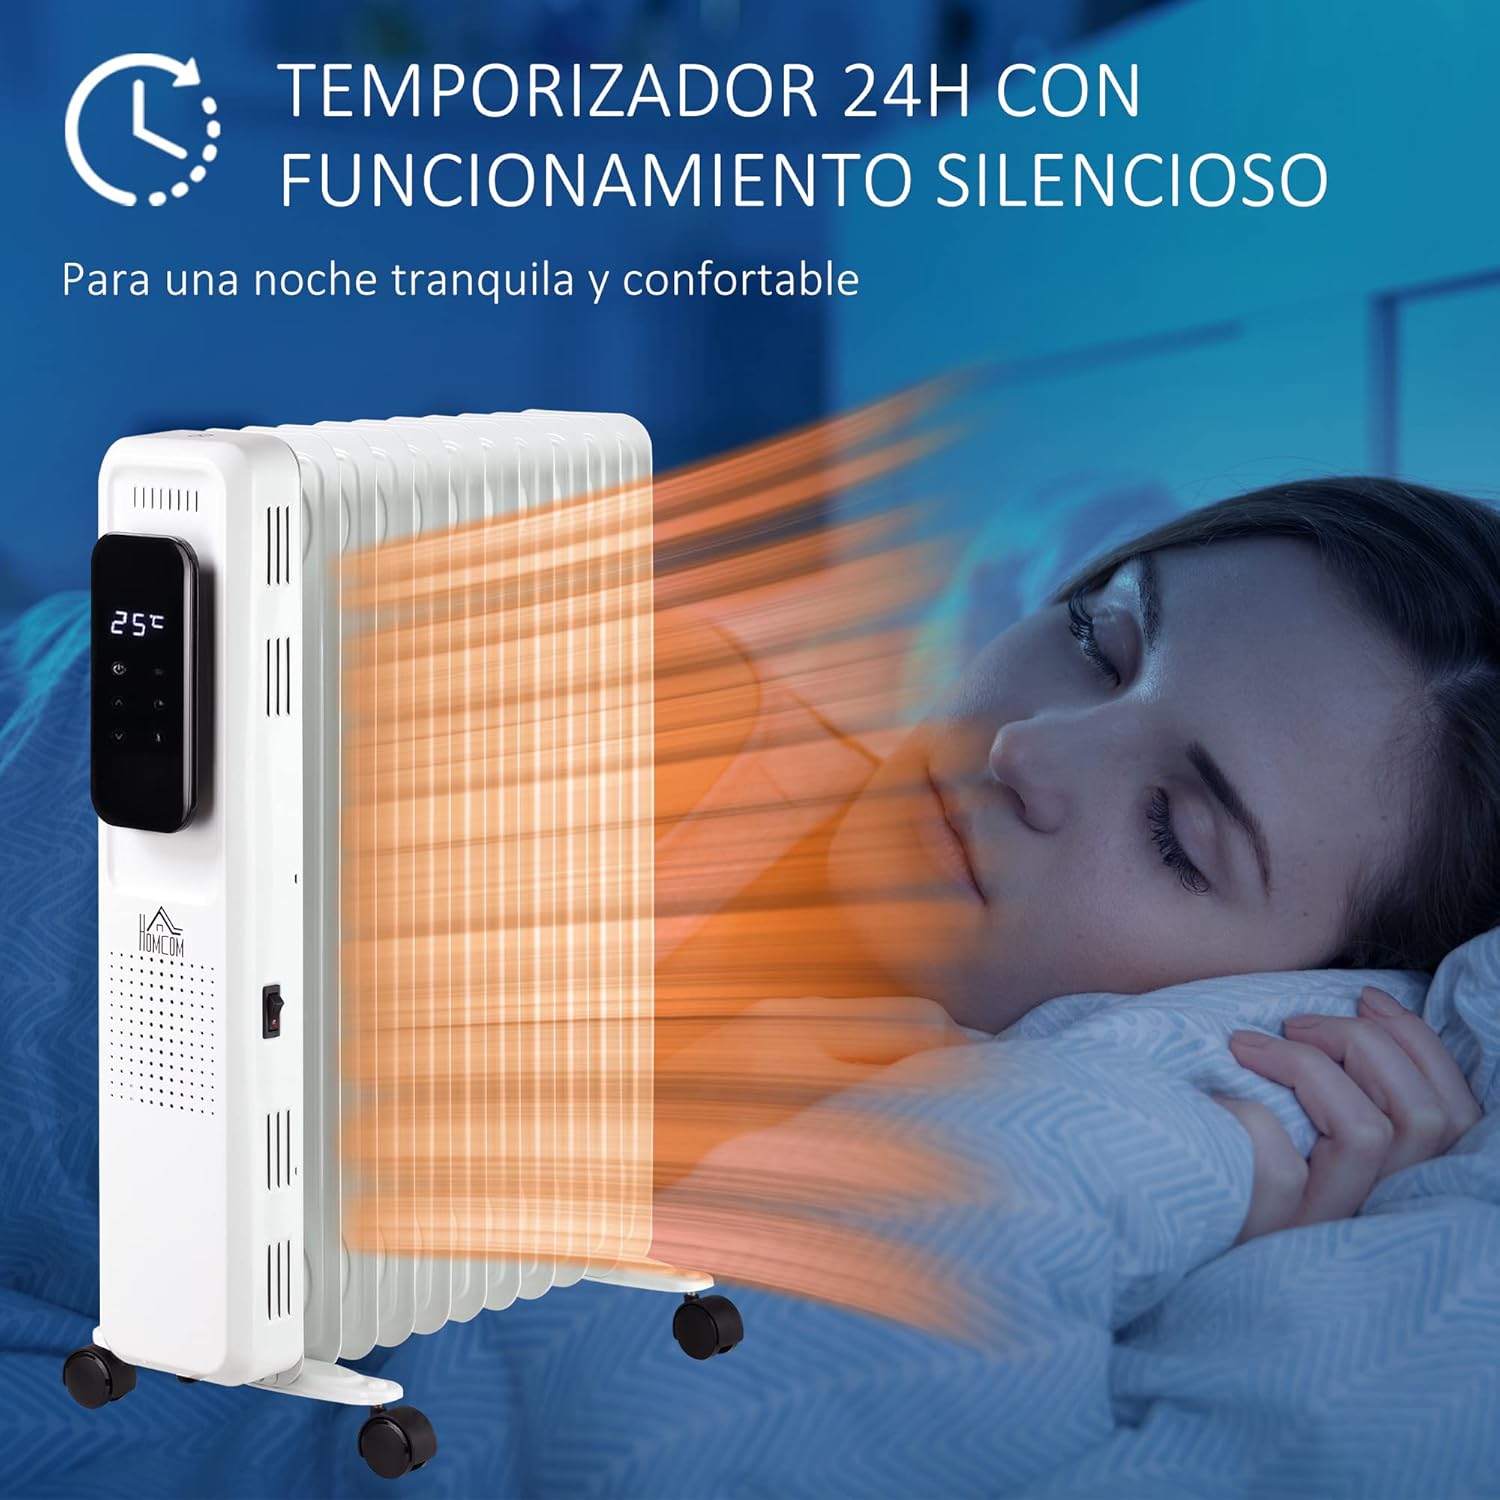
Image: The oil radiator emitting heat in a quiet bedroom, with a sleeping person in the background, illustrating its silent operation and 24-hour timer feature.
Konserwacja
Regularna konserwacja zapewnia długowieczność i wydajną pracę grzejnika.
- Czyszczenie: Zawsze odłączaj grzejnik od zasilania i pozwól mu całkowicie ostygnąć przed czyszczeniem. Przetrzyj zewnętrzne powierzchnie miękką, miękką szmatką.amp ściereczka. Nie należy używać środków czyszczących o właściwościach ściernych ani rozpuszczalników.
- Składowanie: If storing the radiator for an extended period, clean it thoroughly and store it in a cool, dry place. It is recommended to keep it in its original packaging to protect it from dust and damage.
- Brak konserwacji wewnętrznej: The oil in the radiator is permanently sealed and never needs refilling. Do not attempt to open the unit for internal maintenance.
Rozwiązywanie problemów
Jeśli masz problemy z grzejnikiem, zapoznaj się z poniższymi typowymi problemami i rozwiązaniami:
| Problem | Możliwa przyczyna | Rozwiązanie |
|---|---|---|
| Grzejnik się nie włącza. | Brak zasilania, wyłączenie głównego wyłącznika lub aktywacja funkcji bezpieczeństwa. | Check power outlet, ensure main switch is ON, and reset if safety shut-off was triggered (unplug for 10 minutes). |
| Grzejnik niespodziewanie się wyłącza. | Overheating or tip-over protection activated. | Ensure radiator is not covered and is on a stable surface. Unplug, allow to cool, then restart. |
| Niewystarczające ogrzewanie. | Incorrect mode, low temperature setting, or room size too large. | Select a higher heating mode (High), increase temperature setting, or ensure the room size is within the recommended range (12-20 m²). |
| Wyświetlacz nie działa. | Problem z zasilaniem lub usterka wewnętrzna. | Sprawdź podłączenie zasilania. Jeśli problem będzie się powtarzał, skontaktuj się z obsługą klienta. |
Jeśli po wypróbowaniu tych rozwiązań problem nadal występuje, skontaktuj się z obsługą klienta.
Specyfikacje
| Funkcja | Specyfikacja |
|---|---|
| Numer modelu | 820-275V90 |
| Marka | DOMKOM |
| Moc wyjściowa | 2290-2720 W |
| Tomtage | 240 wolty |
| Wymiary (dł. x szer. x wys.) | Wymiary 50.5 x 24 x 63 cm |
| Waga | 10.11 kilogramów |
| Elementy grzewcze | 11 |
| Zakres temperatur | Temperatura od 15 do 35 stopni Celsjusza |
| Obszar zasięgu | 12-20m² |
| Cechy specjalne | Automatic shut-off, Timer, Swivel wheels, Silent operation, Adjustable temperature, Anti-freeze |
| Źródło zasilania | Elektryczny z kablem |
| Kolor | Biały |

Image: A diagram illustrating the overall dimensions of the radiator: 50.5 cm (length), 24 cm (width), and 63 cm (height).
Informacje o gwarancji
This HOMCOM Oil Radiator comes with a limited warranty. Please refer to the warranty card included in your product packaging for specific terms and conditions, including coverage duration and claim procedures. Keep your proof of purchase for warranty claims.
Obsługa klienta
For any questions, technical assistance, or warranty claims, please contact your retailer or the HOMCOM customer service department. Contact information can typically be found on the product packaging or the official HOMCOM webstrona.


