Wstęp
This manual provides detailed instructions for the installation, operation, and maintenance of your Memphis Audio PRX60C Power Reference Series 6.5-inch component speakers. Please read this manual thoroughly before installation and use to ensure proper function and longevity of your product. Retain this manual for future reference.

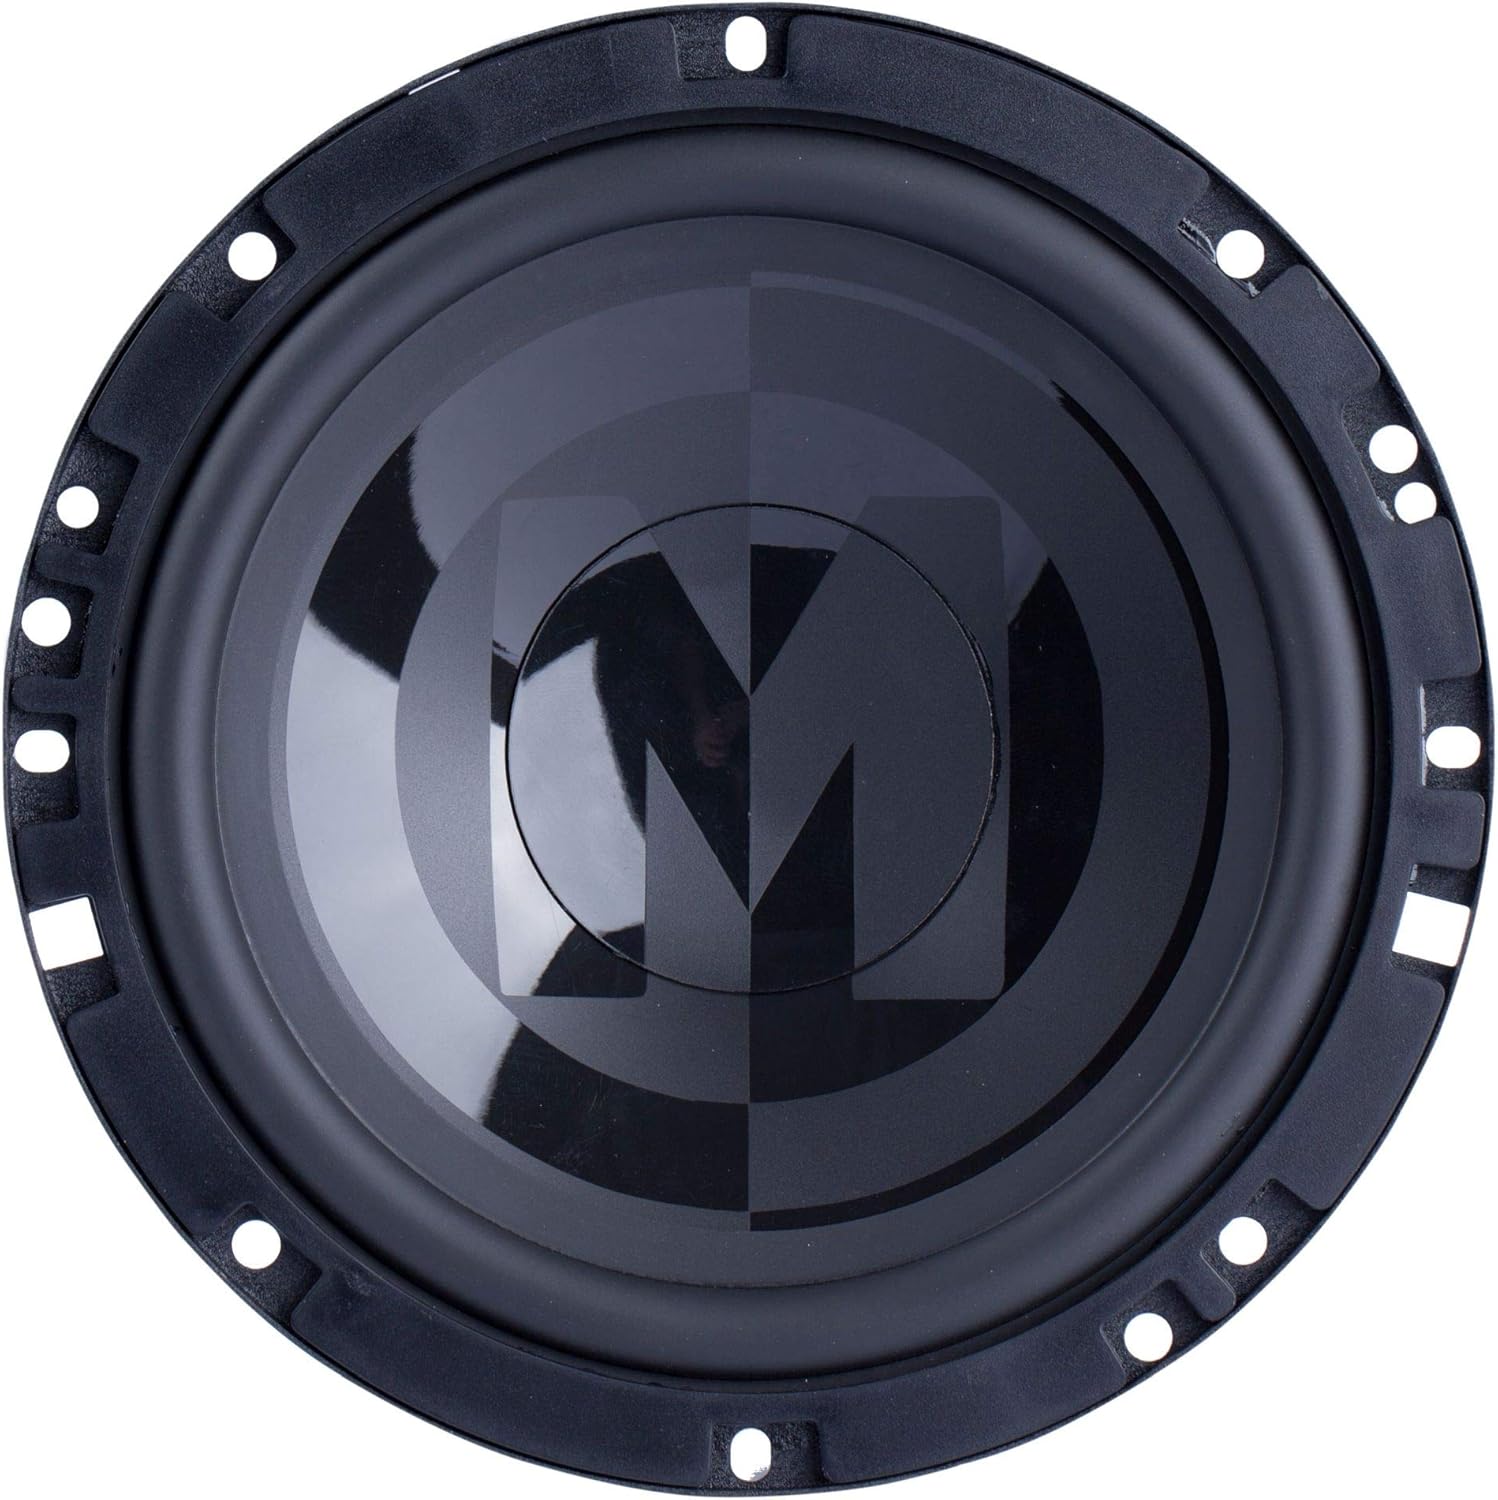
Image: Complete Memphis Audio PRX60C component speaker system.
Informacje dotyczące bezpieczeństwa
Podczas instalacji i obsługi należy przestrzegać następujących środków ostrożności:
- Przed rozpoczęciem jakichkolwiek prac elektrycznych należy zawsze odłączyć ujemny zacisk akumulatora pojazdu, aby zapobiec zwarciom.
- Ensure all wiring is properly insulated and secured to prevent damage from sharp edges or moving parts.
- Do not mount speakers in locations that obstruct vehicle operation or safety features.
- Podczas instalacji należy stosować odpowiedni sprzęt ochrony osobistej, np. okulary ochronne.
- Jeśli masz wątpliwości co do jakiegokolwiek etapu procesu instalacji, skonsultuj się z profesjonalnym instalatorem.
- Unikaj długotrwałego narażenia na wysoki poziom głośności, ponieważ może to spowodować uszkodzenie słuchu.
Zawartość opakowania
Sprawdź, czy w przesyłce znajdują się wszystkie elementy:
- Two (2) 6.5-inch Woofers with Polypropylene Cone and Butyl Rubber Surround
- Two (2) 1-inch Poly Dome Tweeters
- Two (2) Passive Crossover Networks
- Sprzęt montażowy (śruby, klipsy itp.)
Konfiguracja i instalacja
Prawidłowa instalacja jest kluczowa dla optymalnej wydajności. Postępuj zgodnie z poniższymi krokami.
Ogólne wskazówki dotyczące instalacji
- Choose suitable mounting locations that provide adequate clearance and structural integrity.
- Zapewnij odpowiednią wentylację wokół głośników, aby zapobiec przegrzaniu.
- Run speaker wires away from power cables to minimize noise interference.
- Observe correct polarity (+ to + and – to –) for all speaker connections.
Instalacja głośnika niskotonowego
The 6.5-inch woofers are designed for mounting in standard 6.5-inch speaker openings. Ensure the mounting surface is flat and secure.
Obraz: Góra view of the 6.5-inch woofer.
- Carefully place the woofer into the mounting hole.
- Align the mounting holes on the speaker frame with the pre-drilled holes in the mounting surface.
- Secure the woofer using the provided screws, tightening them evenly to prevent distortion of the speaker frame.
- Connect the speaker wires to the woofer terminals, ensuring correct polarity. The positive terminal is typically marked with a '+' symbol or a larger tab.

Obraz: Tył view of the 6.5-inch woofer showing terminals.
Instalacja głośnika wysokotonowego
The 1-inch tweeters can be flush-mounted or surface-mounted depending on your vehicle's interior and desired sound staging.

Obraz: Góra view of the 1-inch tweeter.
- Równo mocowanie: Cut a circular hole of the appropriate diameter (refer to template if provided) in the desired location. Insert the tweeter and secure it with the flush-mount hardware.
- Montaż powierzchniowy: Use the surface-mount cup and screws to attach the tweeter to a flat surface.
- Angle the tweeters towards the listening position for optimal high-frequency dispersion.
- Connect the tweeter wires to the appropriate terminals on the crossover network.
Crossover Network Connection
The passive crossover networks separate the audio signal into high frequencies for the tweeters and low frequencies for the woofers, ensuring each speaker receives the correct signal range.

Image: Two passive crossover networks.
- Mount the crossover networks in a dry, accessible location, away from heat sources and moisture.
- Connect the main audio input from your amplifier or head unit to the 'IN' terminals on the crossover network (typically marked '+IN' and '-IN').
- Connect the woofer to the 'LF' terminals (Low Frequency) on the crossover network (typically marked '+LF' and '-LF').
- Connect the tweeter to the 'HF' terminals (High Frequency) on the crossover network (typically marked '+HF' and '-HF').
- Ensure all connections are secure and observe correct polarity.
Obsługa głośników
Once installed, your Memphis Audio PRX60C component speakers are ready for use. Begin with your audio system's volume at a low setting and gradually increase it to a comfortable listening level. Adjust the balance and fader controls on your head unit to optimize the sound stage within your vehicle. Avoid operating the speakers at excessively high volumes for extended periods to prevent damage.
Konserwacja
To ensure the longevity and performance of your speakers, follow these simple maintenance guidelines:
- Regularly inspect speaker grilles and cones for any signs of damage or debris.
- Clean the speaker grilles and surrounds with a soft, damp płótno. Unikaj stosowania ostrych środków chemicznych lub ściernych środków czyszczących.
- Ensure all wiring connections remain secure. Loose connections can lead to intermittent sound or damage.
- Protect speakers from direct sunlight and extreme temperatures when possible.
Rozwiązywanie problemów
If you encounter issues with your speakers, refer to the table below for common problems and solutions.
| Problem | Możliwa przyczyna | Rozwiązanie |
|---|---|---|
| Brak dźwięku z głośników | Loose or incorrect wiring connections; Amplifier not powered; Head unit settings. | Check all wiring connections for proper polarity and security. Verify amplifier power and head unit output settings. |
| Zniekształcony dźwięk | Głośność jest za wysoka; Amplifier clipping; Incorrect gain settings; Damaged speaker. | Zmniejsz głośność. Sprawdź amplifier gain settings. Inspect speaker cones for physical damage. |
| Brak basu lub sopranu | Incorrect crossover wiring; EQ settings; Speaker polarity reversed. | Verify crossover connections. Adjust head unit EQ. Check speaker polarity. |
| Przerywany dźwięk | Loose wiring; Faulty connection. | Inspect all wiring for loose connections or frayed wires. |
Specyfikacje
Technical specifications for the Memphis Audio PRX60C component speakers:
| Funkcja | Szczegół |
|---|---|
| Nazwa modelu | PRX60C |
| Typ głośnika | Część |
| Średnica głośnika niskotonowego | 6.5 cali |
| Średnica głośnika wysokotonowego | 1 cali |
| Maksymalna moc wyjściowa głośnika | 100 watów |
| Impedancja | 4 omy |
| Odpowiedź częstotliwościowa | 20 kHz (górna granica, typowa dla głośników wysokotonowych) |
| Tworzywo | Plastic (general component material) |
| Waga przedmiotu | 4.8 funtów (cały pakiet) |
| Wymiary produktu | 17.4"D x 8.3"W x 5.8"H (package dimensions) |
| UPC | 702588206606 |
Gwarancja i wsparcie
Memphis Audio products are designed and manufactured to the highest quality standards. This product comes with a Limited Warranty. For specific warranty terms and conditions, please refer to the warranty card included with your product or visit the official Memphis Audio website. For technical support, troubleshooting assistance, or to inquire about authorized service centers, please contact Memphis Audio customer service or visit their official brand store.
Więcej informacji i wsparcia znajdziesz na stronie Sklep audio w Memphis.


