1. Wprowadzenie
This manual provides detailed instructions for the setup, operation, and maintenance of your Craftsman 139.53753 Garage Door Remote Control. This remote is designed for use with specific garage door openers.
1.1 Zgodność
The Craftsman 139.53753 remote control is compatible with Craftsman, Liftmaster, Do-It, Master-Mechanic, Raynor, and Chamberlain garage door openers that utilize Security+ ERT technology, manufactured in 2005 or later. Key indicators for compatibility include:
- Your garage door opener has a FIOLETOWY program/learn button on the back or side of the powerhead.
- Your garage door opener has a FIOLETOWY antenna wire.
- Your original remote control has CZARNY pikolak.
- Your original remote control or opener indicates "315 MHz" frequency.
Ważny: This remote is not compatible with systems using other types of coding or different learn button colors (e.g., red, orange, green, yellow).
2. Informacje dotyczące bezpieczeństwa
Please read and understand all safety warnings before operating your garage door opener and remote control. Improper use can result in serious injury or property damage.
- Przechowuj piloty w miejscu niedostępnym dla dzieci.
- Operate the garage door only when it is in full view, bez przeszkód i otwieracz jest prawidłowo wyregulowany.
- Do not allow children to play with the garage door opener or remote control.
- Przeprowadzaj co miesiąc test układu odwracania kierunku otwierania drzwi garażowych.
- Baterie należy utylizować zgodnie z lokalnymi przepisami.
3. Zawartość opakowania
Twoja paczka powinna zawierać następujące elementy:
- Craftsman 139.53753 Garage Door Remote Control
- Klips do wizjera
- Bateria litowa CR2 (wbudowana lub osobna)
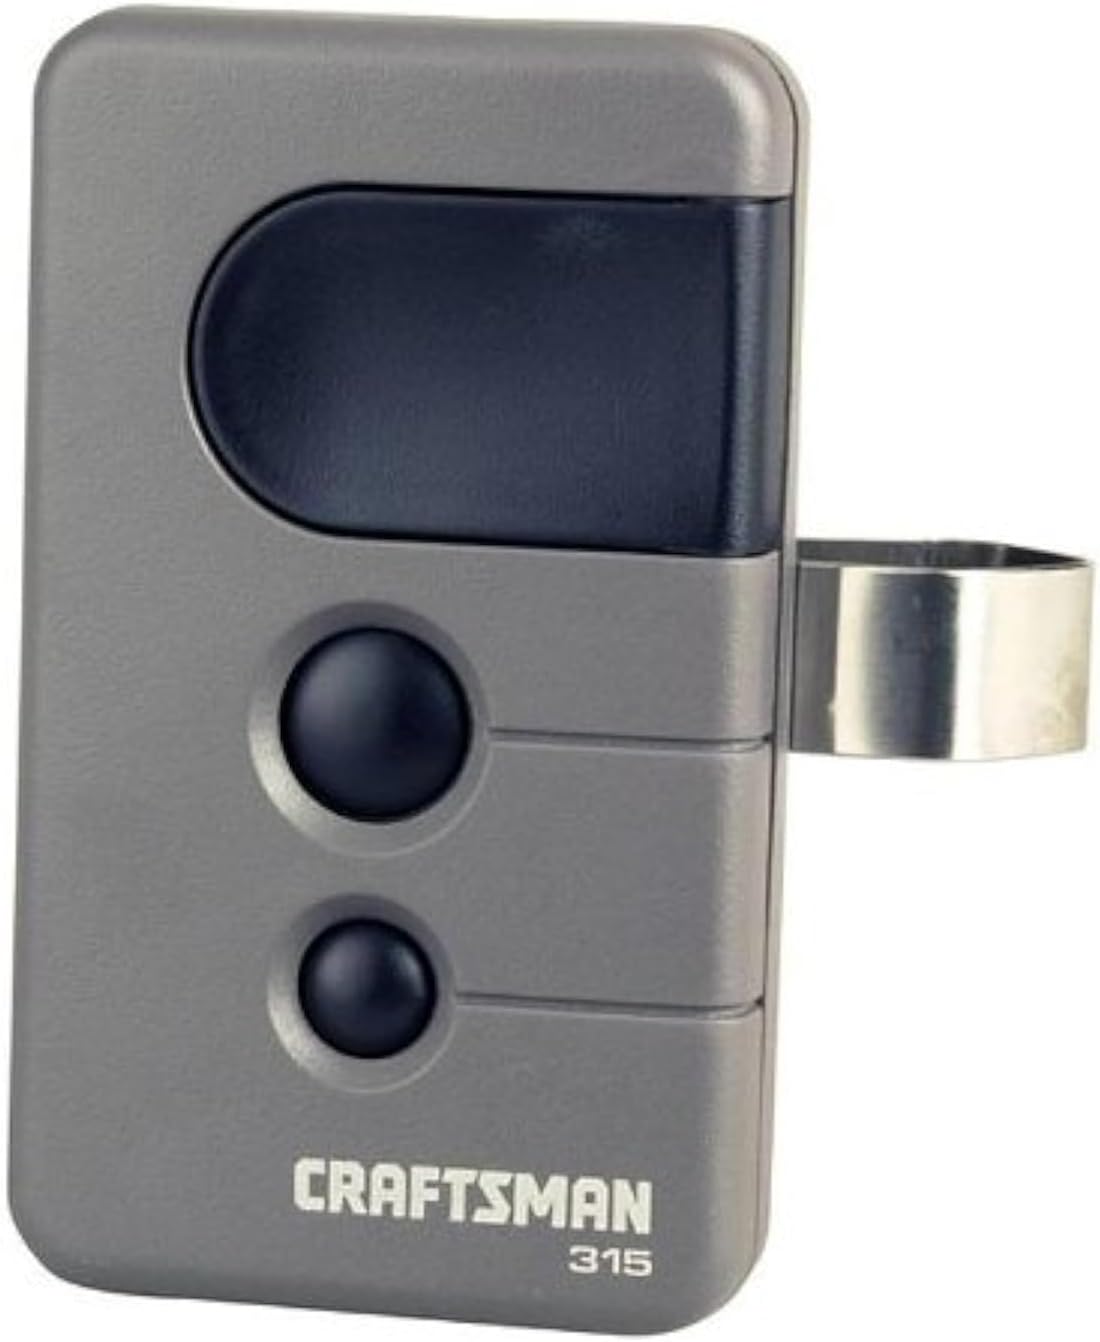
Image of the Craftsman 139.53753 garage door remote control. It is grey with a large black button at the top and two smaller black buttons below it. A metal clip is attached to the side for visor mounting. The brand 'CRAFTSMAN' and '315' are printed on the bottom front.
4. Konfiguracja i programowanie
Follow these steps to program your Craftsman 139.53753 remote control to your compatible garage door opener. Ensure you have access to your garage door opener's motor unit.
- Znajdź przycisk Dowiedz się: On your garage door opener's motor unit, locate the FIOLETOWY learn button. This button is typically found on the back or side panel of the motor unit.
- Aktywuj tryb nauki: Naciśnij i natychmiast zwolnij FIOLETOWY learn button. The learn indicator light on the opener will illuminate steadily for 30 seconds, indicating it is in programming mode.
- Zaprogramuj pilota: Within 30 seconds of activating the learn mode, press and hold the desired button on your new Craftsman remote control.
- Potwierdź programowanie: Continue holding the remote button until the garage door opener's light flashes or you hear two clicks. This indicates that the remote has been successfully programmed.
- Puść przycisk: Puść przycisk na pilocie.
- Operacja testowa: Naciśnij zaprogramowany przycisk na pilocie, aby sprawdzić jego działanie. Brama garażowa powinna się aktywować.
If you are programming multiple garage doors, repeat these steps for each door, using a different button on the remote for each opener.
5. Obsługa pilota
Your Craftsman 139.53753 remote control is designed for simple operation.
- Otwieranie/zamykanie bramy garażowej: Press the programmed button on the remote control once to activate your garage door opener. The door will begin to open or close. Pressing the button again during operation will stop the door. Pressing it a third time will reverse its direction.
- Drzwi wielokrotne: If you have programmed multiple garage doors to different buttons on your remote, simply press the corresponding button for the desired door.
- Security+ 3-Function: This remote transmits a new security code each time a button is pressed, enhancing security.
6. Konserwacja
6.1 Wymiana baterii
The remote control uses one CR2 Lithium battery. When the remote's range decreases or the indicator light on the remote dims, it is time to replace the battery.
- Otwórz Remote Casing: Ostrożnie otwórz pilota casing. This usually involves prying it open with a small flat-head screwdriver at a designated notch.
- Wyjmij starą baterię: Remove the old CR2 Lithium battery.
- Włóż nową baterię: Insert a new CR2 Lithium battery, ensuring the positive (+) terminal is facing the correct direction as indicated inside the battery compartment.
- Zamknij Casing: Zatrzaśnij pilota casinz powrotem bezpiecznie razem.
- Test zdalny: Sprawdź działanie pilota, aby upewnić się, że działa prawidłowo.
Notatka: Stare baterie należy utylizować w sposób odpowiedzialny, zgodnie z lokalnymi przepisami.
7. Rozwiązywanie Problemów
If your remote control is not functioning as expected, refer to the following common issues and solutions:
| Problem | Możliwa przyczyna | Rozwiązanie |
|---|---|---|
| Remote does not activate the garage door. |
|
|
| Zasięg zdalny jest słaby. |
|
|
| Drzwi garażowe otwierają się/zamykają nieoczekiwanie. |
|
|
8. Specyfikacje
- Numer modelu: 139.53753
- Marka: RZEMIEŚLNIK
- Częstotliwość: 315MHz
- Zgodność: Garage door openers with PURPLE learn button (Security+ ERT technology, 2005+)
- Liczba przycisków: 3 (for up to three garage doors)
- Funkcje bezpieczeństwa: Security+ 3-Function (transmits a new security code every time)
- Typ baterii: 1 x CR2 Lithium (not included, but often pre-installed)
- Waga przedmiotu: Około 2.4 uncji
- Wymiary: Około 5.5 x 2.8 x 1 cala (wymiary opakowania)
- Kolor: Czarny, Szary
9. Gwarancja i wsparcie
For warranty information or technical support regarding your Craftsman 139.53753 Garage Door Remote Control, please refer to the documentation provided with your purchase or contact Craftsman customer service directly. Contact details can typically be found on the official Craftsman webstronie internetowej lub na opakowaniu produktu.
Aby uzyskać dodatkowe zasoby, odwiedź stronę Sklep CRAFTSMAN na Amazonie.


